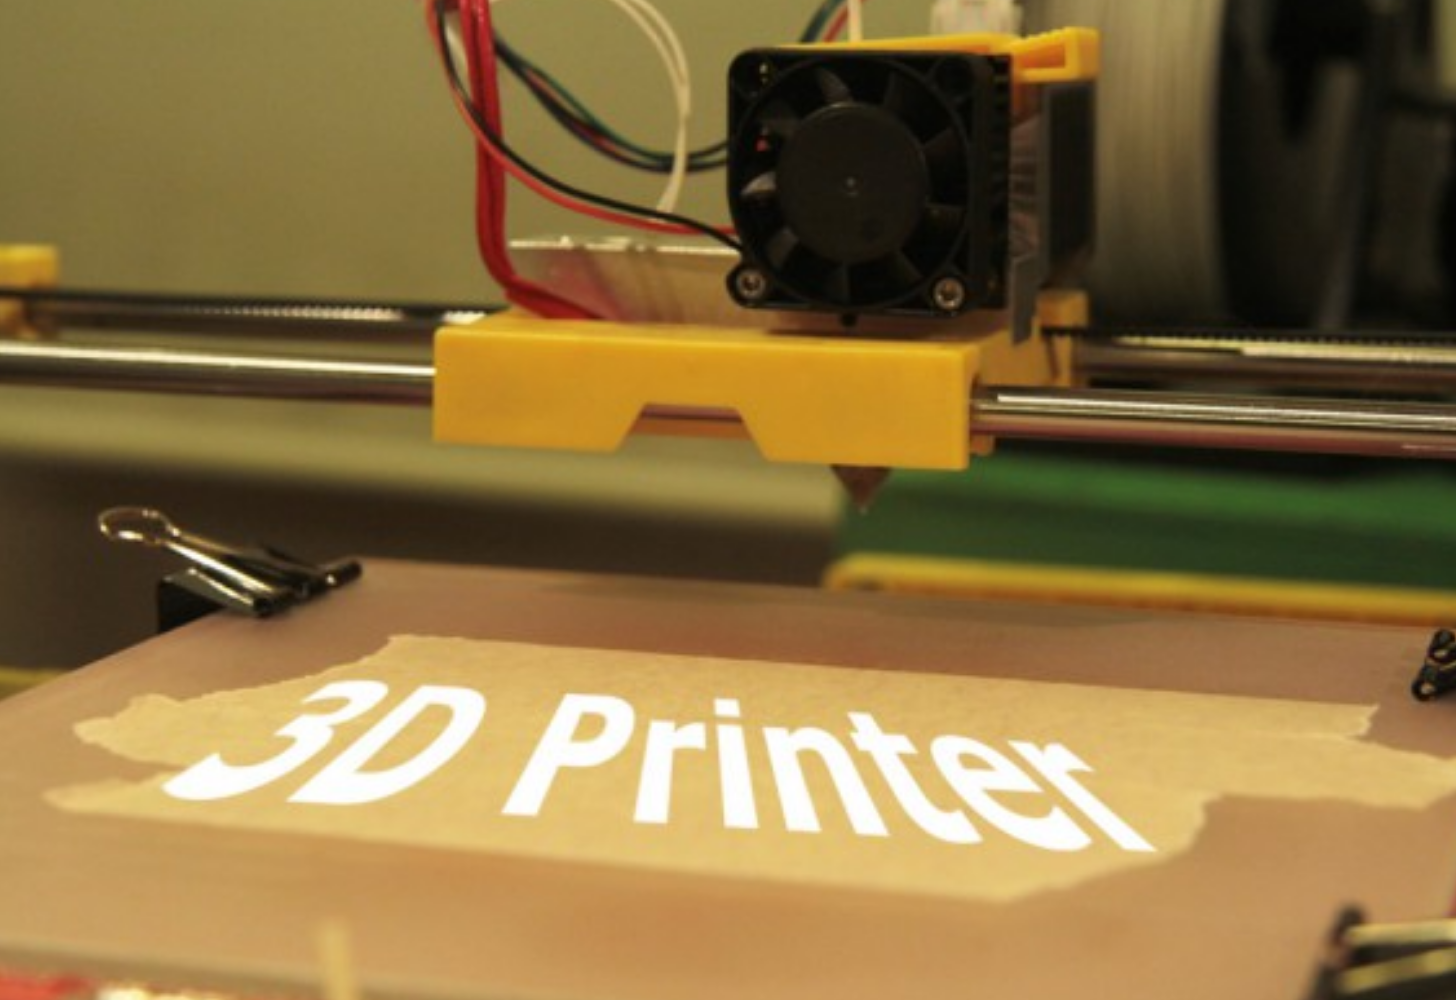
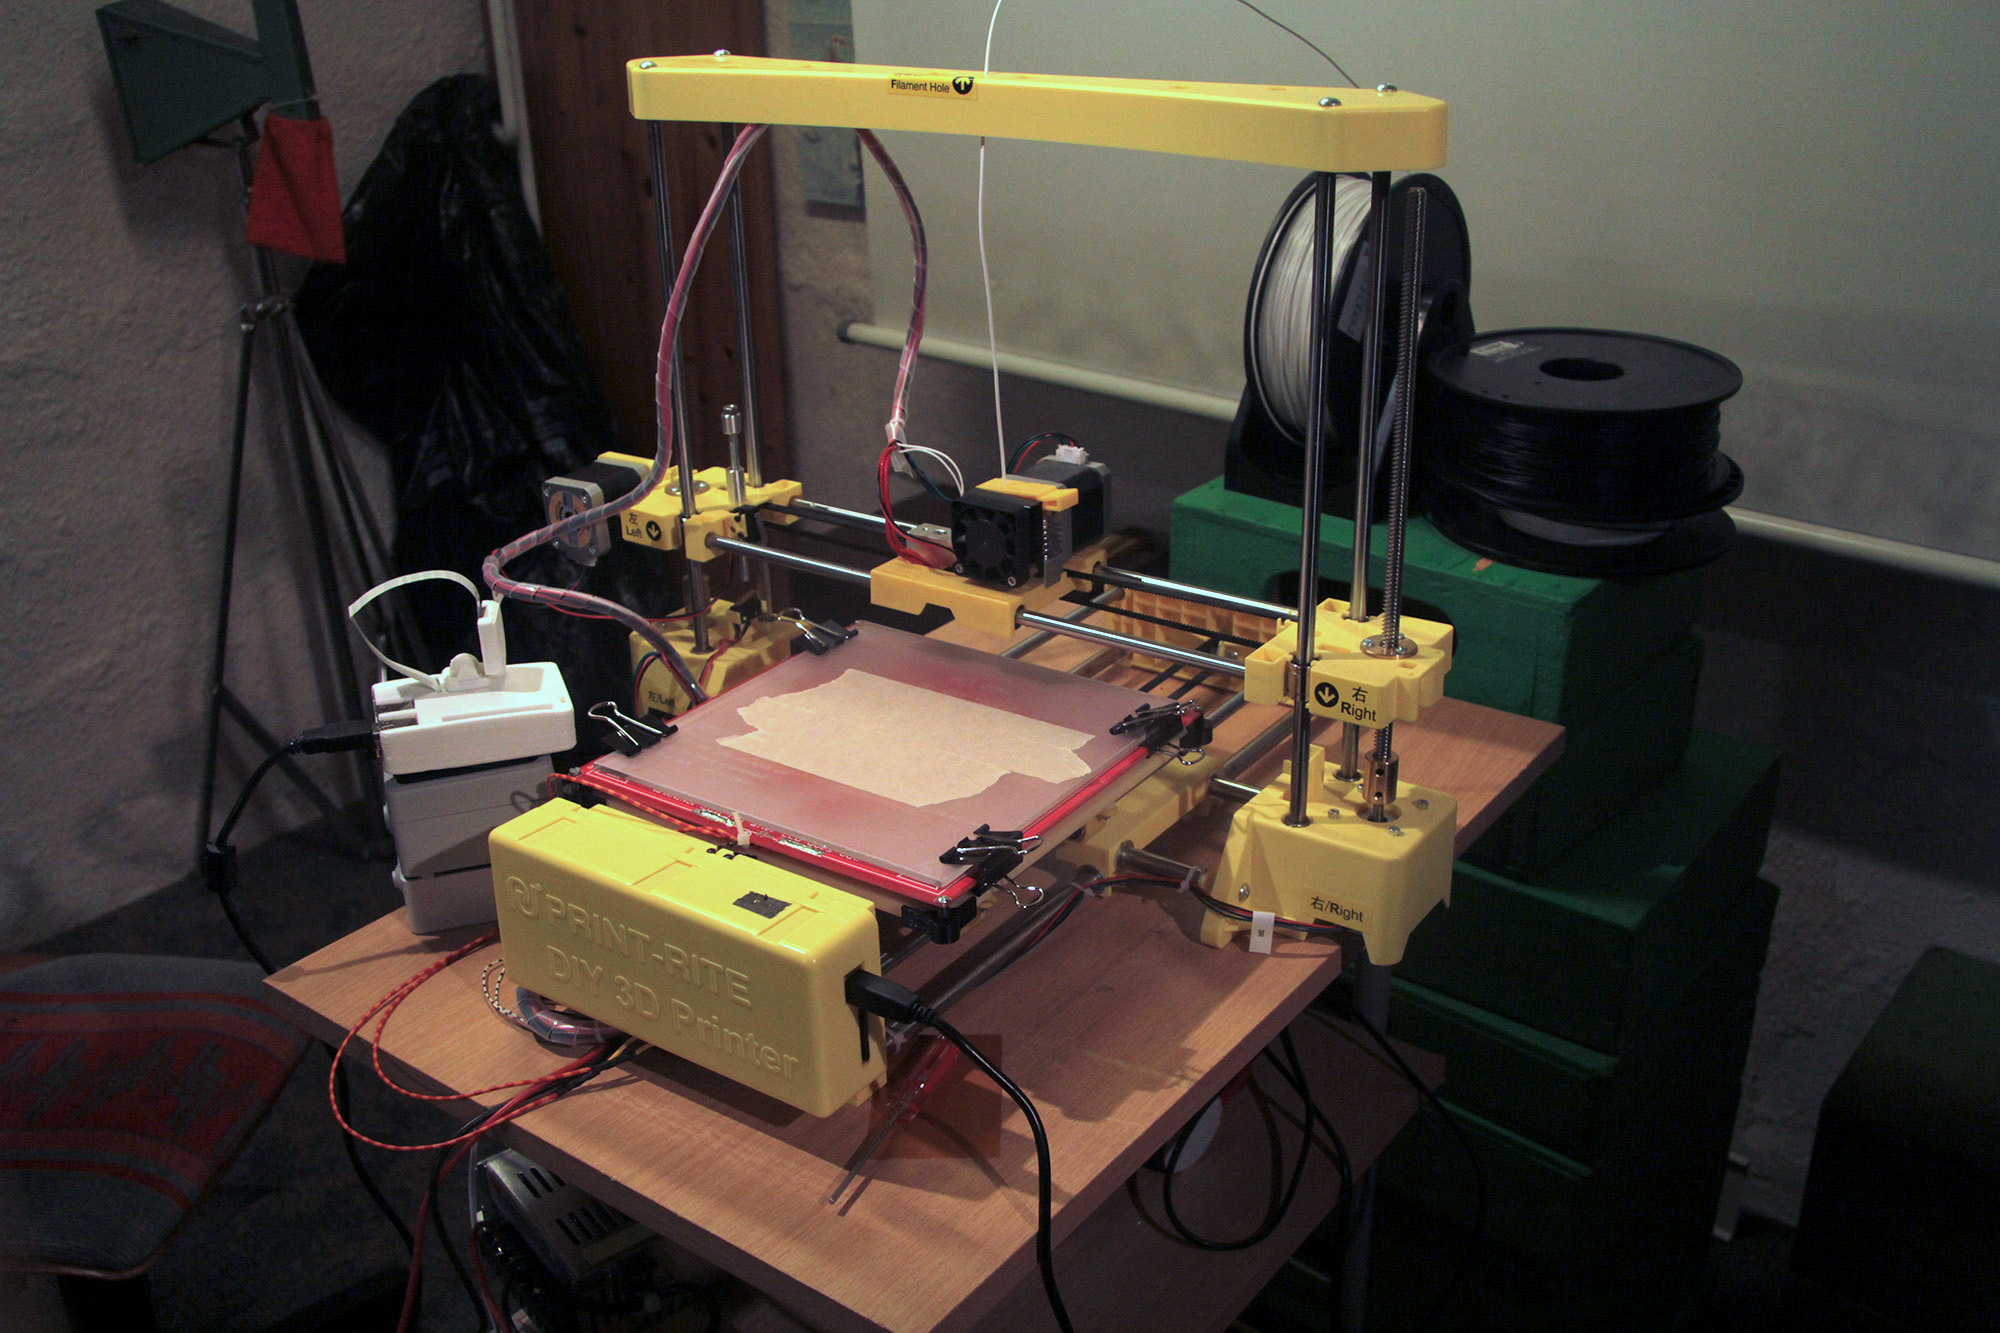
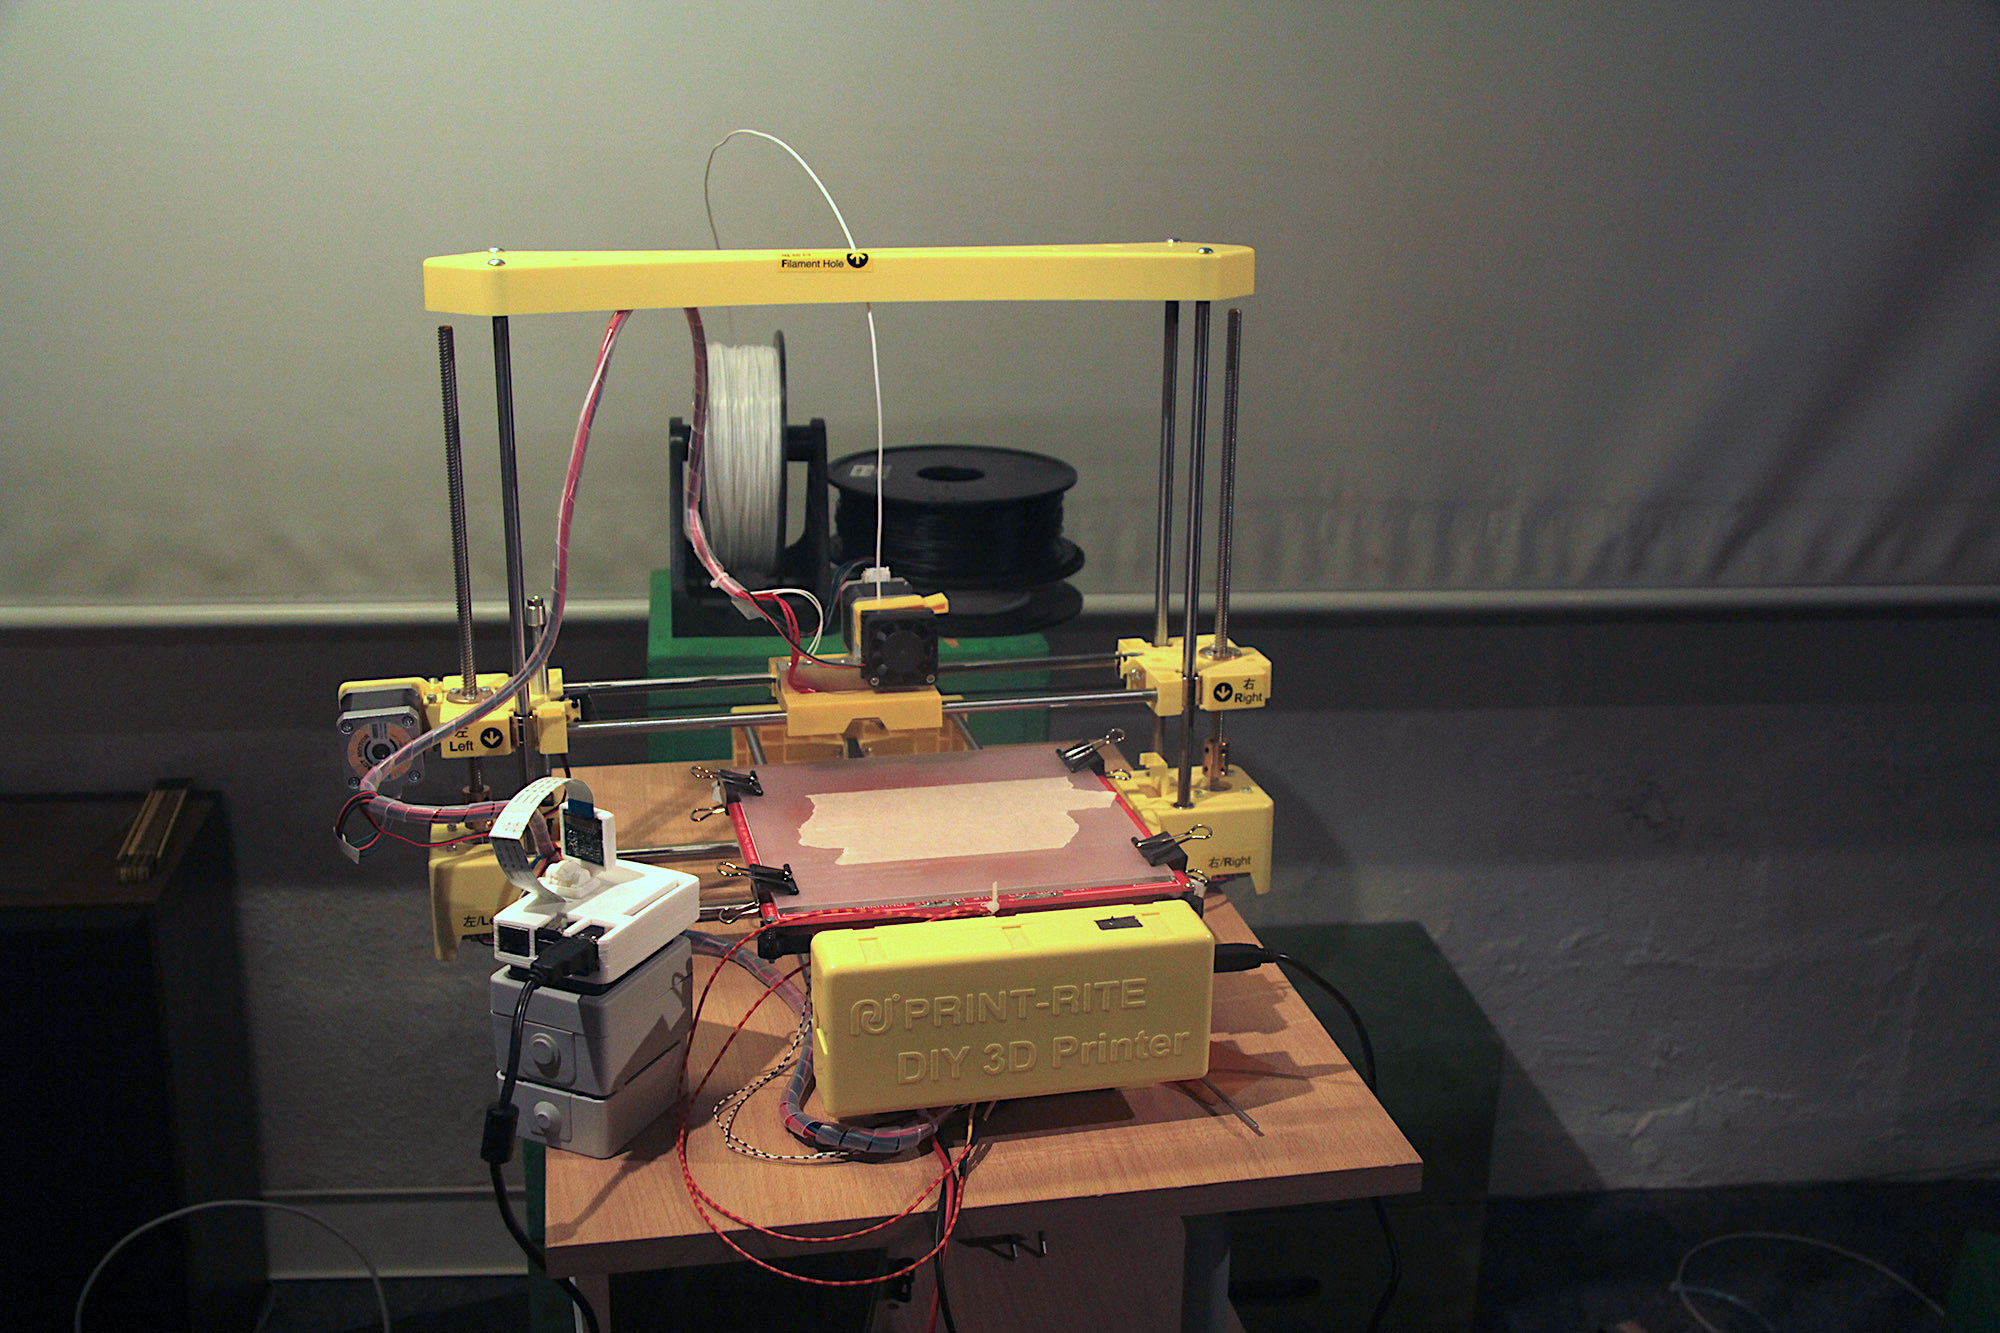
Print Rite DIY – A 3D Printer from Hobbyking
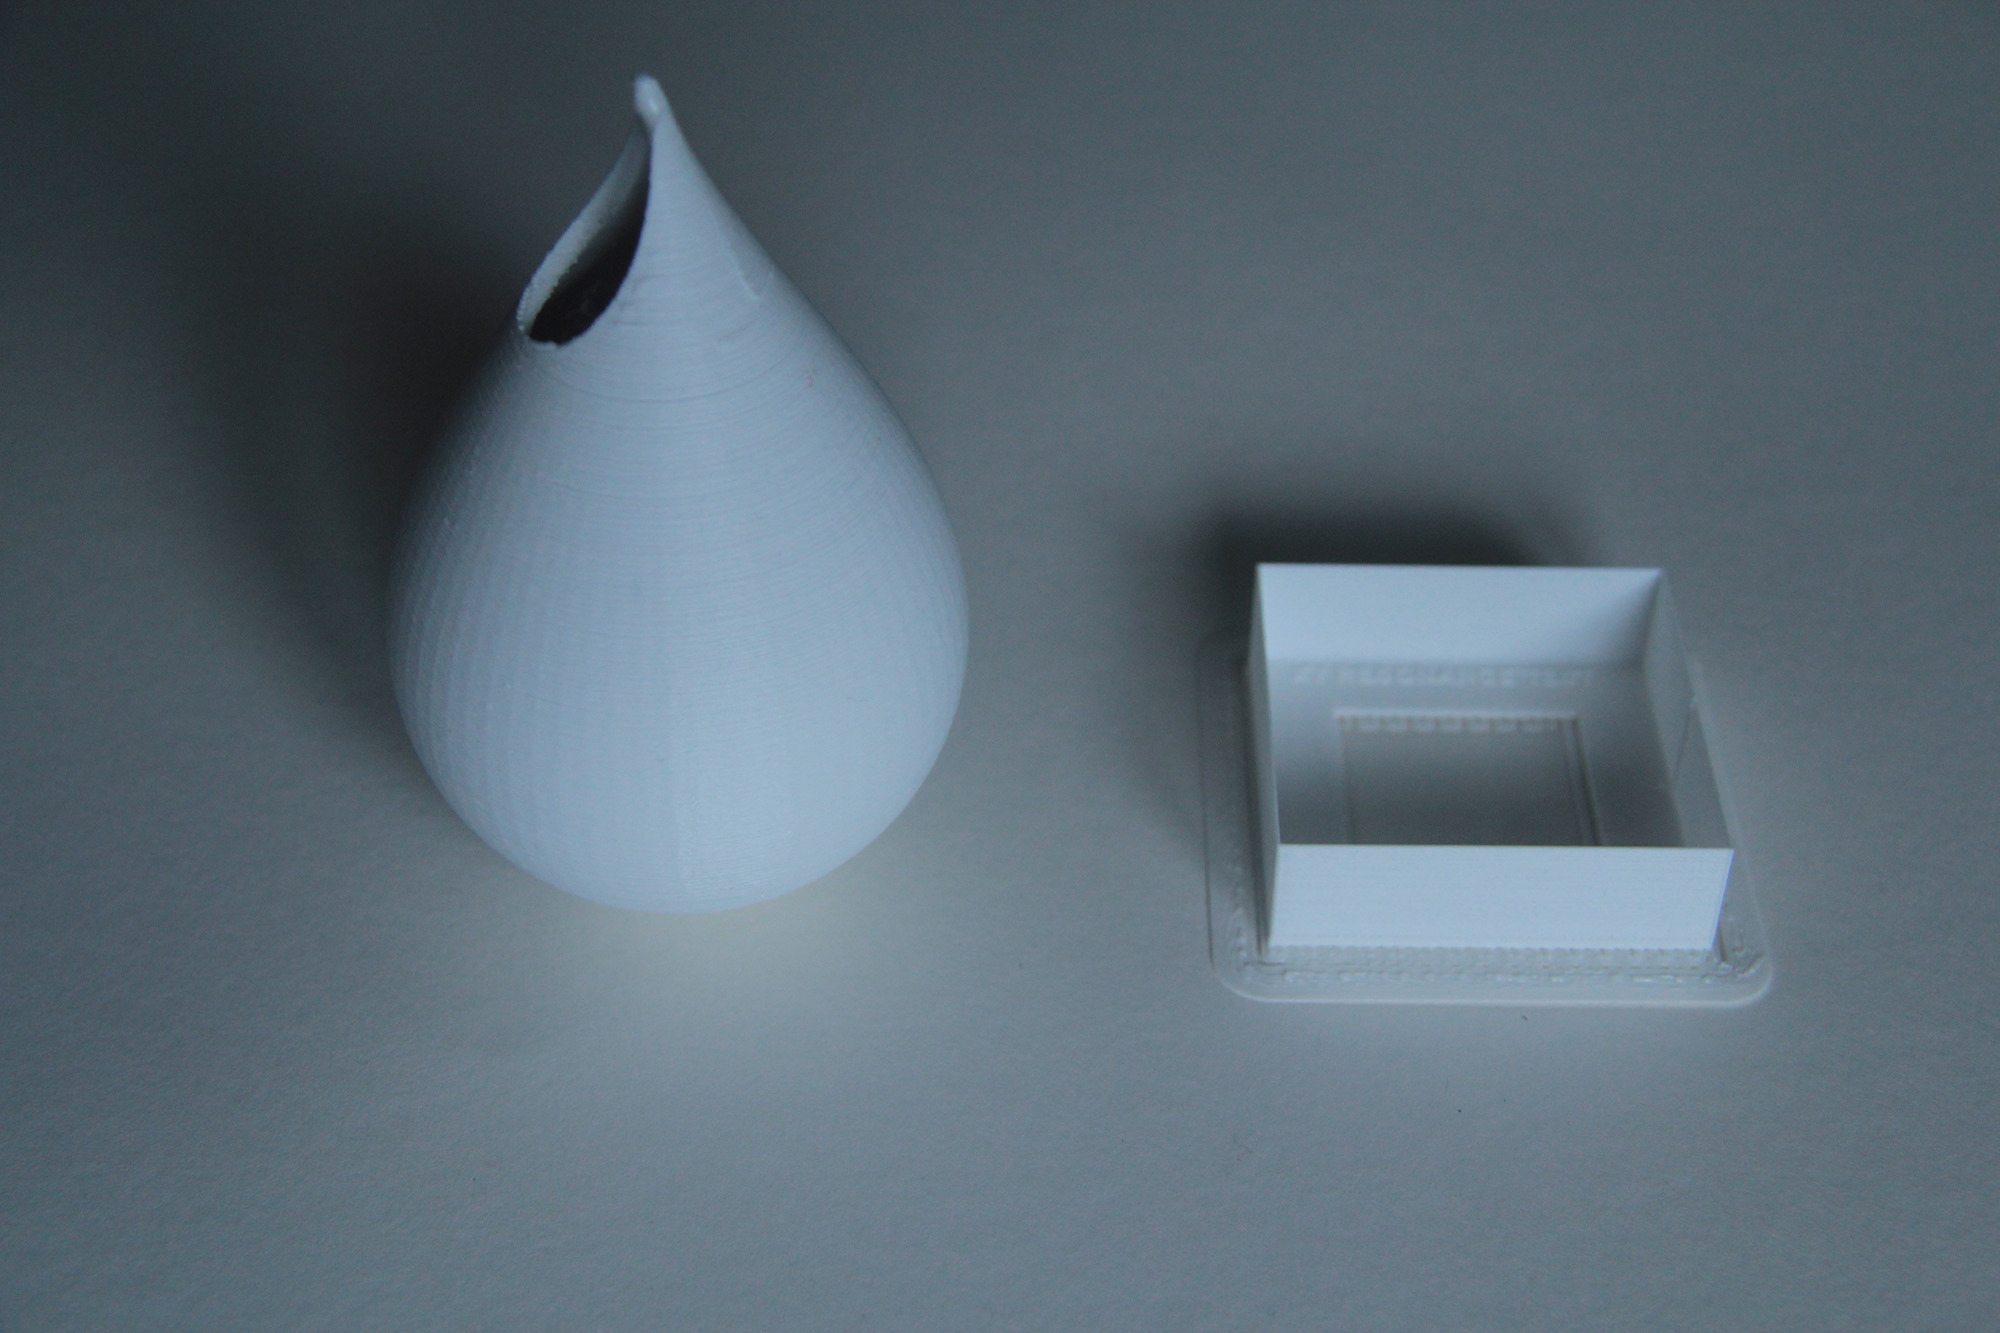
The Print Rite DIY is one of the cheapest 3D Printers currently available. So I couldn’t resist to try it out. Hobbyking started to sell it in July 2015, when I was on vacation in France, and since I was playing with the thought of getting myself a 3D Printer for some time by then, I decided that this would be the perfect starting point to learn what a good 3D Printer takes. The first thing I noticed was, that this printer had no heated print bed built in. But for 325€ (including shipping) you get 20x20x17 cm build area, SD or USB Control, and even “1 kg” of PLA. (unfortunately I didn’t measured the weight, since I think it was way less than 1 kg…) It took me about 30 minutes to get the printer to run. It comes with a USB Drive that even includes a step-by-step video. Although the Mac Version of “Repetier-Host” was not on it, i quickly found it on the web. Also, the printer comes with 2 presliced gcode-files, one rectangular “xy-resonance test”, and a vase kind of thing (with 0.2 layer height, and unfortunately it is not watertight on the bottom =P)
The Slicing Process
The most important thing I learned from this printer is, that in most cases a failed or low quality print has not much to do with the quality of the printer, but with the users settings when slicing an object. I tried Slic3r (built in to repetier host as well) and Ultimaker’s Cura. I got good results from both, but I’m still not finished learning. One thing I found particularly helpful is the “Visual Ultimaker Troubleshooting Guide”
Possible Problems:
Make sure that the Cooling Fan is always on (also on the first layers), since the this printers hot end will clog every time if you extrude without it. Also Make sure you’re not retracting more than 4.5 mm (also causes clogs).
If you ever run into a clog, open the two screws on the fan and remove the motor, then try to pull out as much filament as possible. (keep the hot end heated during the whole process) Unscrew the small white plastic cap and try to push the smallest imbus screwdriver (that came with the printer) trough it. If you need to push something through the nozzle itself, I recommend metal guitar strings.
I’ll update this section as I discover helpful tips…
Heated Bed and glass build platform
Short after I experienced the first “warping” issues on larger prints, I decided to upgrade to a heated printbed. Also, the printer comes with no good way of leveling the bed at first, so I was thinking of a better solution for that as well. I ordered a Prusa Heatbed MK2a and a thermistor at RepRap Austria. Since the heatbed is a bit larger than the original build platform my brother and I designed and printed some parts to fix that (See image). I cut off the original corners of the acrylic plate and screwed on our new corners, then screwed on the MK2a, using springs, to make leveling the bed possible. (Small Tip: The screws that hold the original acrylic plate on the bearings shall not be too tight, since this will cause more friction) Also, the z axis calibration screw is not the best thing. I replaced it with a longer one, and added a lock nut to tighten it down properly after calibration.
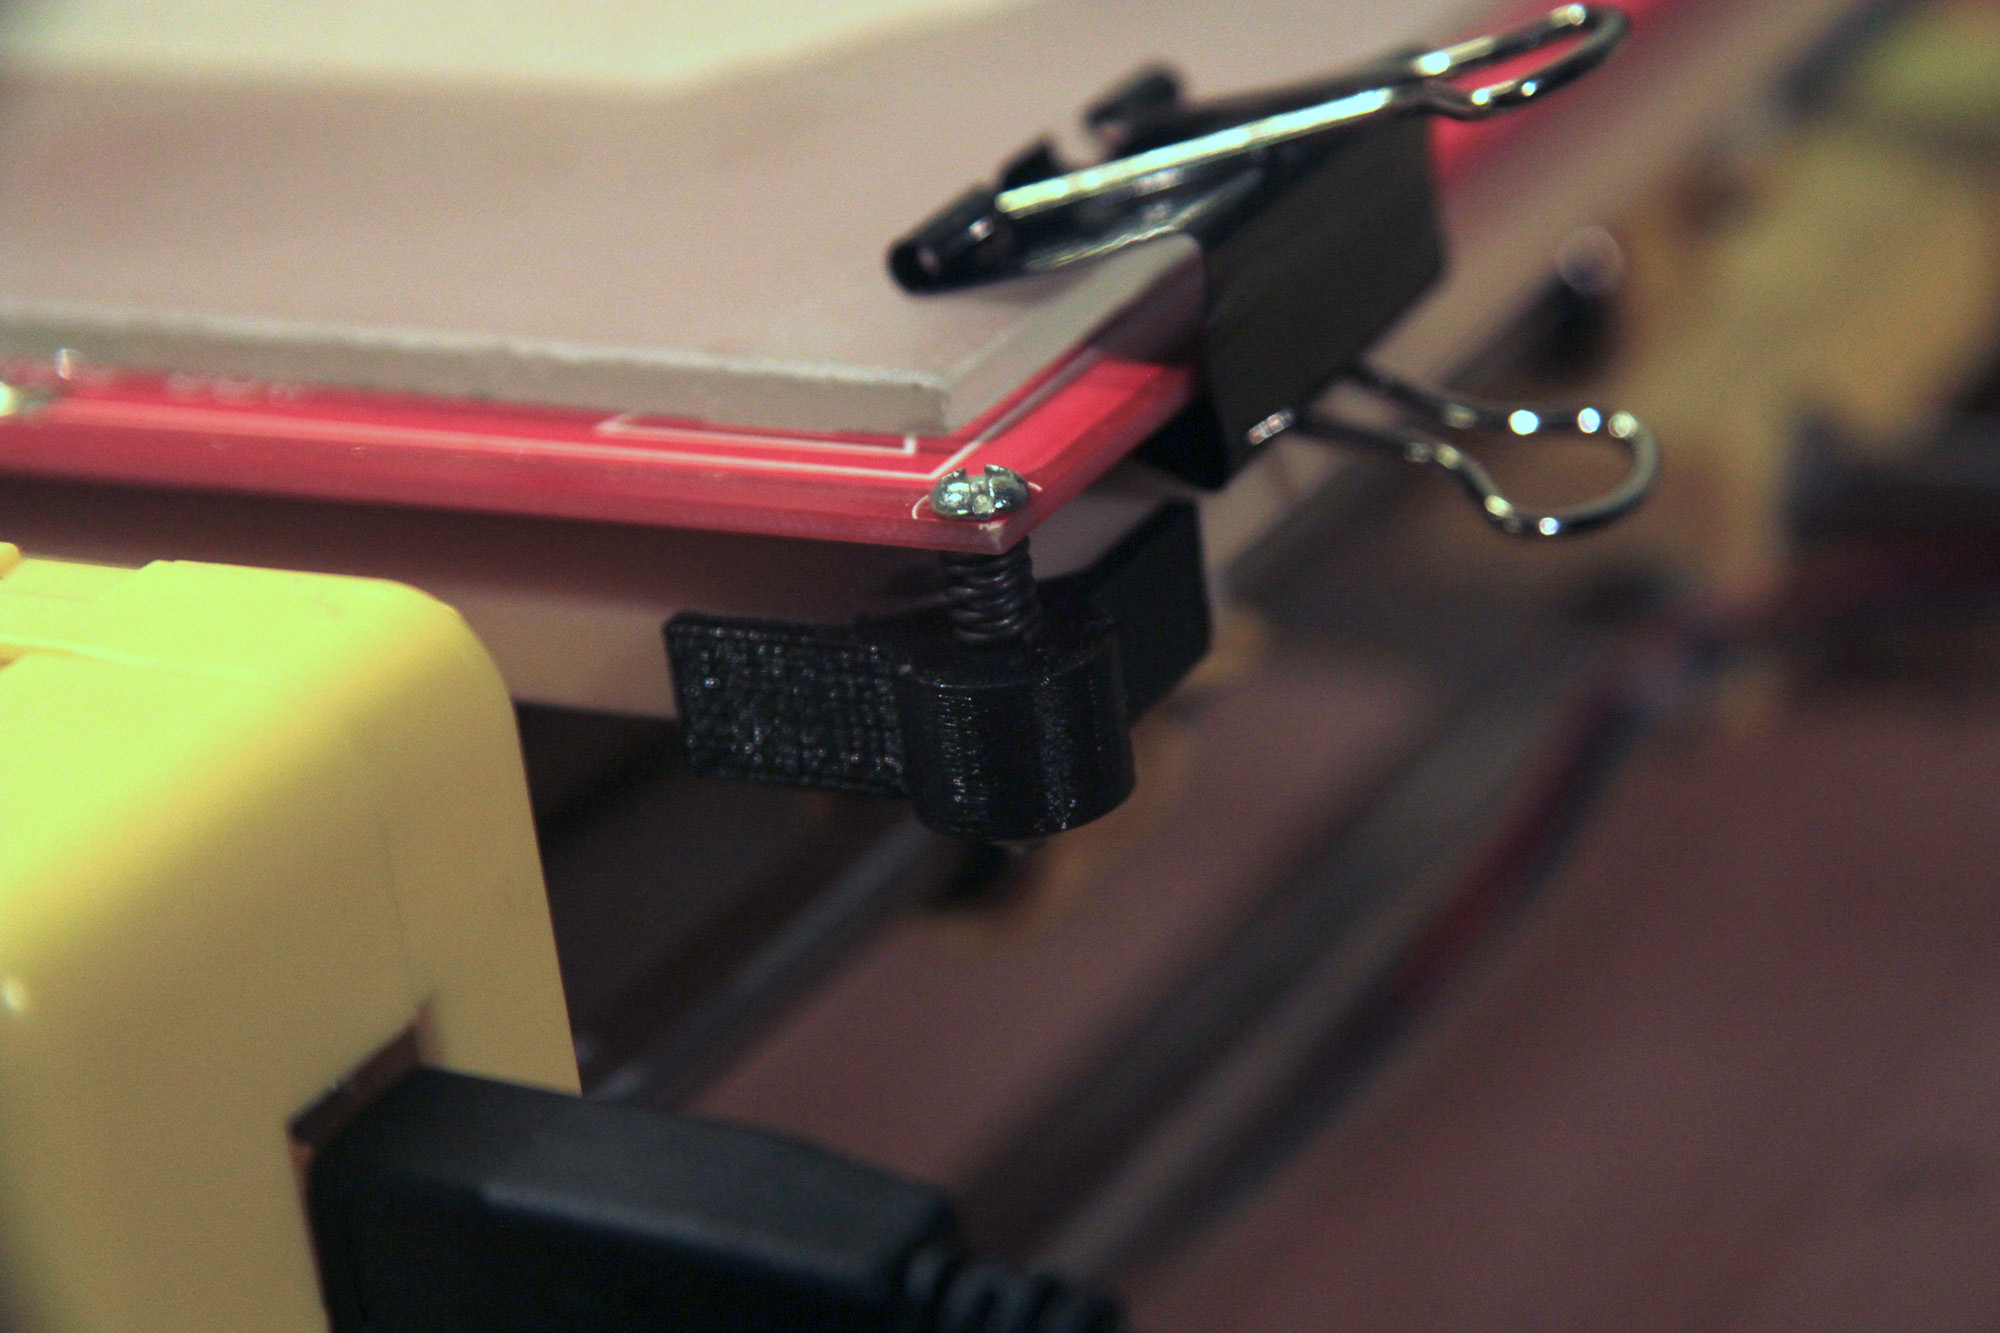

Update:
Here is the print bed’s wiring:
I connected the heater to the two flat connectors (“E BED”) and the thermistor to the one labeled “BEDTEMP”:
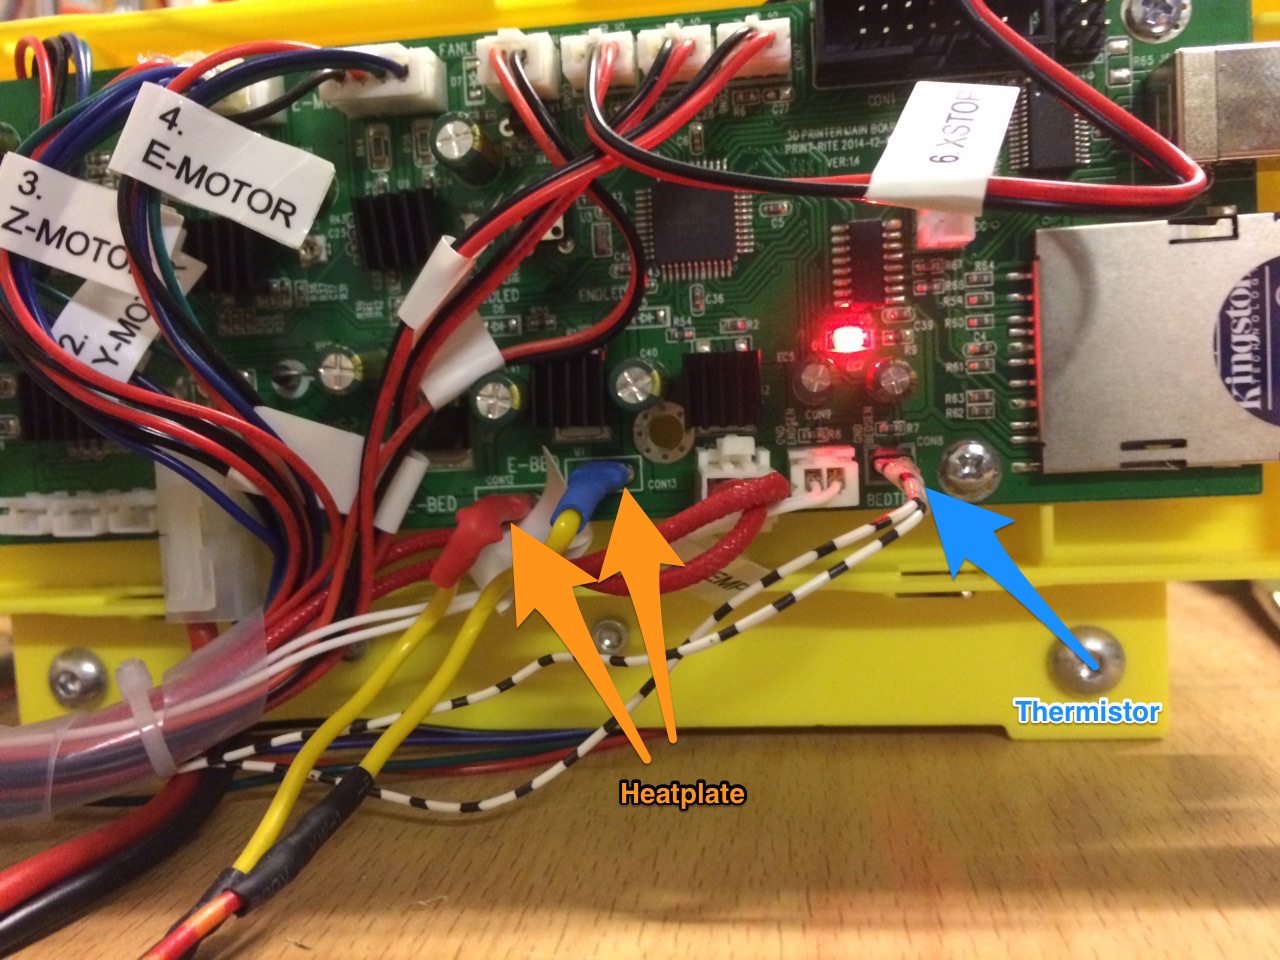
The printers controller board (running Marlin Firmware) comes with the connectors for a heated bed and its thermistor. I wired everything up and gave the printer a larger power supply unit, since the heated bed draws a lot of current. Then I got myself some 20×20 cm glass plates, with and without sanded top. The sanded top surface was my idea to get rid of the painters tape I use to get the first layer to stick, but it didn’t work out the way I hoped… I’ll keep experiment on this…

OctoPrint on a Raspberry for web control and time-lapses
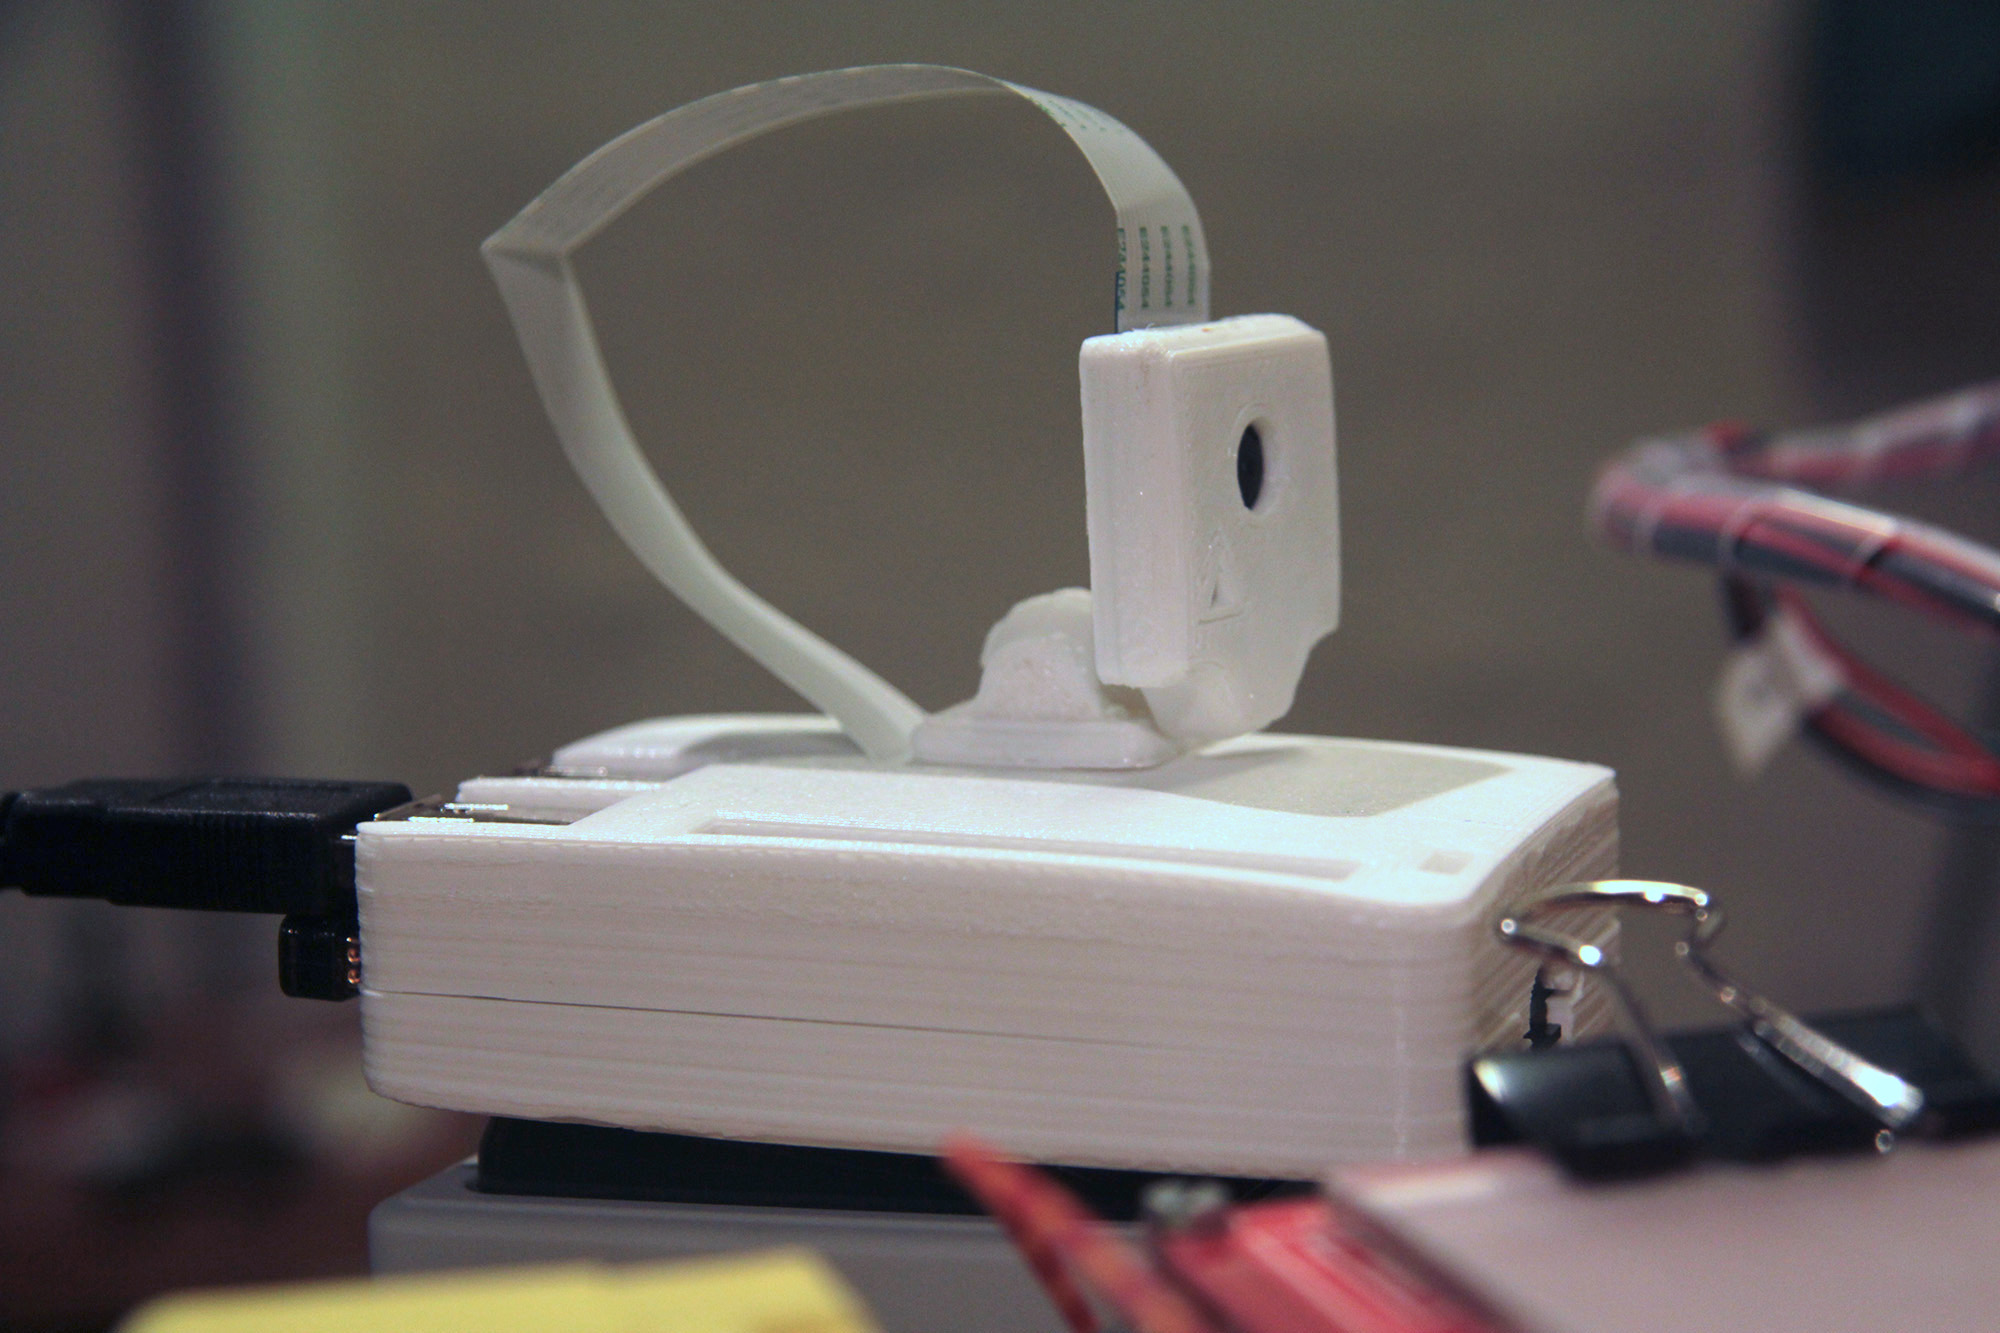
Since I found printing with a computer nearby is rather impractical, and putting the files on the SD card as well, I searched for a better solution and found the OctoPrint project. There is also a precompiled Image for the raspberry pi with raspicam support called OctoPi. So I converted the OctoPi Image to squash-fs and added it to my raspberry pi 2’s berryboot menu. I also printed a case for the pi, with a mount for the raspicam. Here is a small time lapse from the pi:
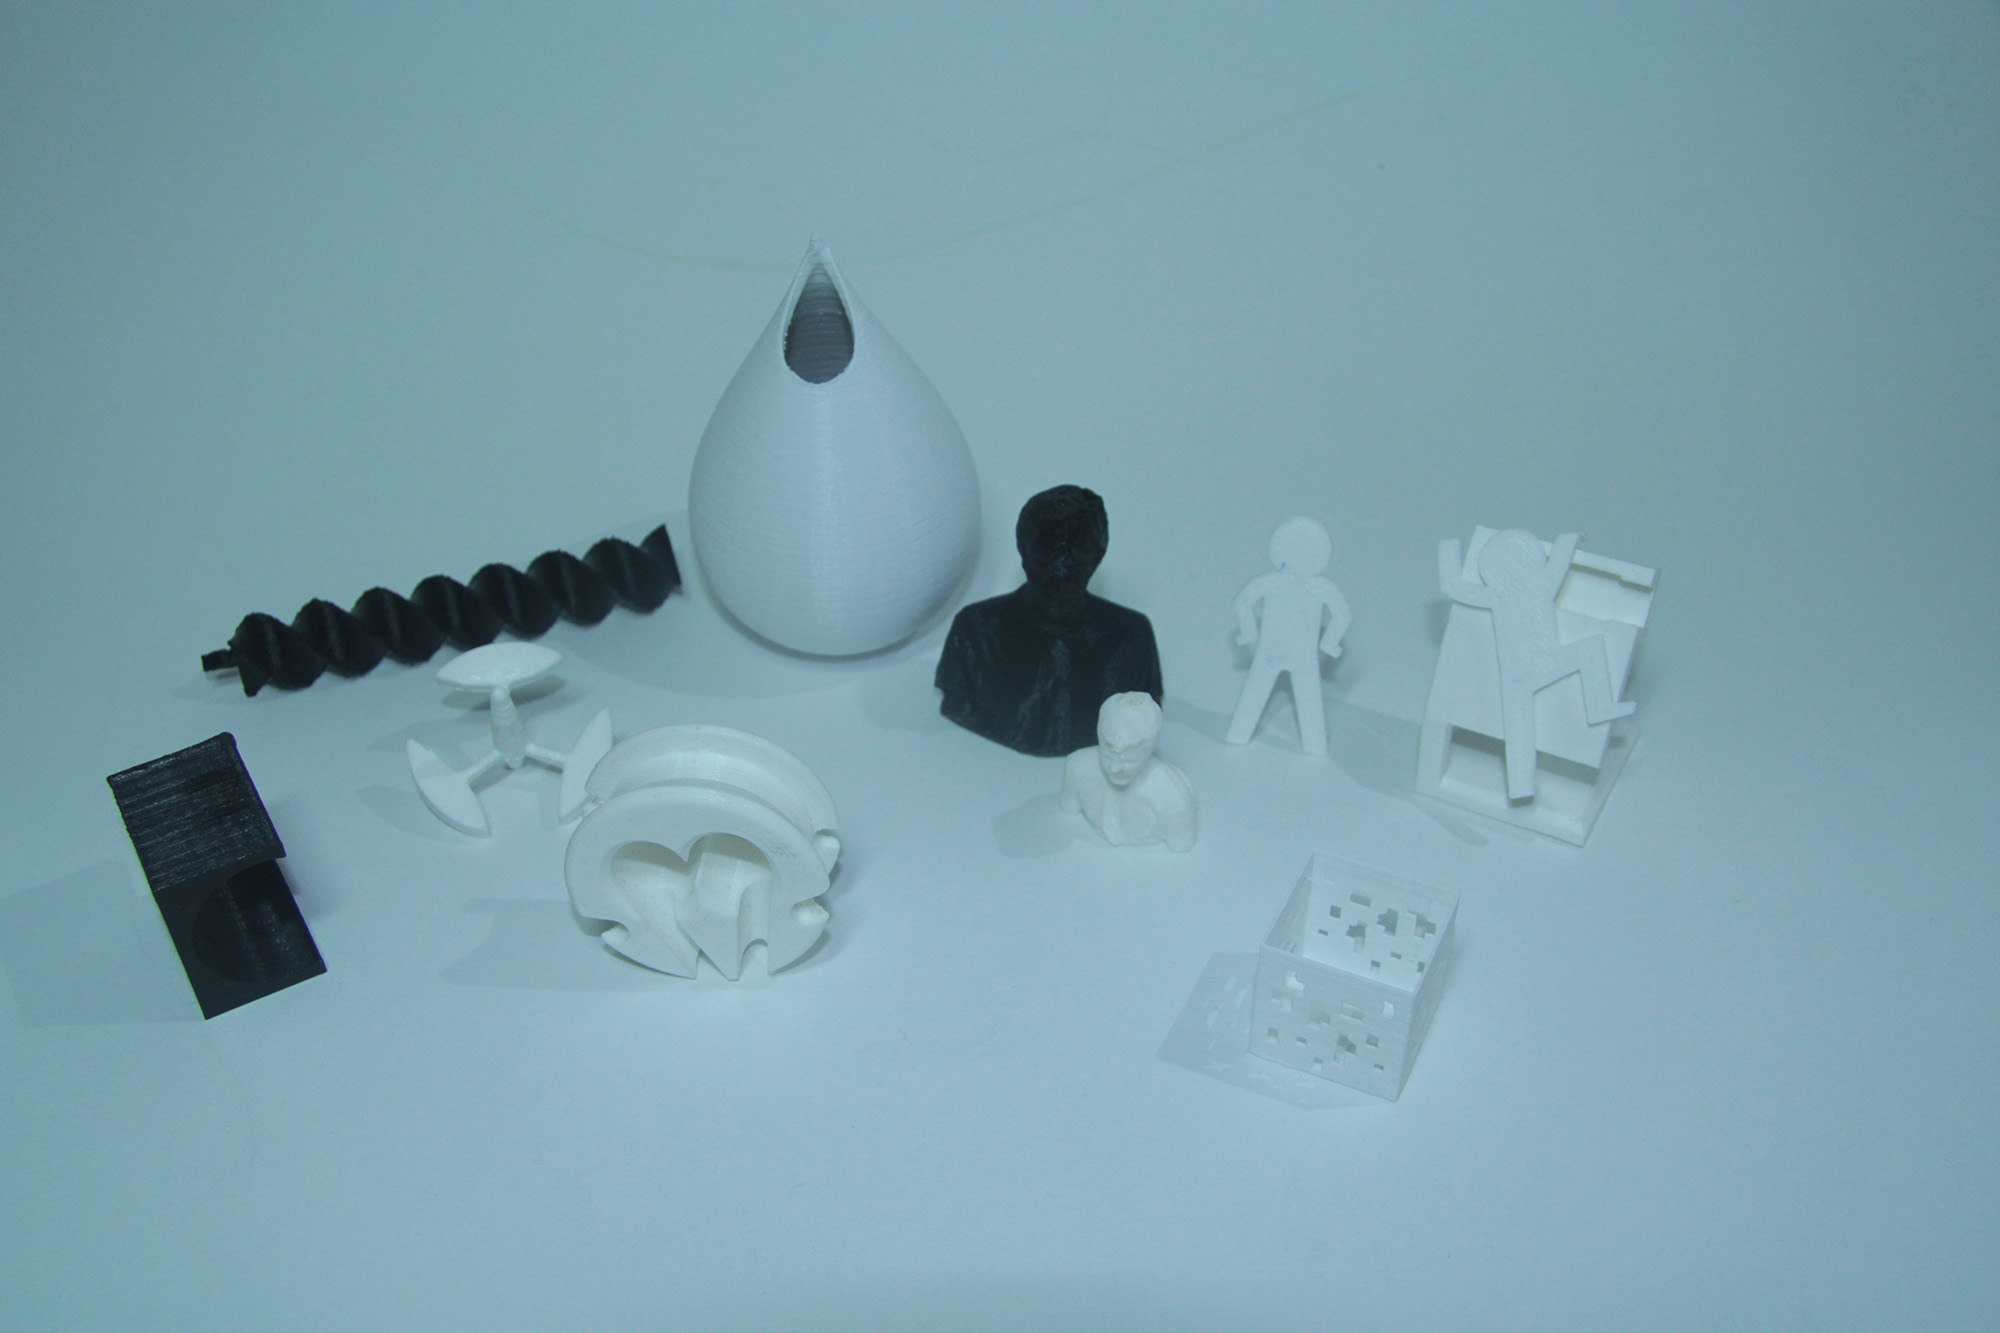
That’s it for now. I am really happy with the printer (especially considering the price I paid). It is definitely not the most reliable printer, or most exact printer, but for learning 3D printing on the cheap it is absolutely perfect. Here are some of the results:
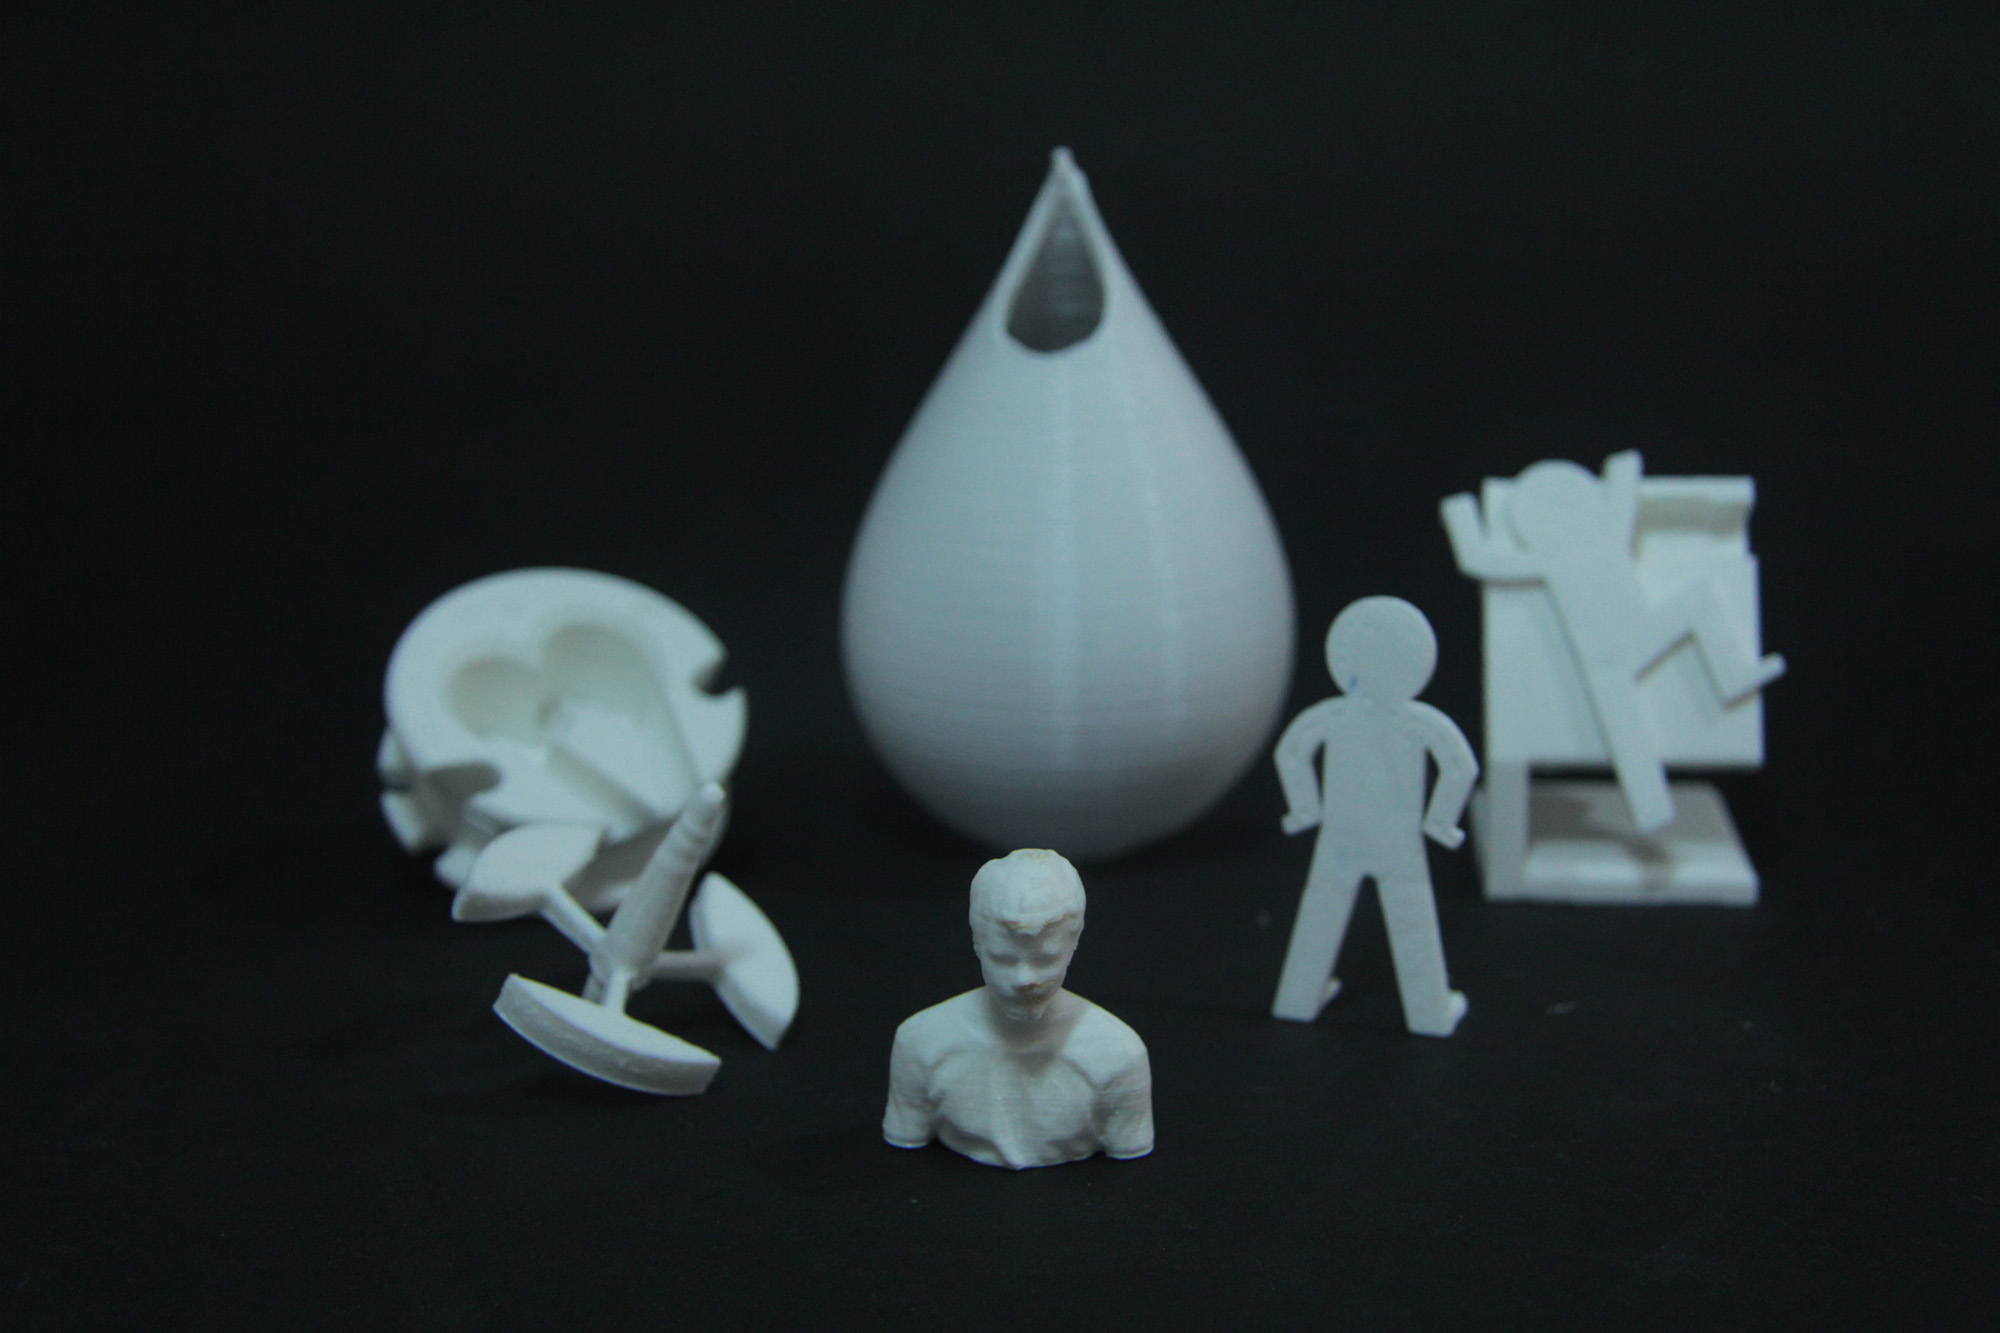

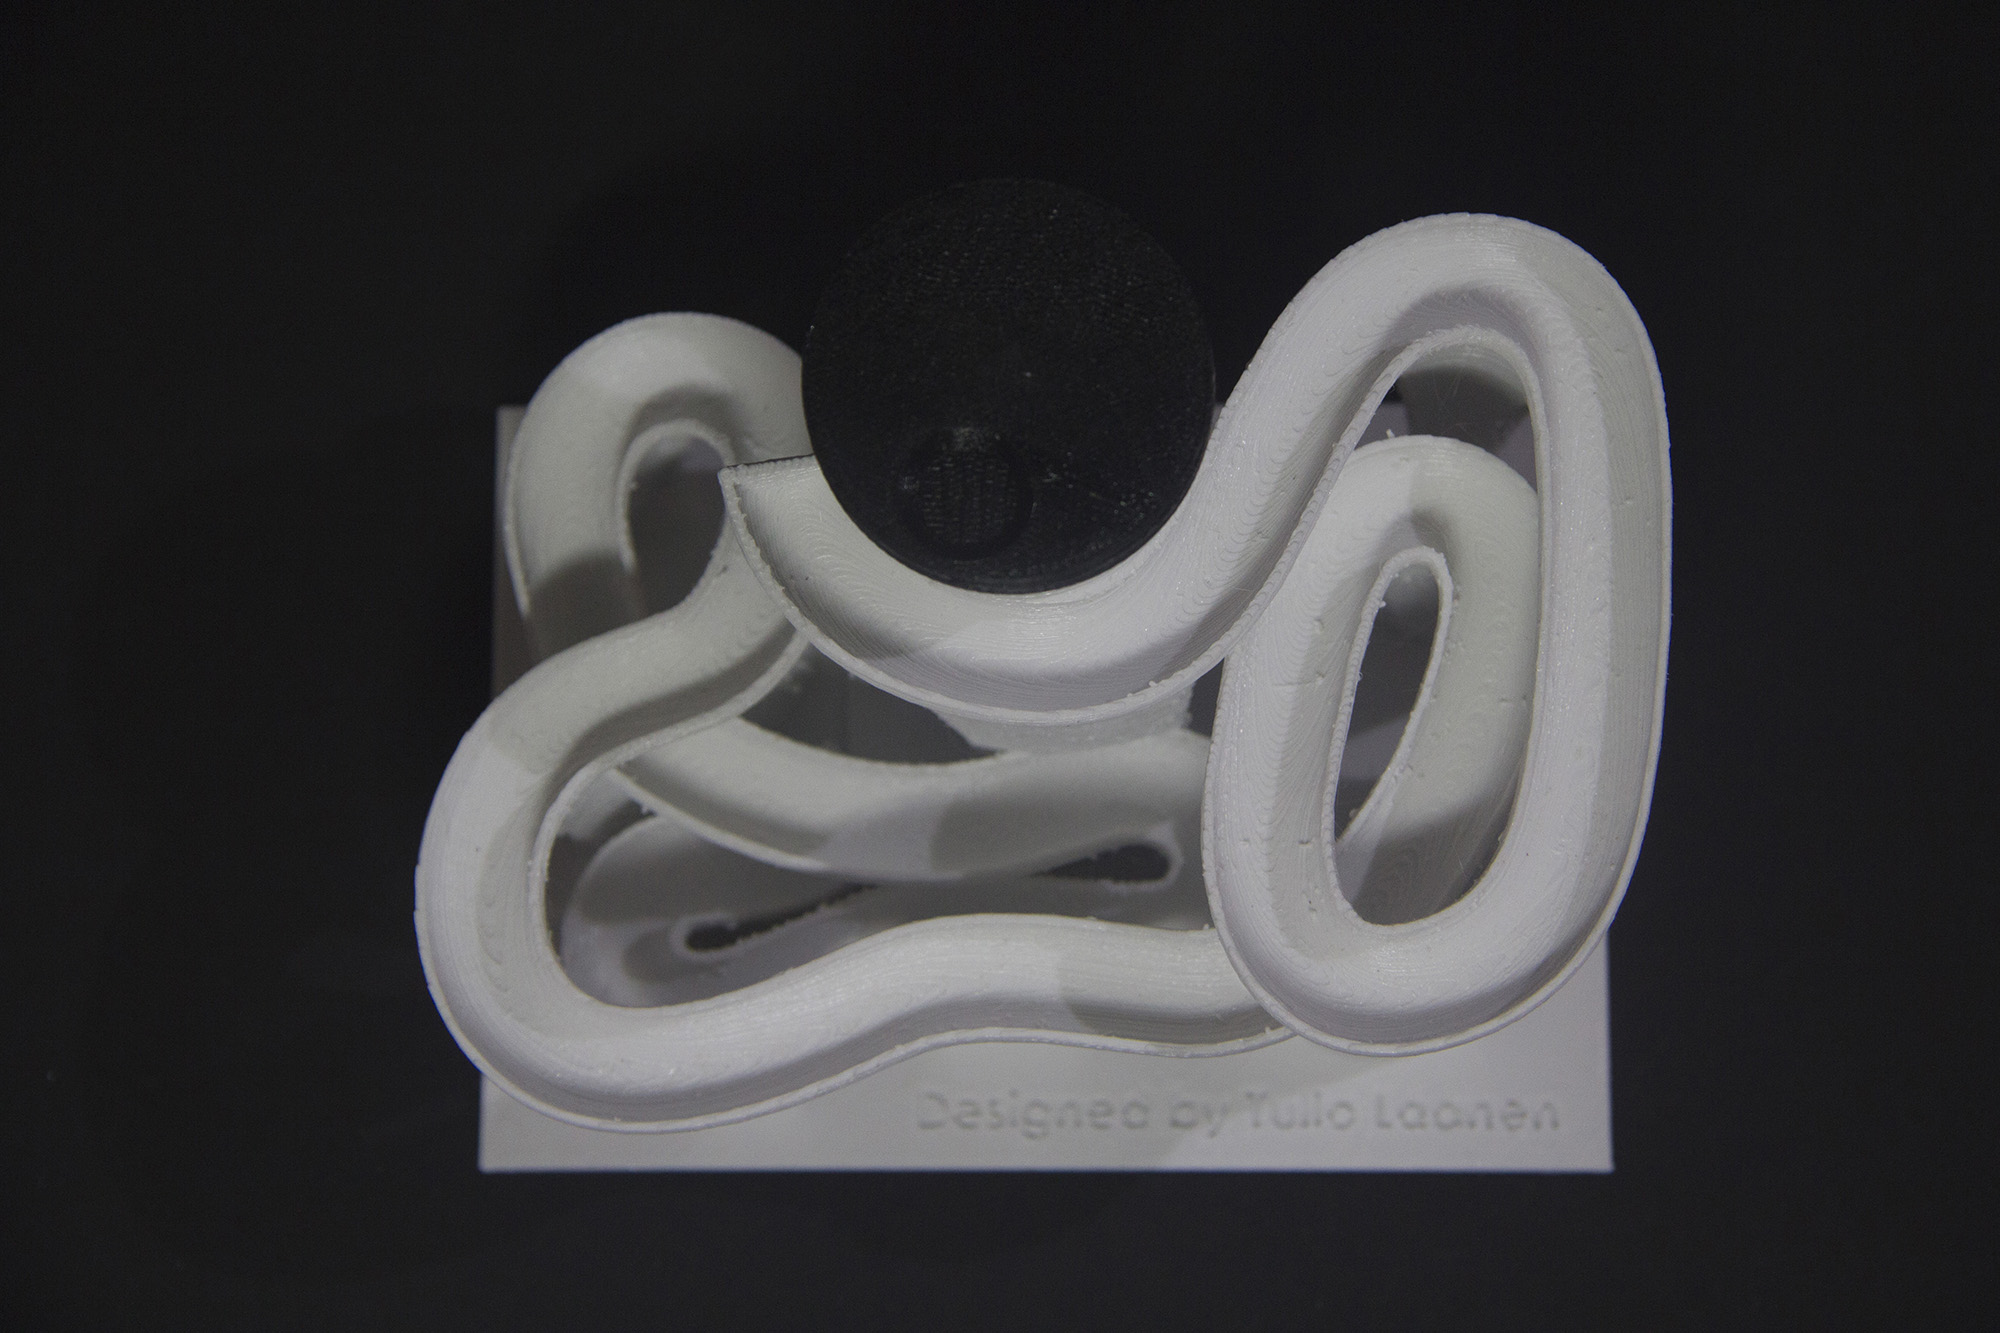
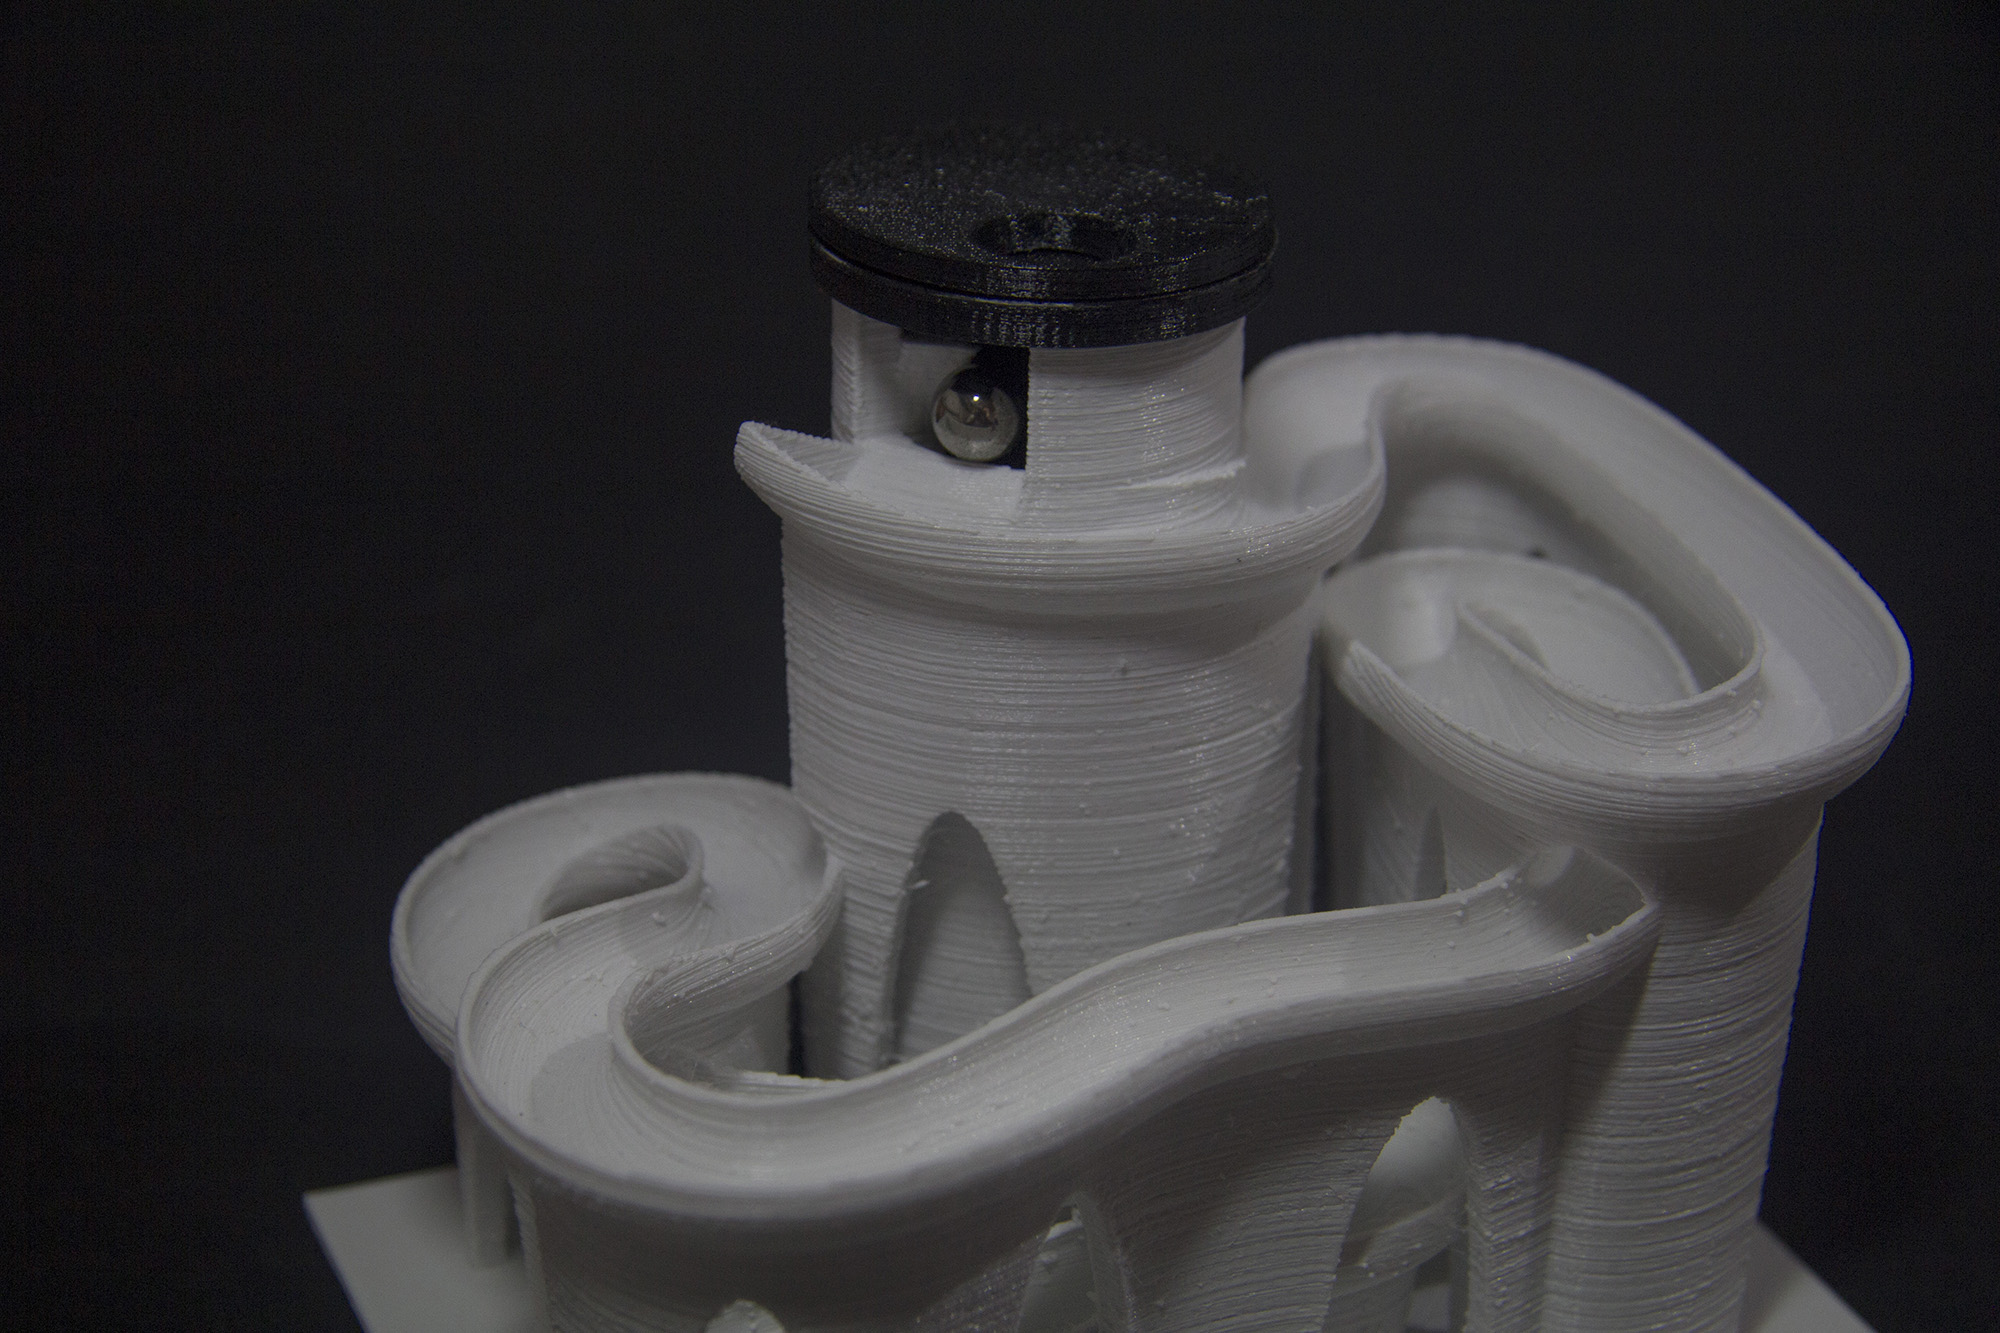
The 3D printed Marble machine
This is Tulio Laaen’s 3D printed marble maschine (v2), Printed in white RepRap filament in 0.2 layer height. It took around 15 hours to print only the track and I used painter’s tape for the adhesion. I printed the spiral and the spinning wheels in black Velleman filament.


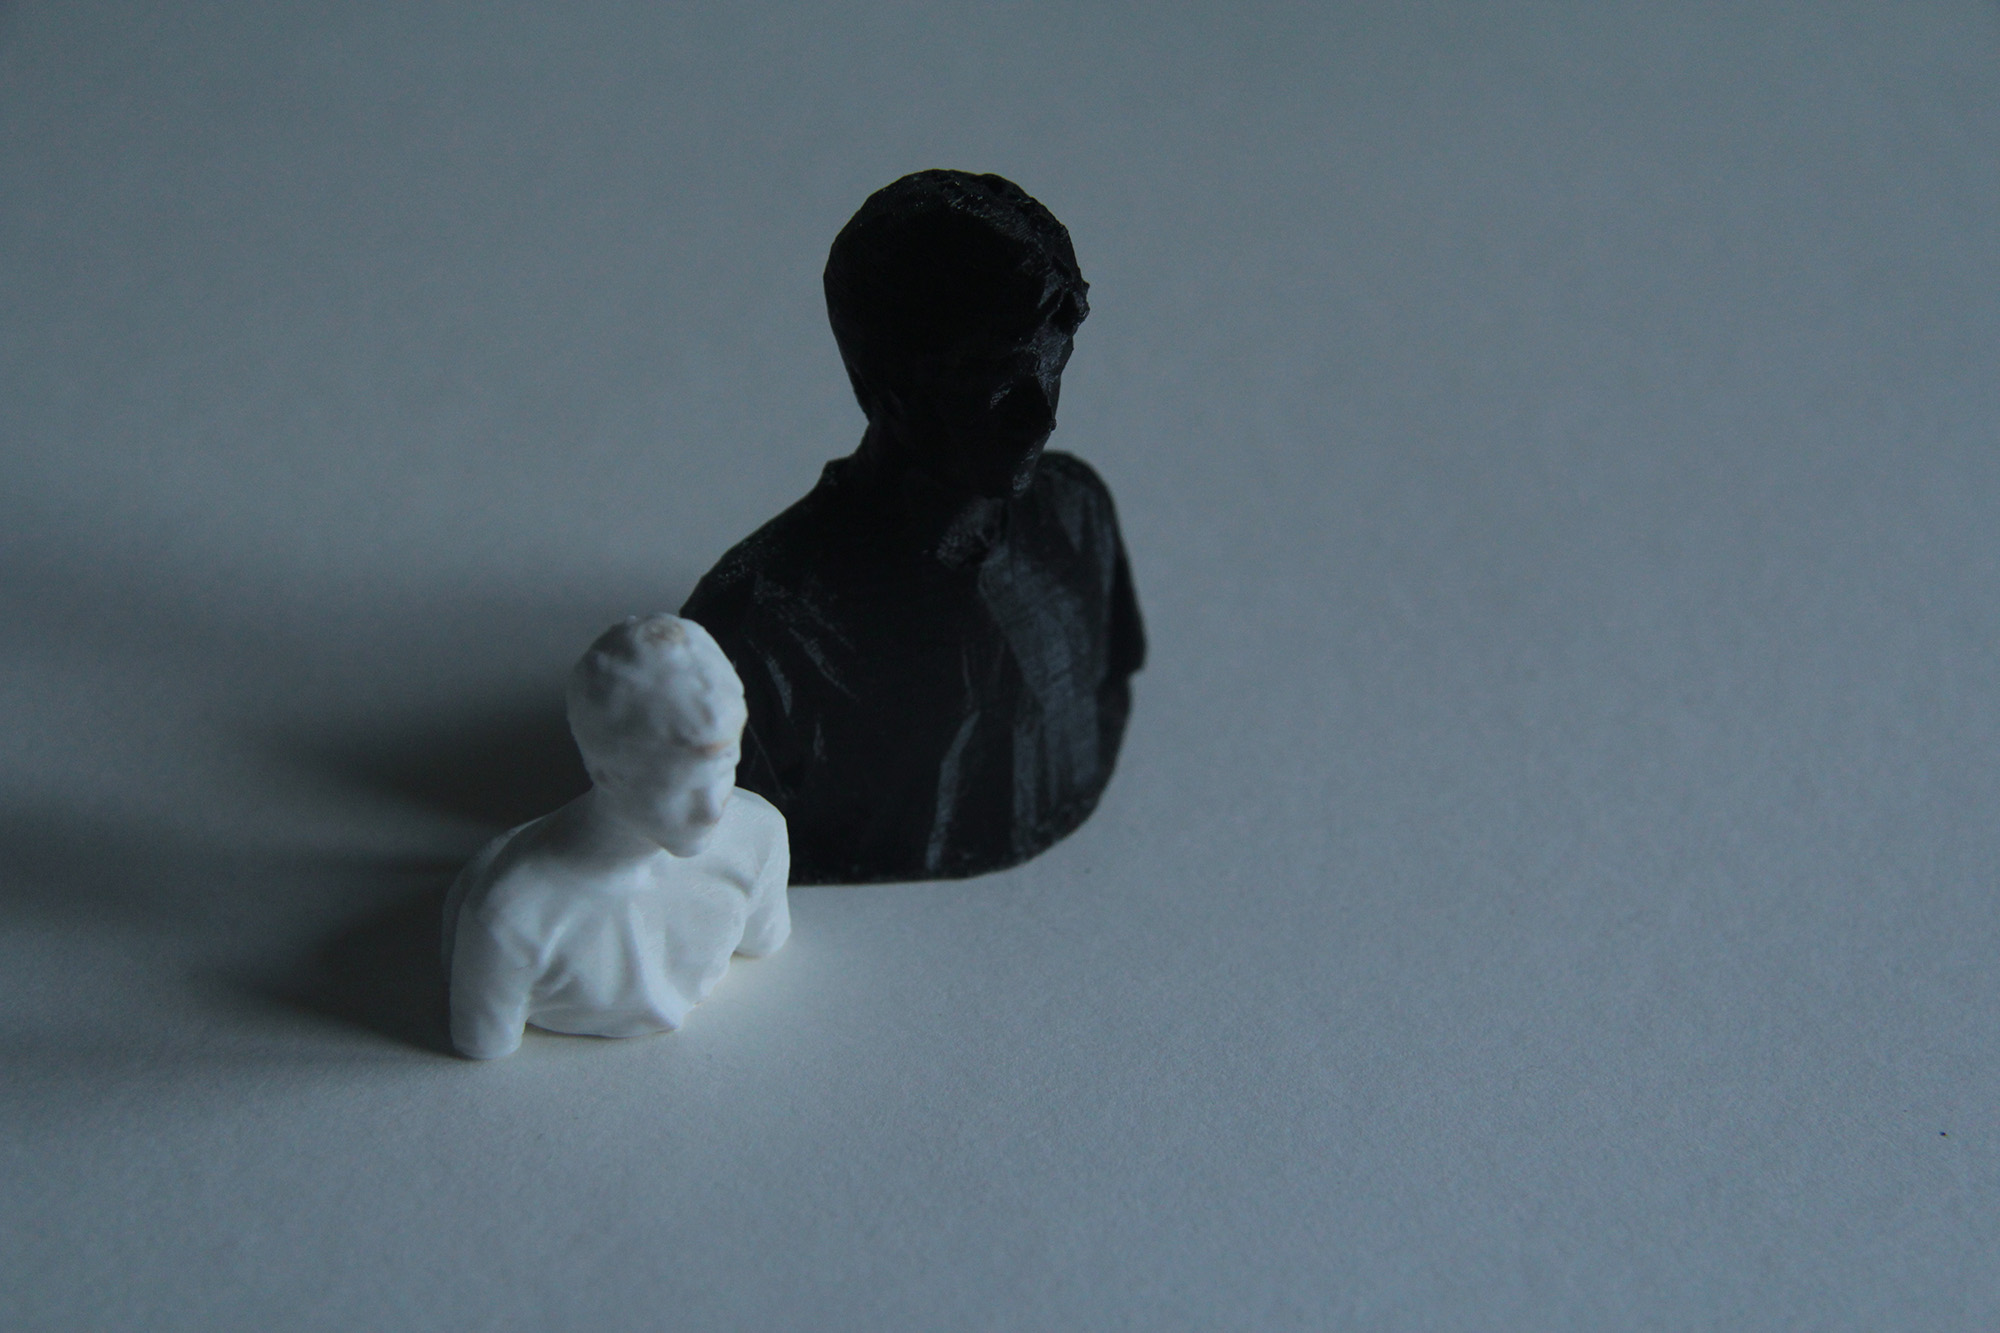
3D scanning with an old Kinect
I’ve got myself an old Xbox Kinect once and used it for 3D scanning before. But now with a 3D printer I finally have toe opportunity to print my scans. I used a software called Skanect . The Process is actually quite easy: you take the Kinect and move it around your object. (Make sure it’s lit properly). After you made sure that the mesh is watertight you can export it as .stl and send it to the printer. Here are some screenshots, and the results can be seen here (and this is only the demo version of the software)
Update 2:
In the meanwhile I got myself a PiTFT Touch Screen and found this project.
I started to rewrite the PHP Scripts (since they are written in a totally chaotic way) and added some buttons to move the print head to certain points to make manual calibration easier.
Also thanks to Joachim Zimmer you can now try to wire a LCD screen and an encoder directly to the printers main board! Check out his post here.