IoT: Home Automation 4.0
If you ever saw my home automation project, there has been a lot of things happening since that. One of the biggest of them is the not-so-new-anymore Internet of things trend.
This post will mainly describe what I think are some of the best things to use to date to create a very fun and usable home automation system, so here we go:
The Heart
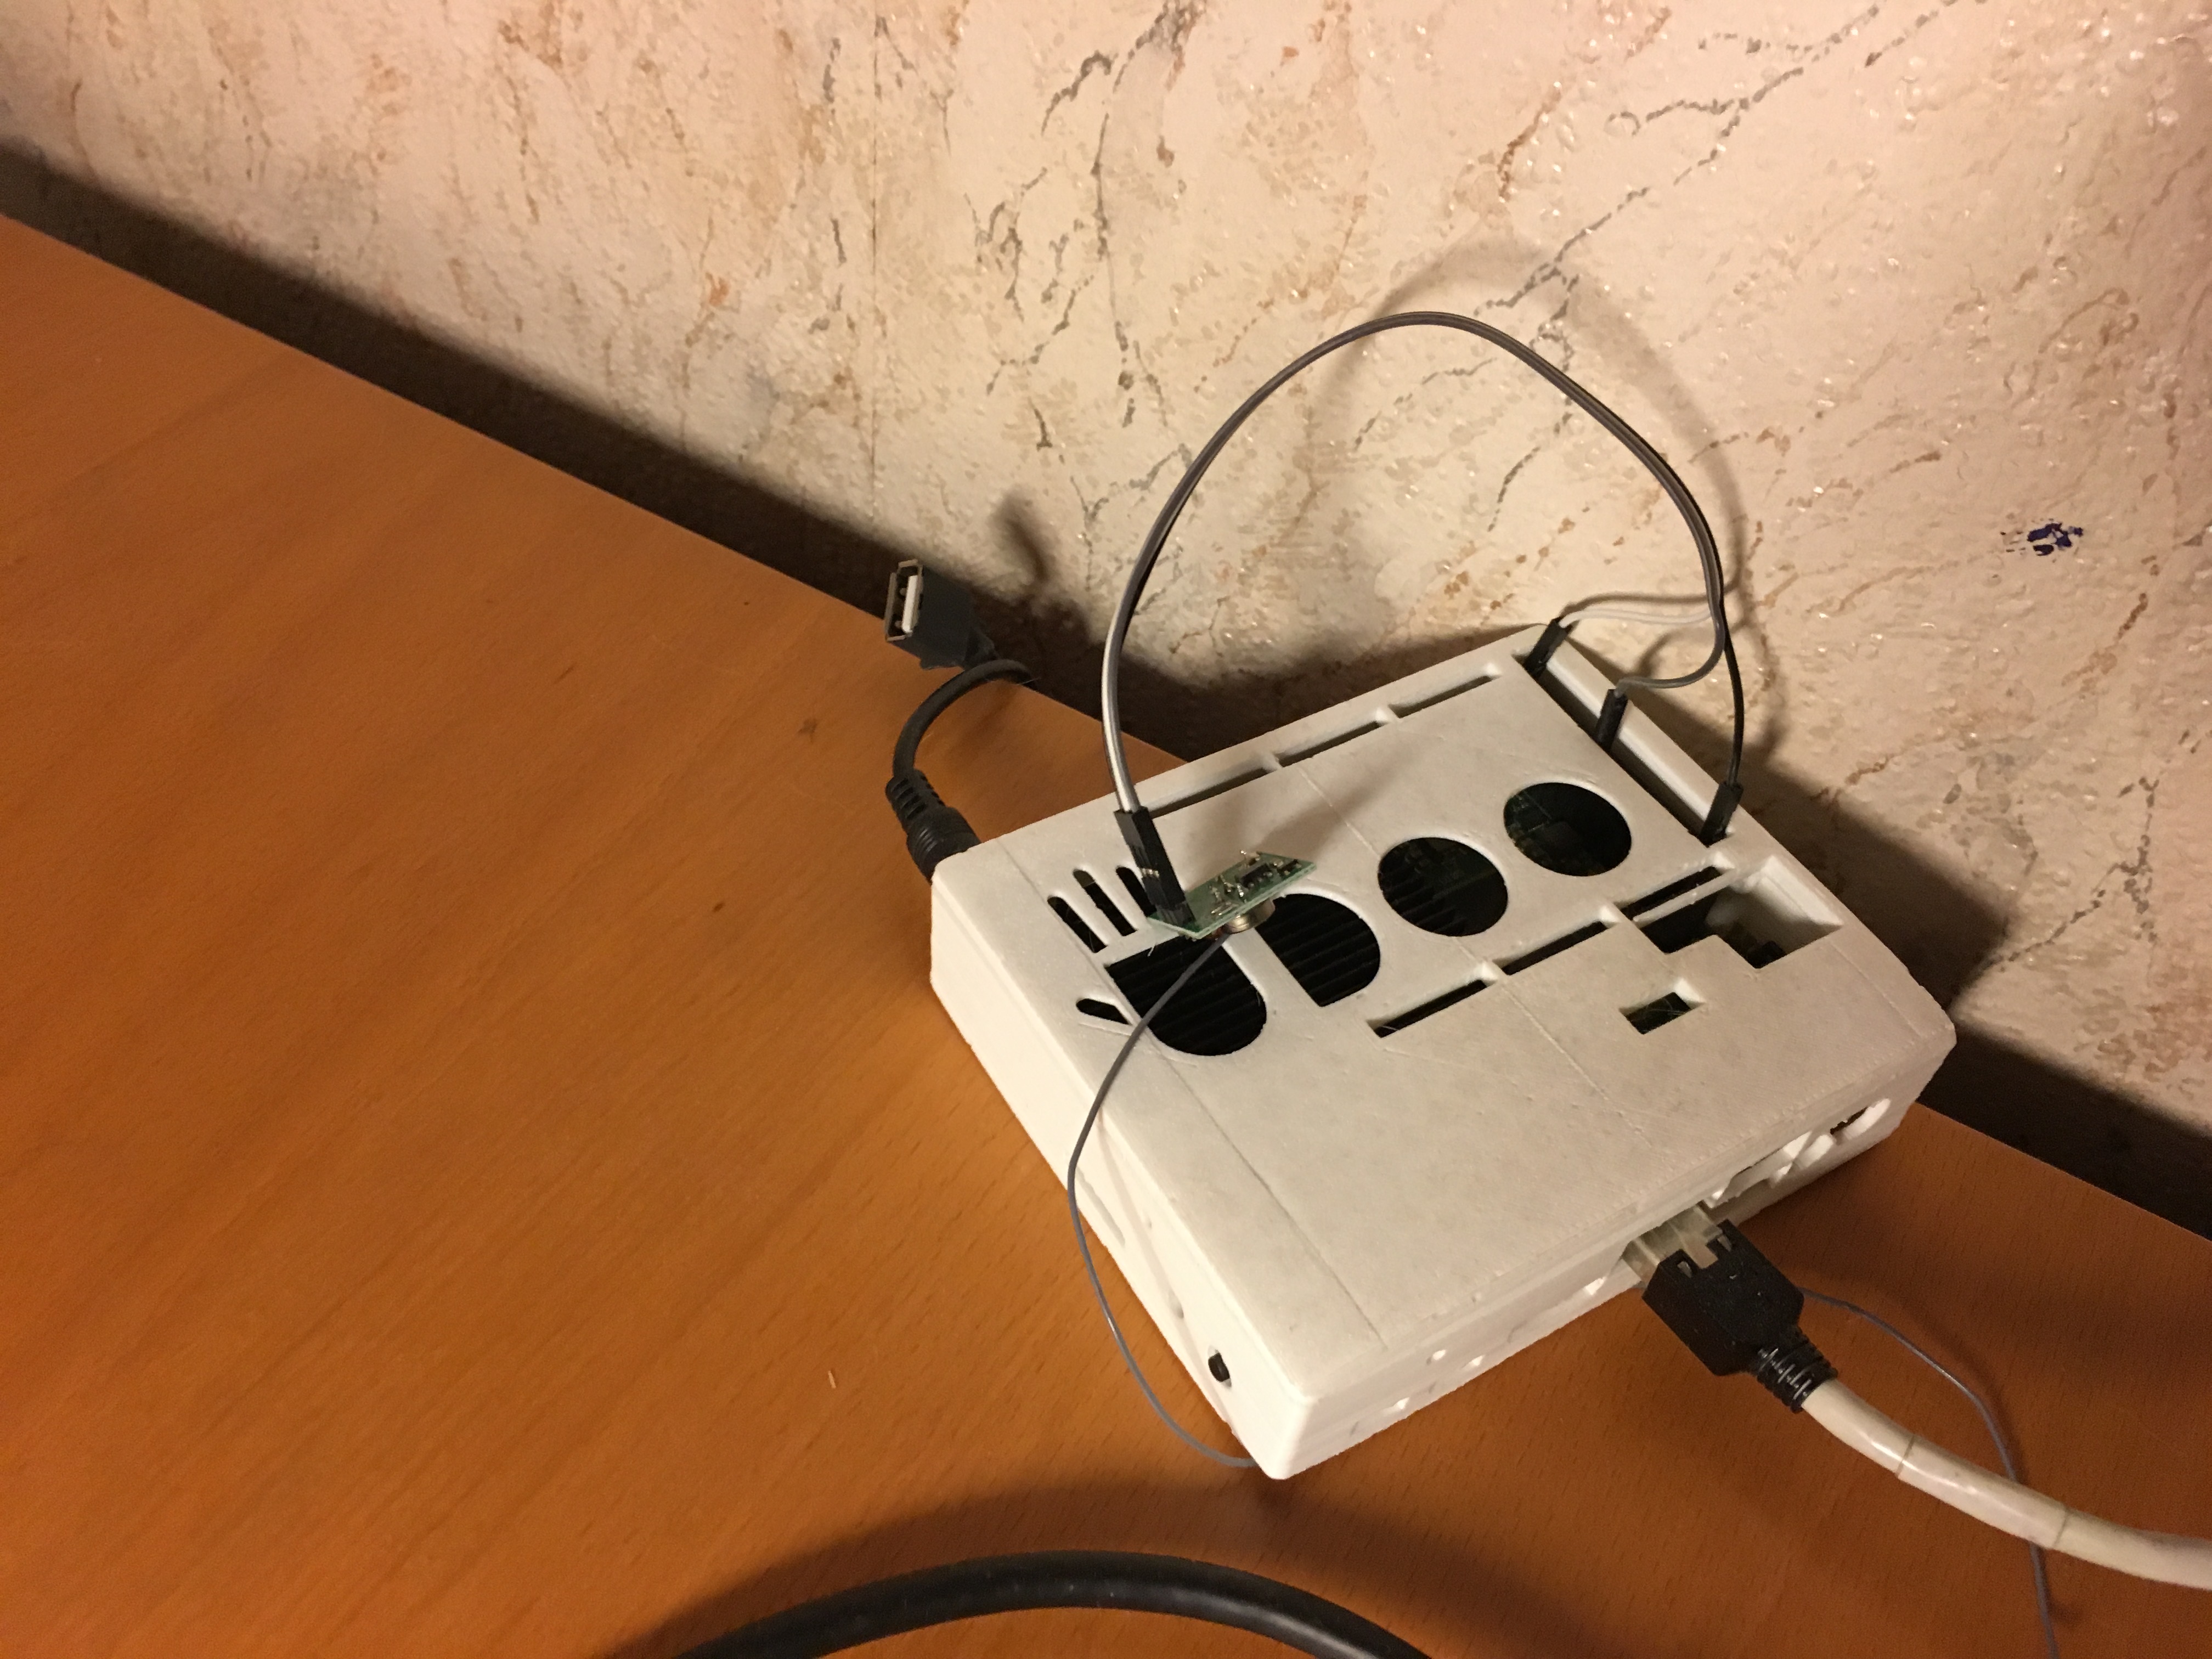
As the core of the system I am using an UDOO Board running nodered. There is no particular reason for my choice of the Udoo, I just had it lying around and it was searching for a purpose. A RaspberryPi 3 would do a great job as well.
The more interesting thing here is node-red . It is a by now pretty famous open source project by IBM. You can check out their code on github and even join their development Slack team. Nodered calls itself the “wiring tool for the internet of things”. And that is actually straight to the point the right title. Written entirely in nodejs it is a system of easy to extend nodes that can be connected and can do anything from sending MQTT to using Apples Homekit, but more on that later.
The Blood
The blood in the venes of my system is MQTT, a protocol originally developed for satellite telemetry and now a mayor trend in low power connected computing. This comes from the argument that HTTP used a lot of unnecessary protocol overhead for these kinds of applications. MQTT uses a centralized architecture. This means that their needs to be a so called broker server in the middle. The most popular implementation of this is Eclipses Mosquitto.
The Senses
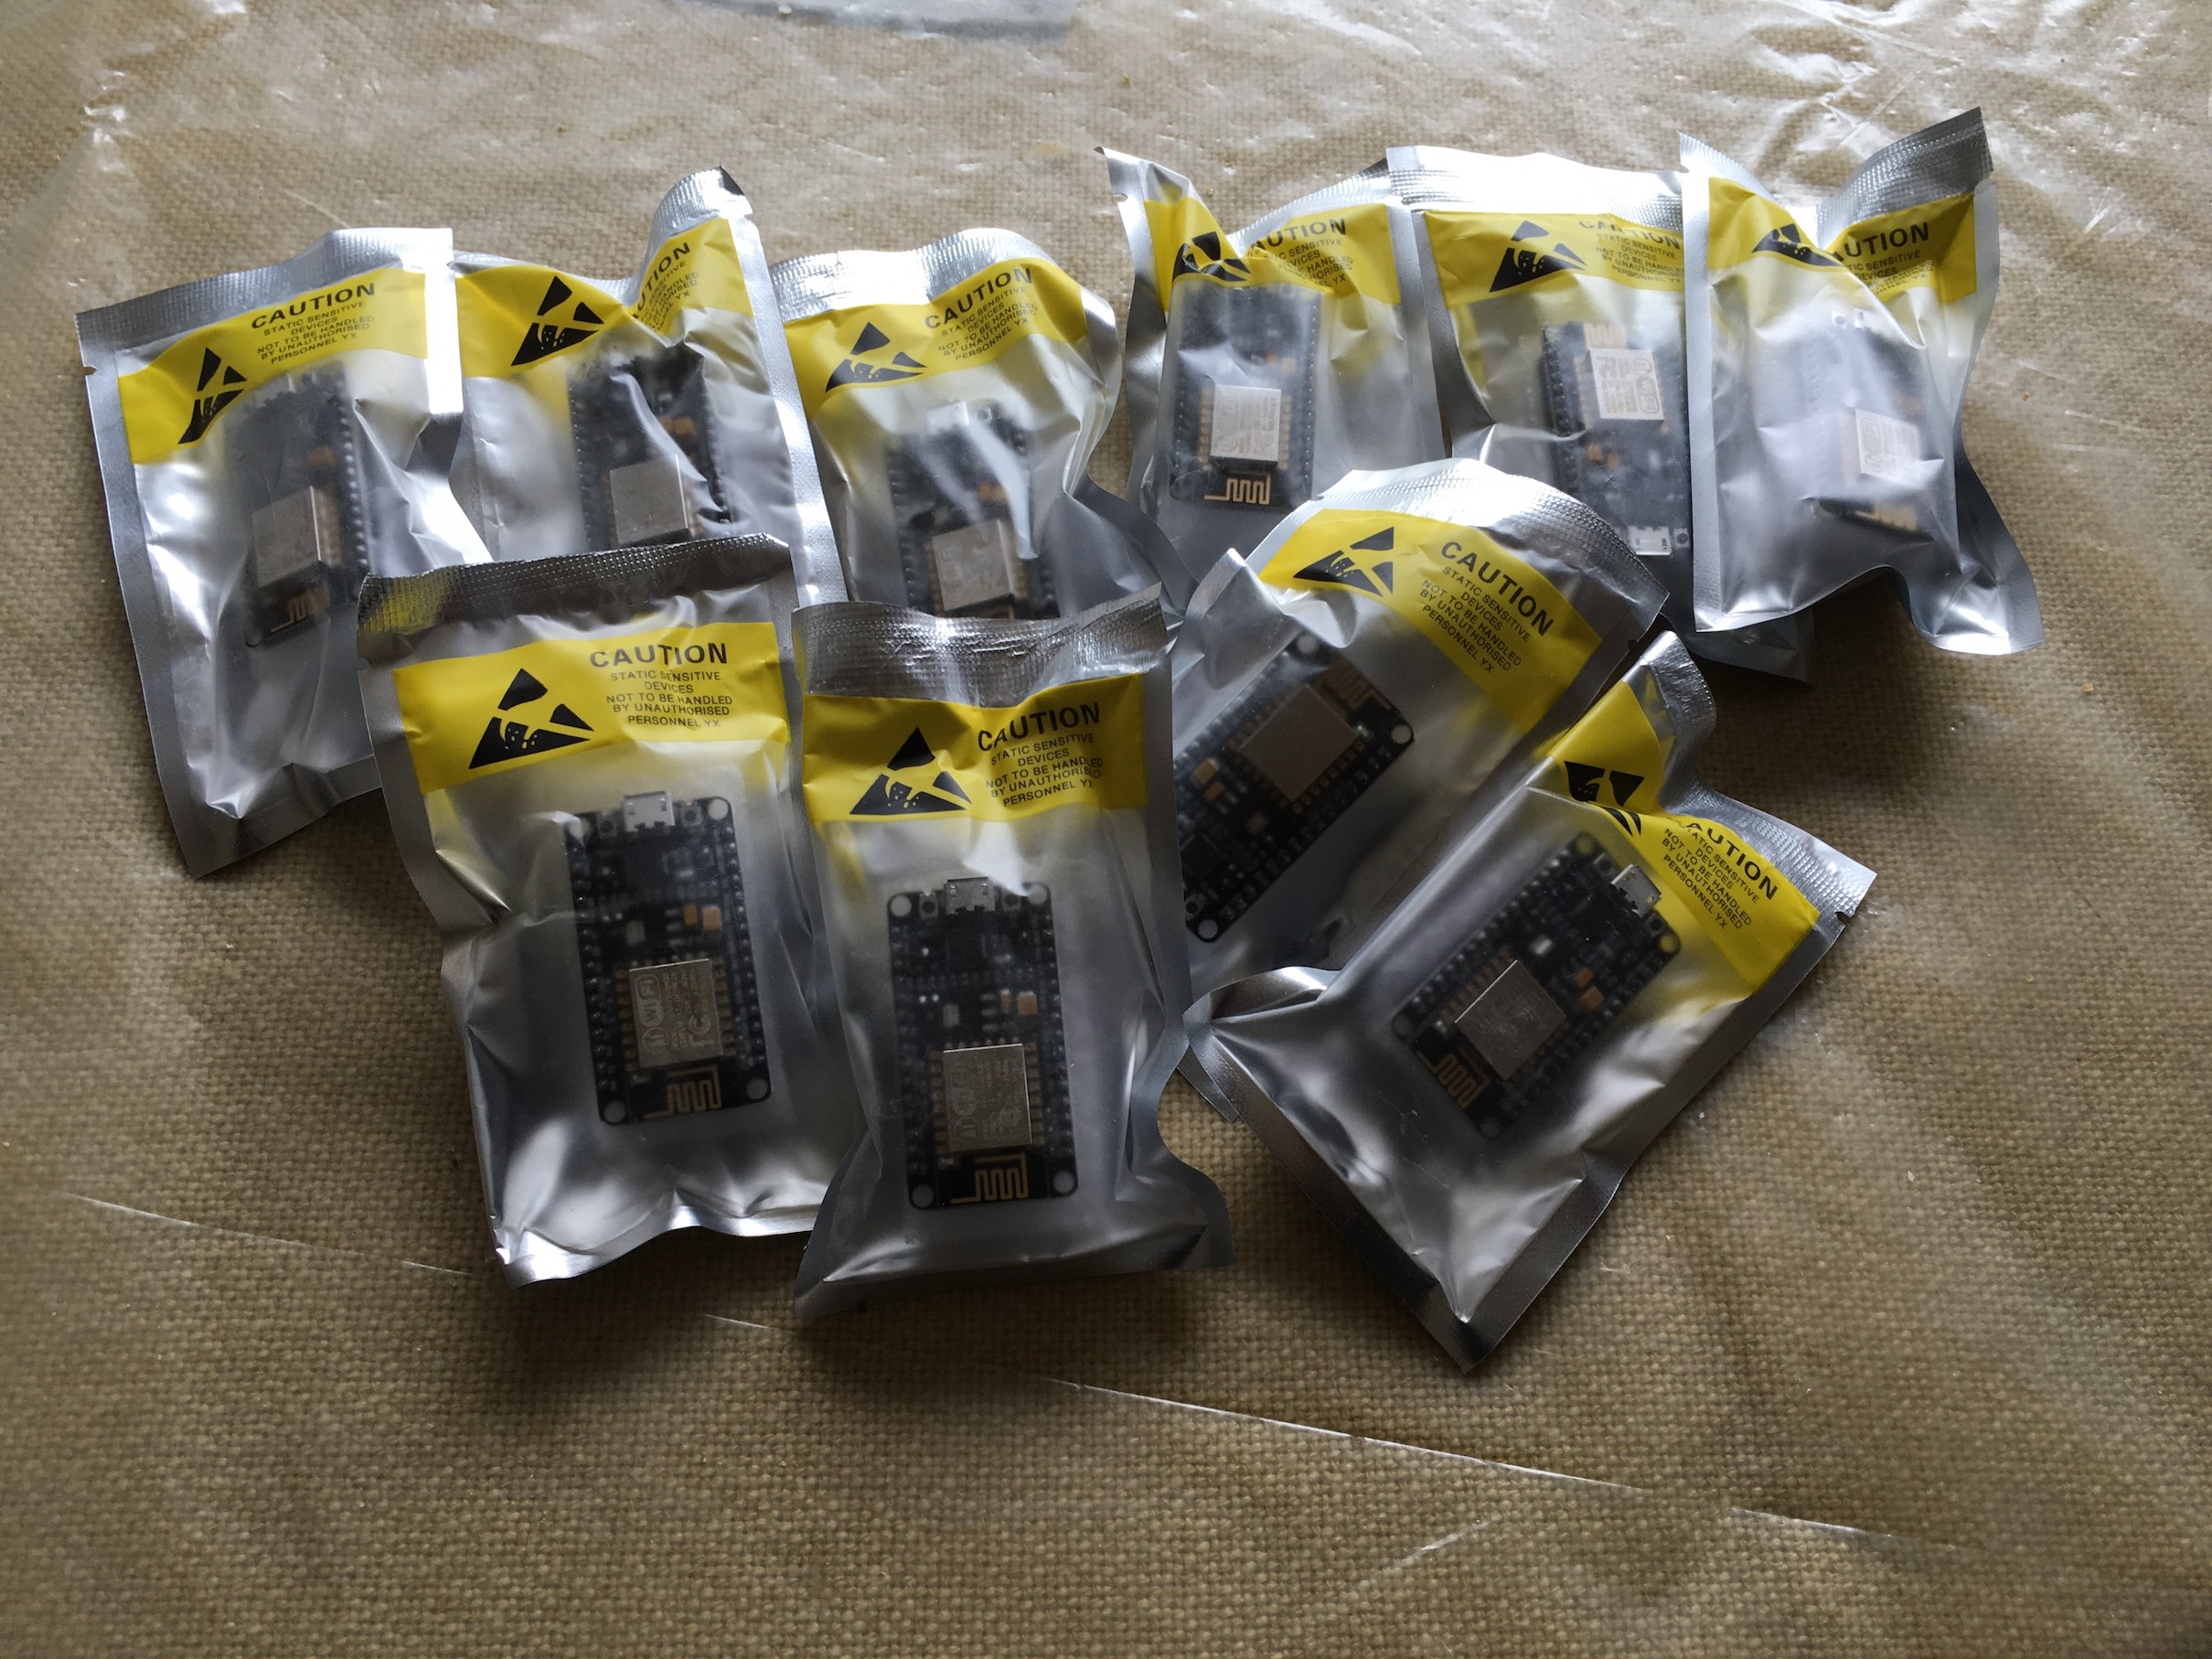
So now we have a protocol with a central server and a management tool, next we need actual actuators and inputs. Since early 2016 there is a new king in the world of connected microprocessors: the Esperrif ESP8266. This little chip is as cheap as 3 dollars on all Chinese marketplaces like aliexpress or dealextreme. It also got a lot of attention through the NodeMCU project, a small Lua interpreter running inside the ESP. The NodeMCU developer also created the NodeMCU devkit v1, a small board with voltage regulator, serial convertor and the ESP8266-12E (the biggest version) on it, ready to plug and play.
I spend some time playing with the NodeMCU firmware when the chip first came out but then decided that it is just very inefficient regarding memory (but ok that is actually quite logic). Anyway no matter if you fancy the Arduino IDE or are more a fan of PlatformIO the support for the Espressiff platform is AMAZING. This makes it really fast to code around and build some stuff.
The next piece of code I stumbled upon was HOMIE. Homie is a firmware for the ESP8266 that provides a very nice configuration API to configure your devices and also speaks MQTT in the very useful HOMIE standard. The project is developed by marvinroger. Currently I am still using version one of the Library because SSL support was dropped in v2. Maybe I am also going to change this library or some day contribute the ssl support myself (The needed dependencies are already fulfilled…)
The Muscles
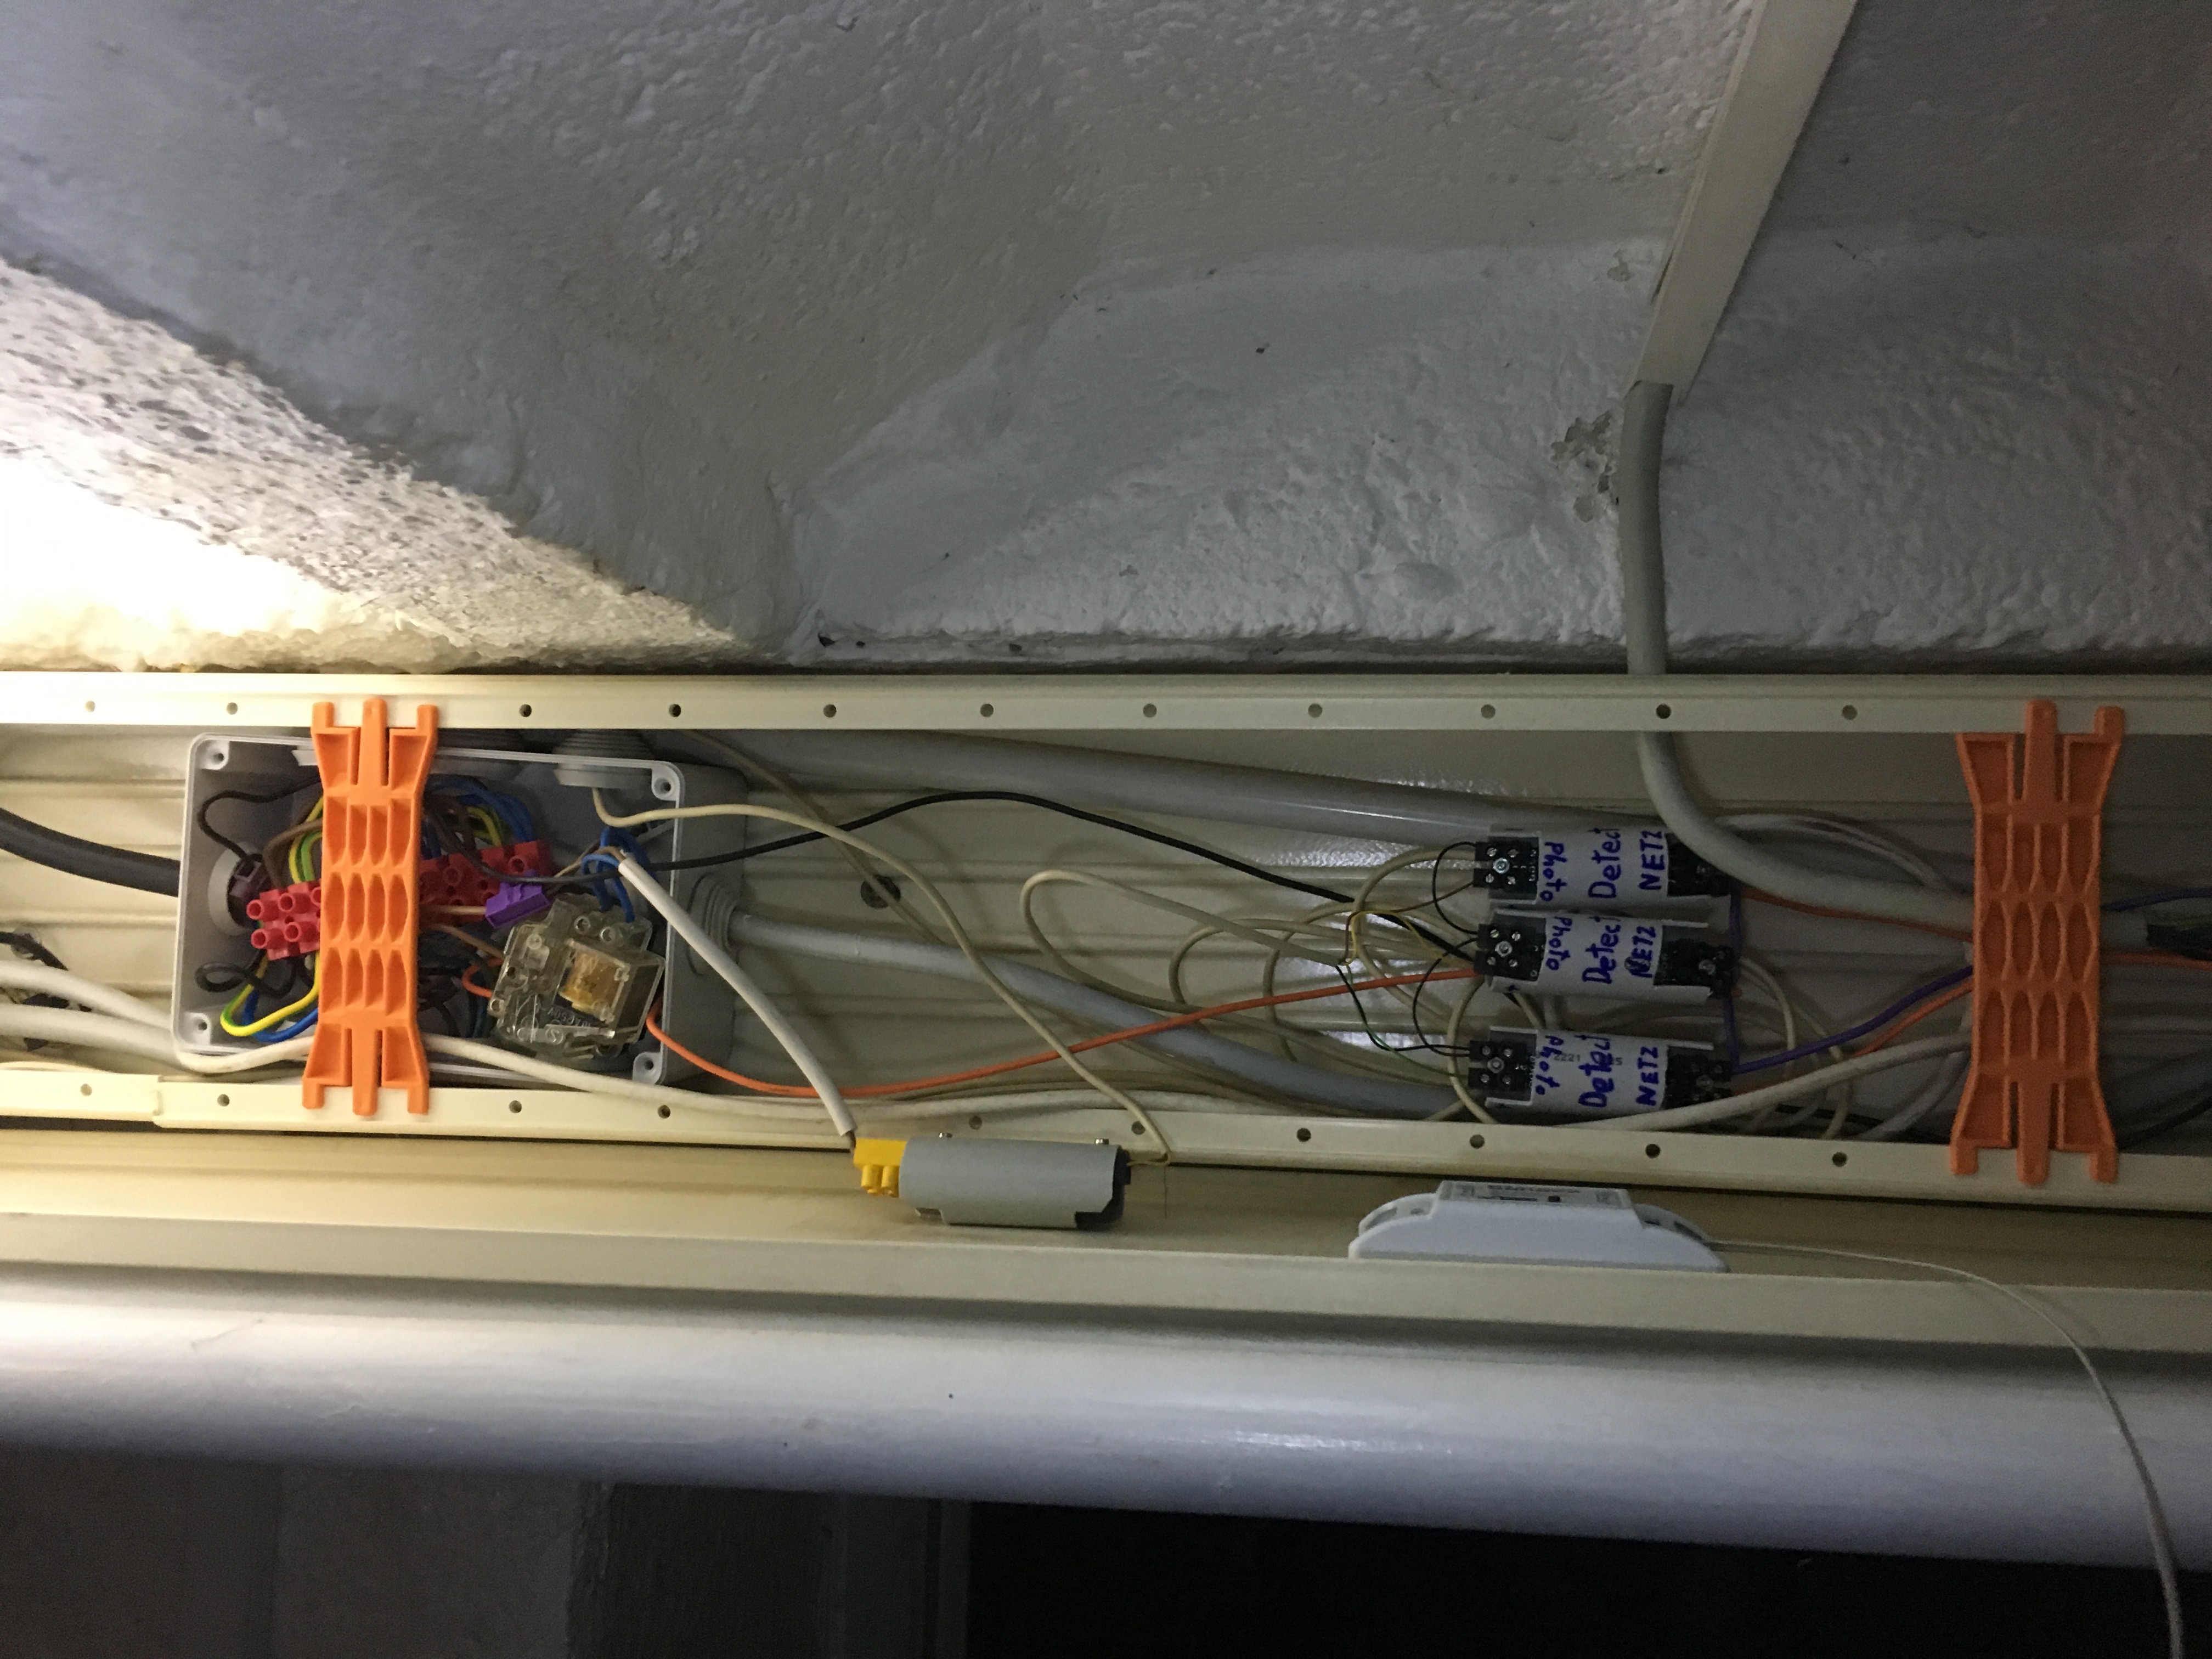
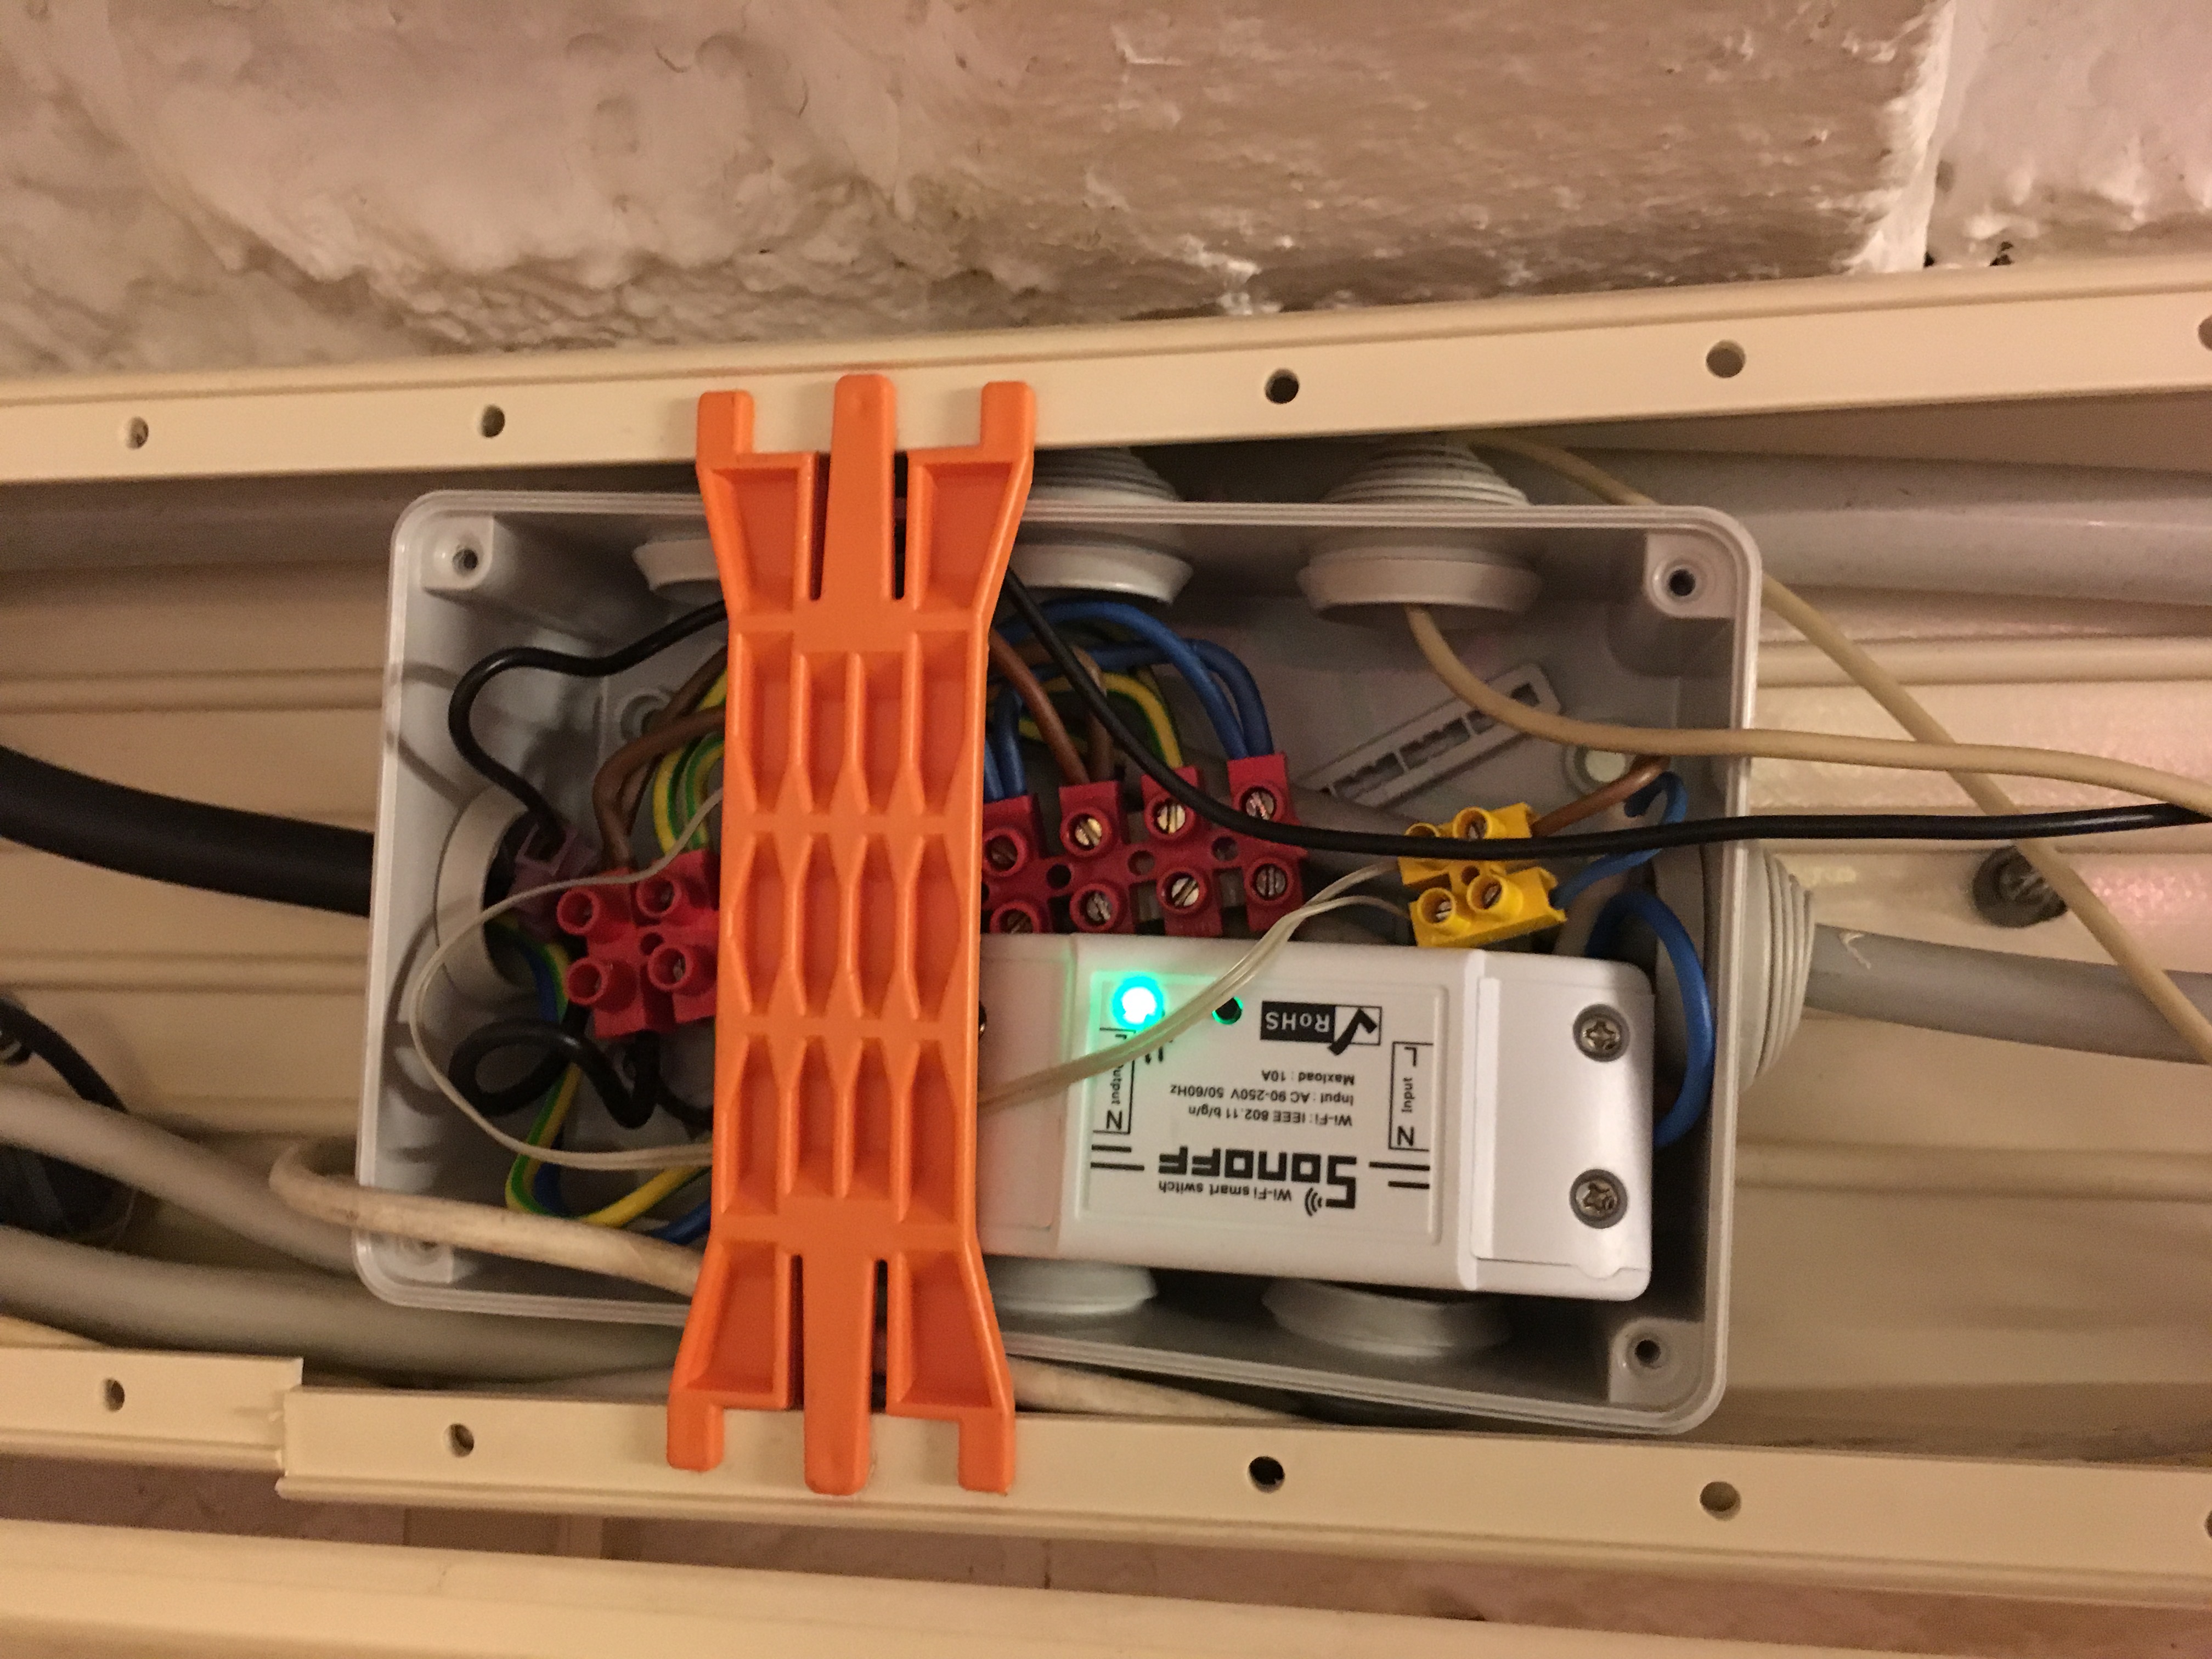
After playing with my NodeMCU boards and HOMIE for about a year some new device entered the market: The Sonoff wifi relays. These are small modules with a relay switch, power supply and an ESP8266 on a single board covered in an ABS plastic housing. They are made by ITEAD and cost around 5 to 8 $ on the Chinese marketplaces. This makes them incredible versatile and easily deploy able.
In the beginning I have been using 443 MHz remote switches a lot because it is very easy to install them and have them controlled using a very tiny little sender chip. But now I trie to use the sonoff system a lot more because it has the added benefit of buffering its current state which makes it possible to have proper feedback without hacky solutions inside of node-red.
Before I had the Sonoff switches I had for example a combination of a electric toggle switch for 230V and a power detection circuit to control and watch the lights in one room. Now this whole setup has reduced to one neat plastic box.
A proper Web Interface
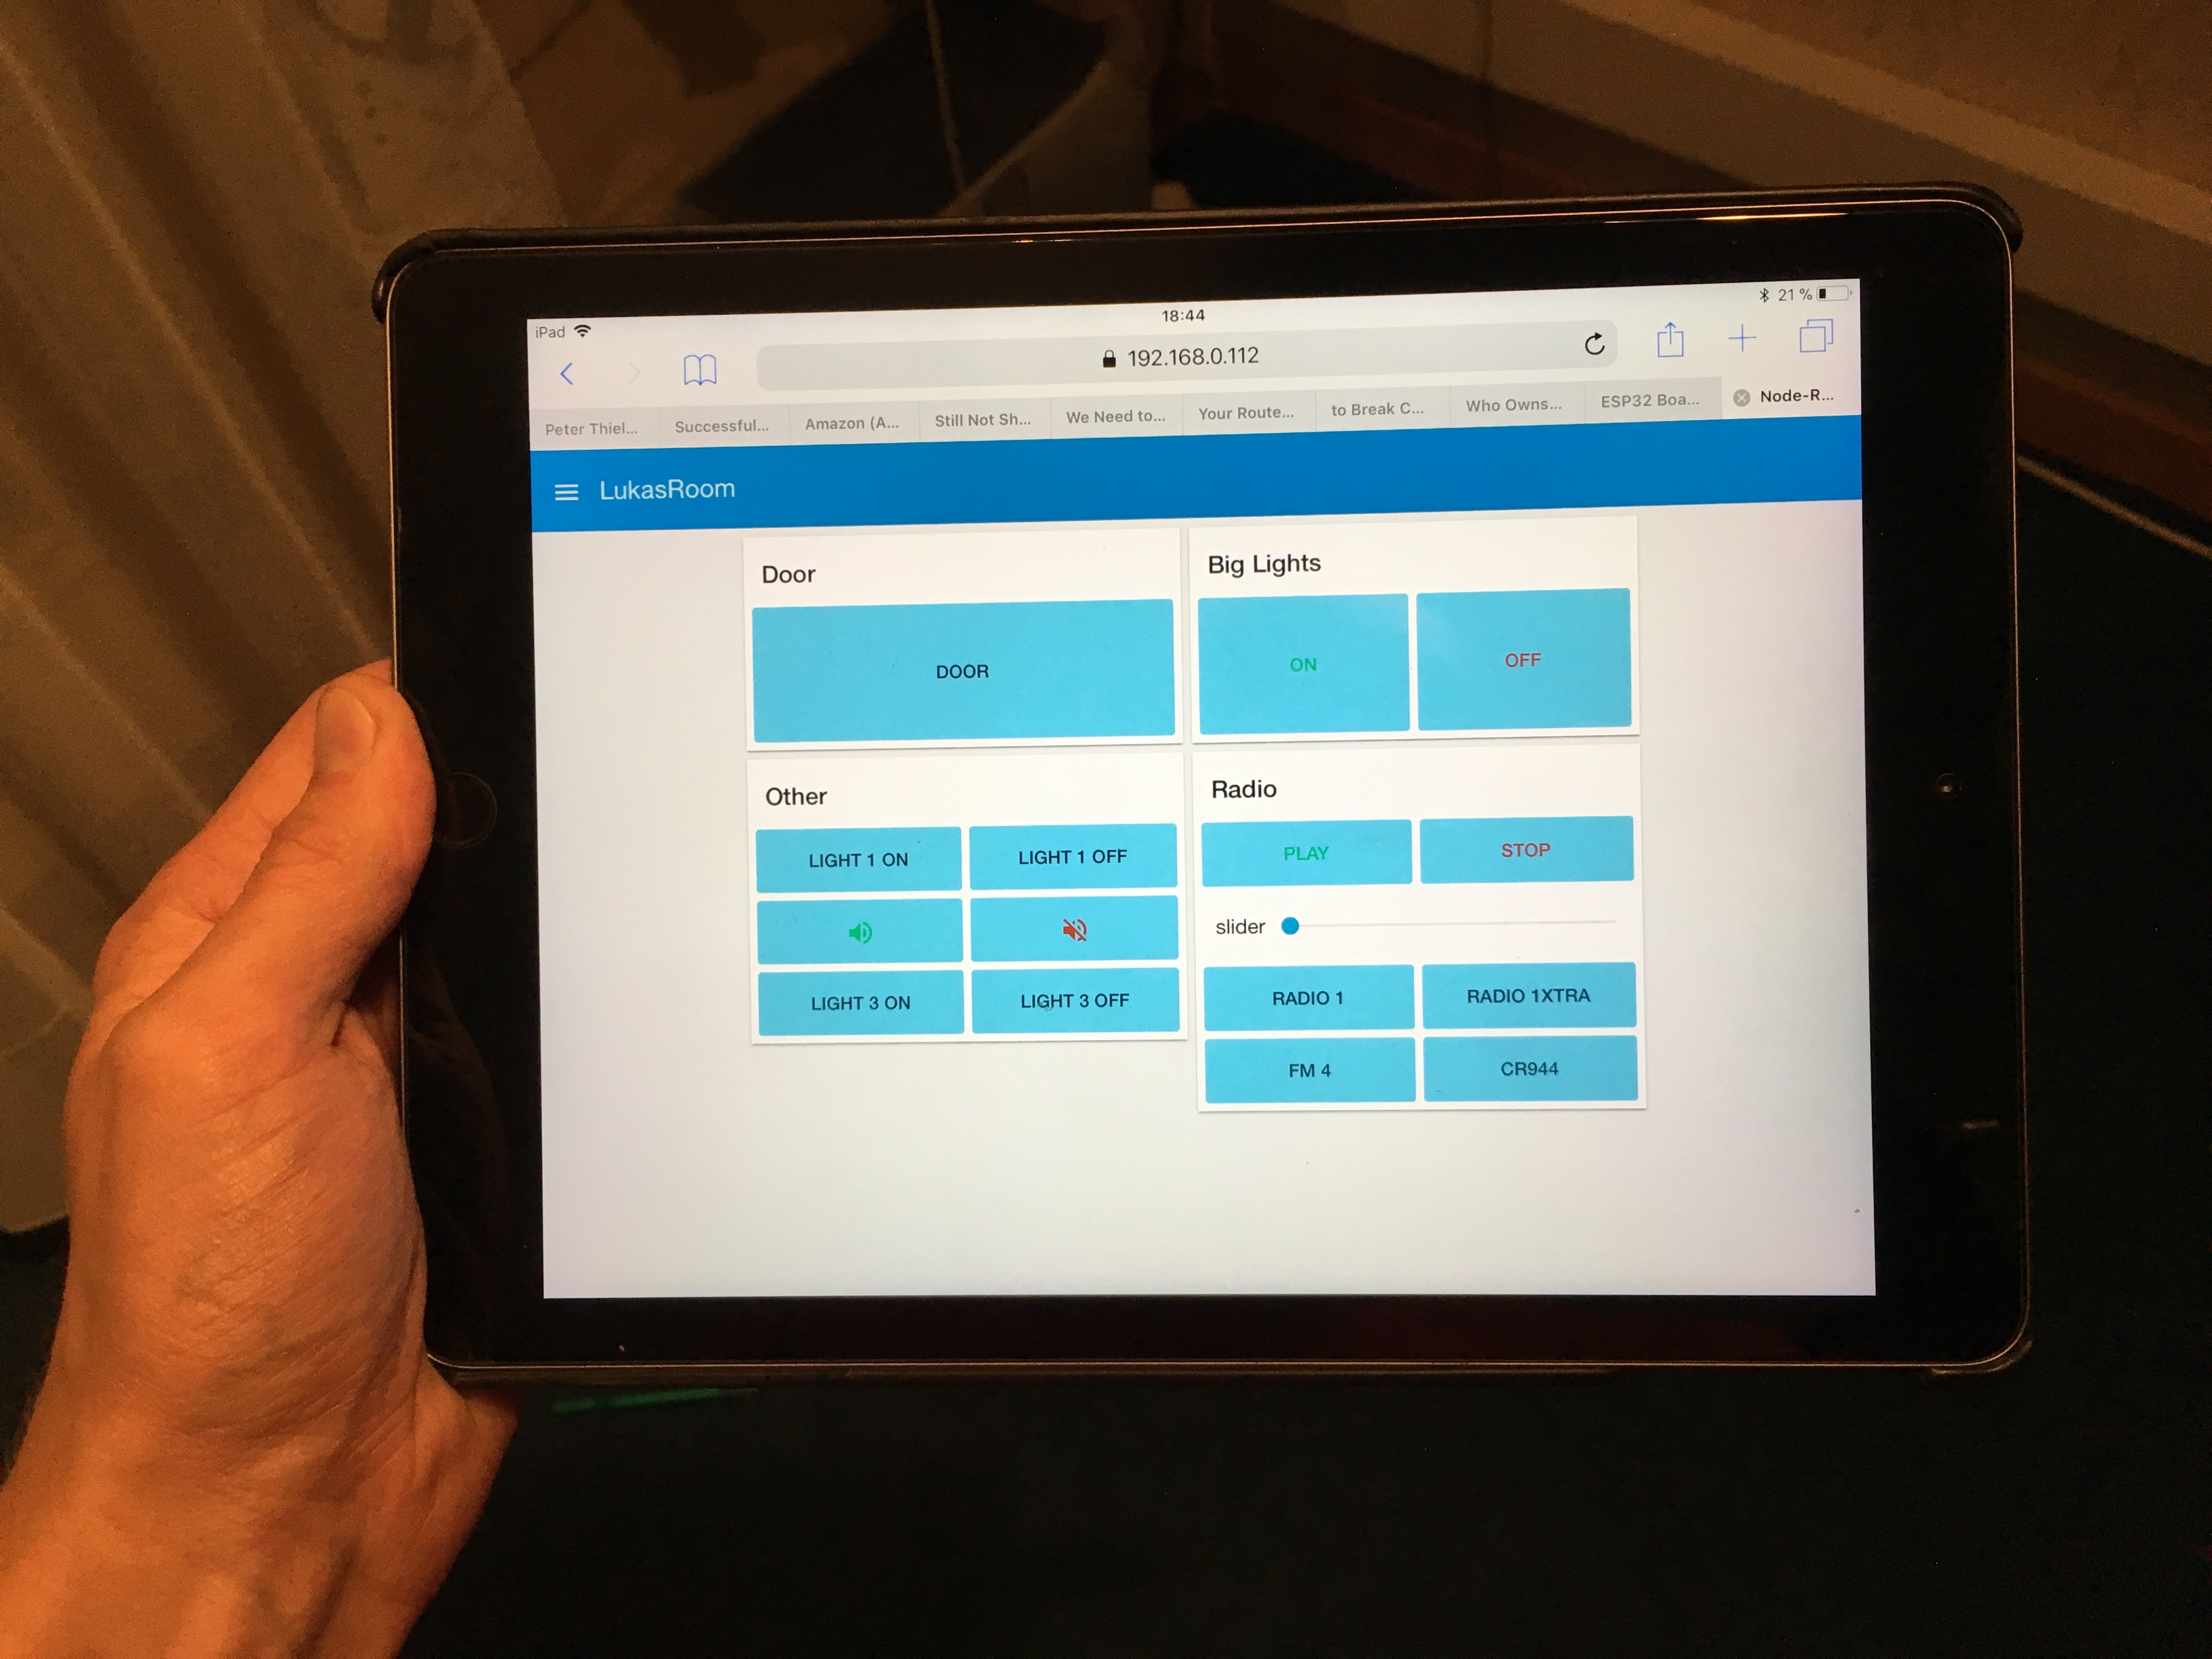
When node red first came out there was no simple way to link it to a web interface (except for obviously its HTTP and websocket capabilities =P). But after sometime a plugin called dashboard started to evolve and eventually ended up being included in the node-red core.
Introducing node-red-dashboard
Using this it is really easy to create a simple web interface pretty fast. I also built nodes for a color picker that can control the color of some LED light strips.
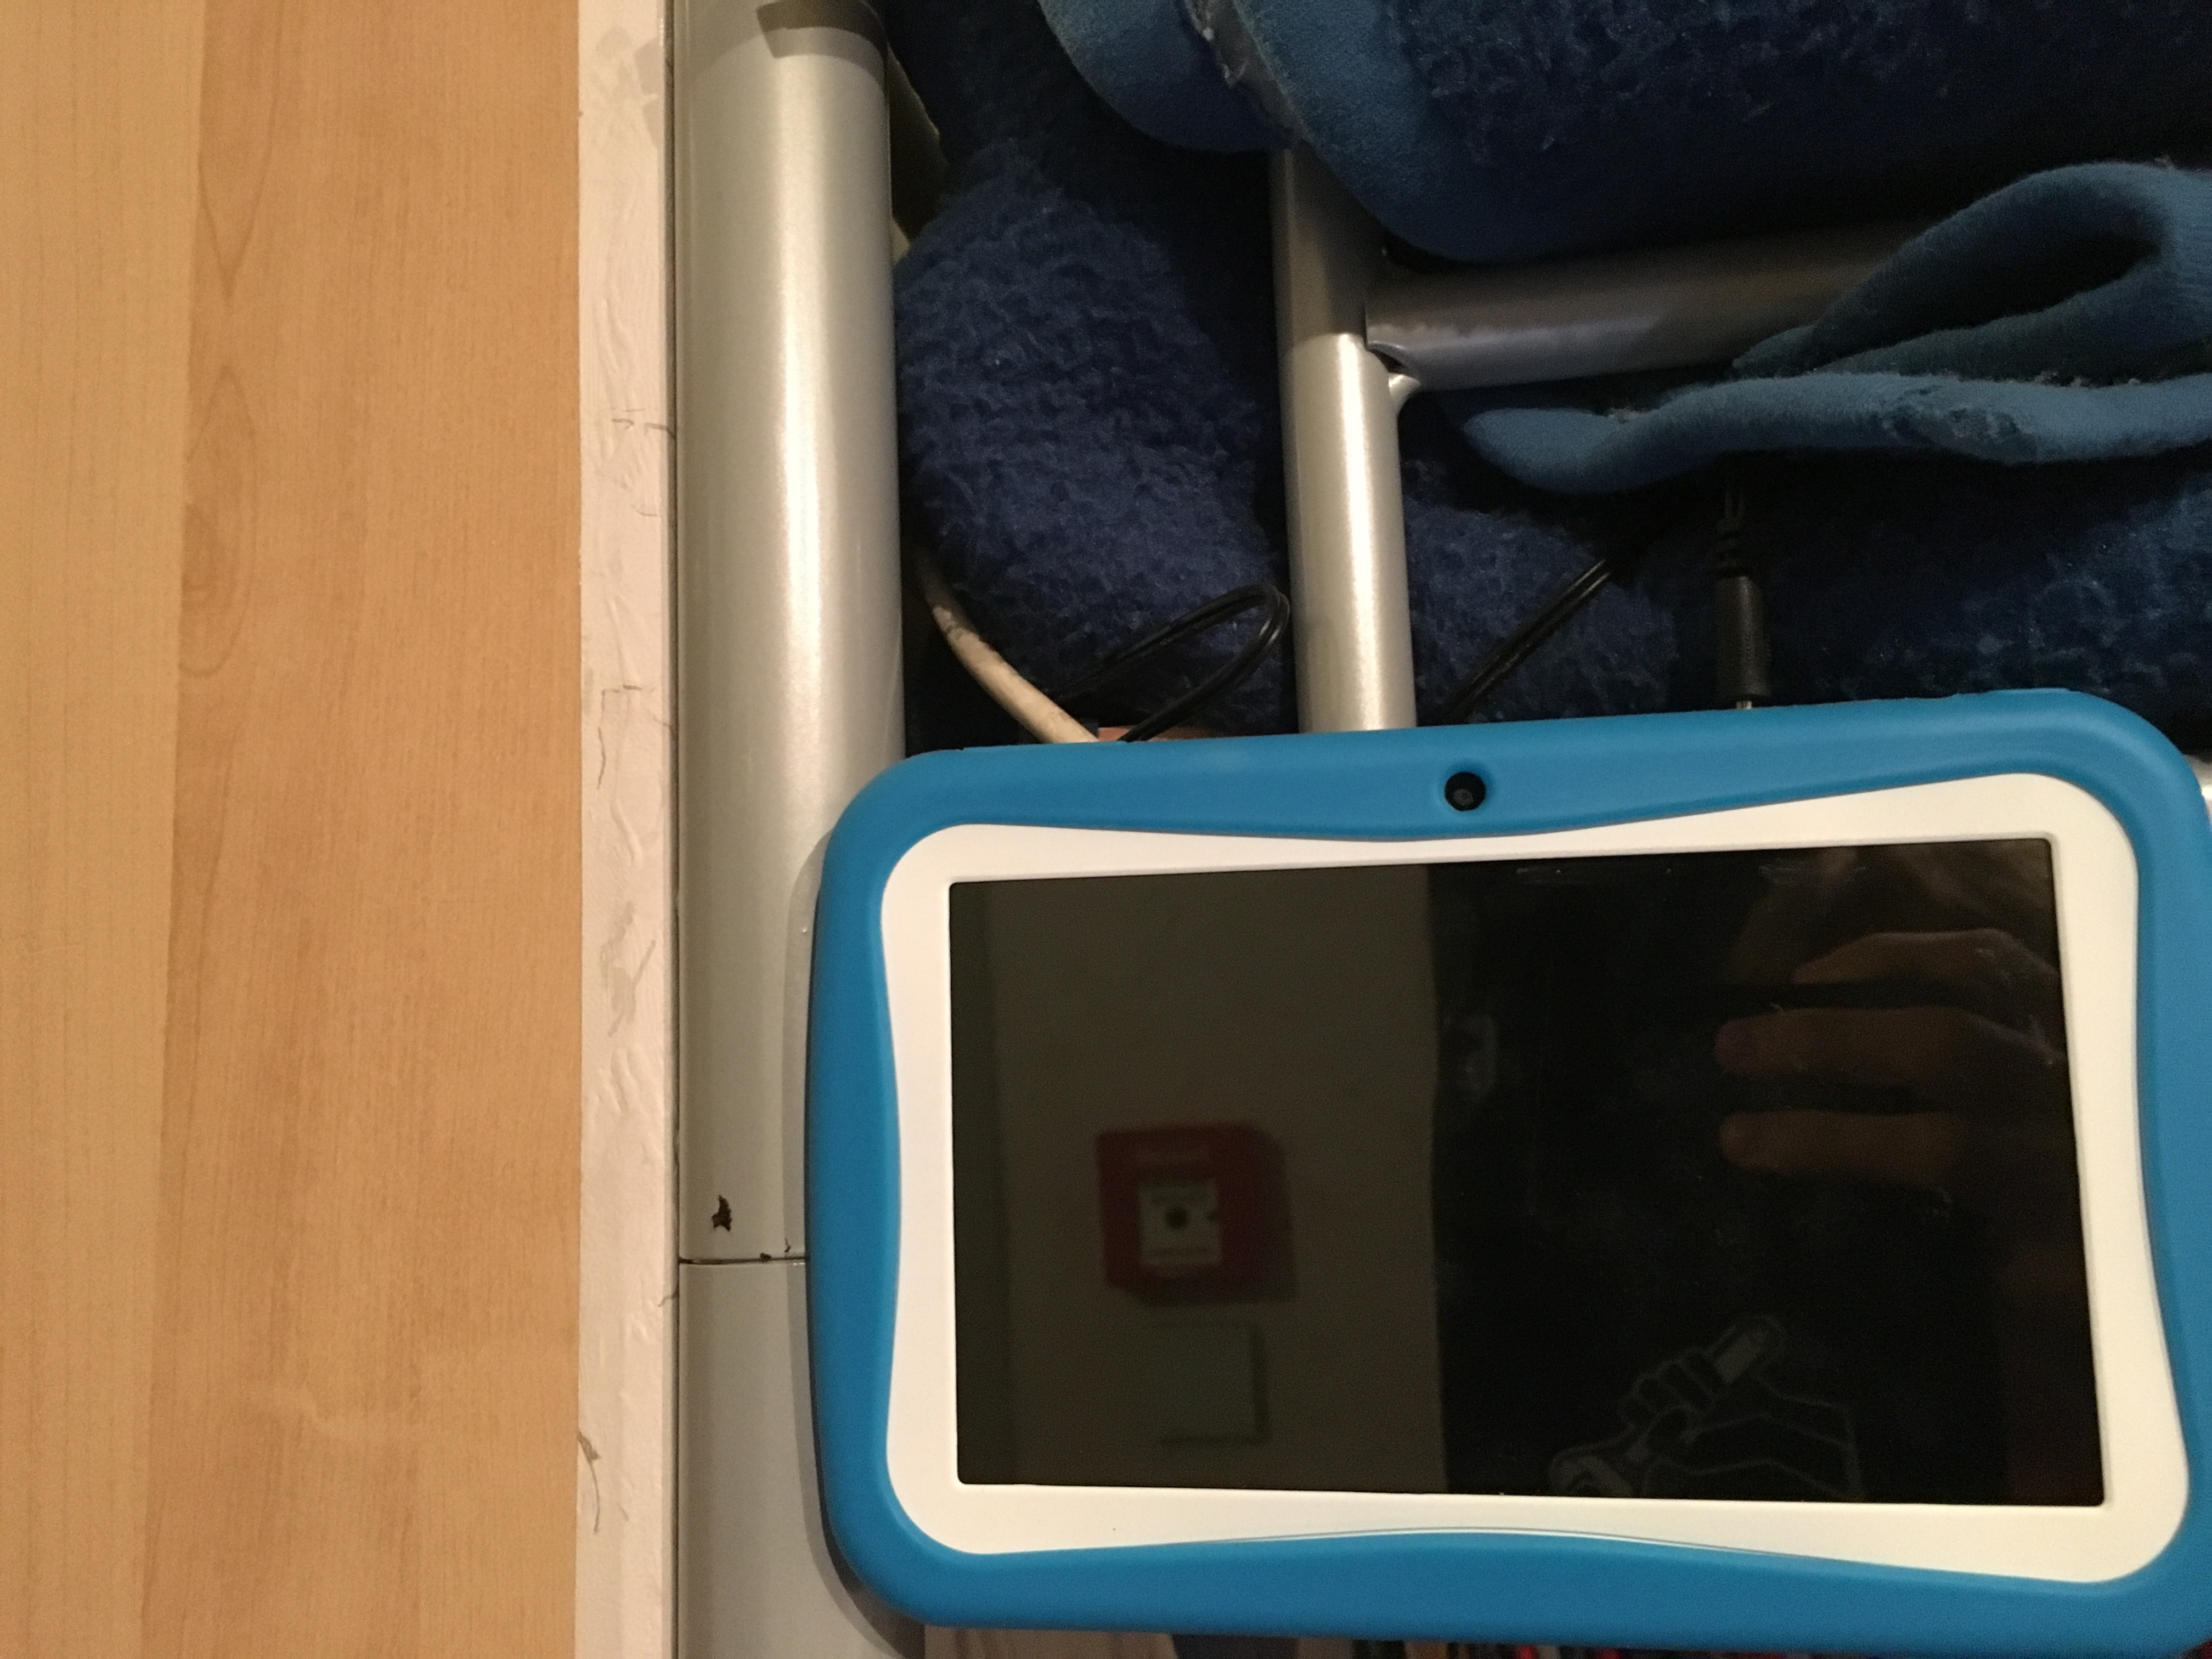
It also looks really good on Tablets. I liked that so much that I bought 2 30$ Chinese children android tablets and had them running as GUIs, but they proved to be very bad because a modern Android browser is already too hard to handle for them.
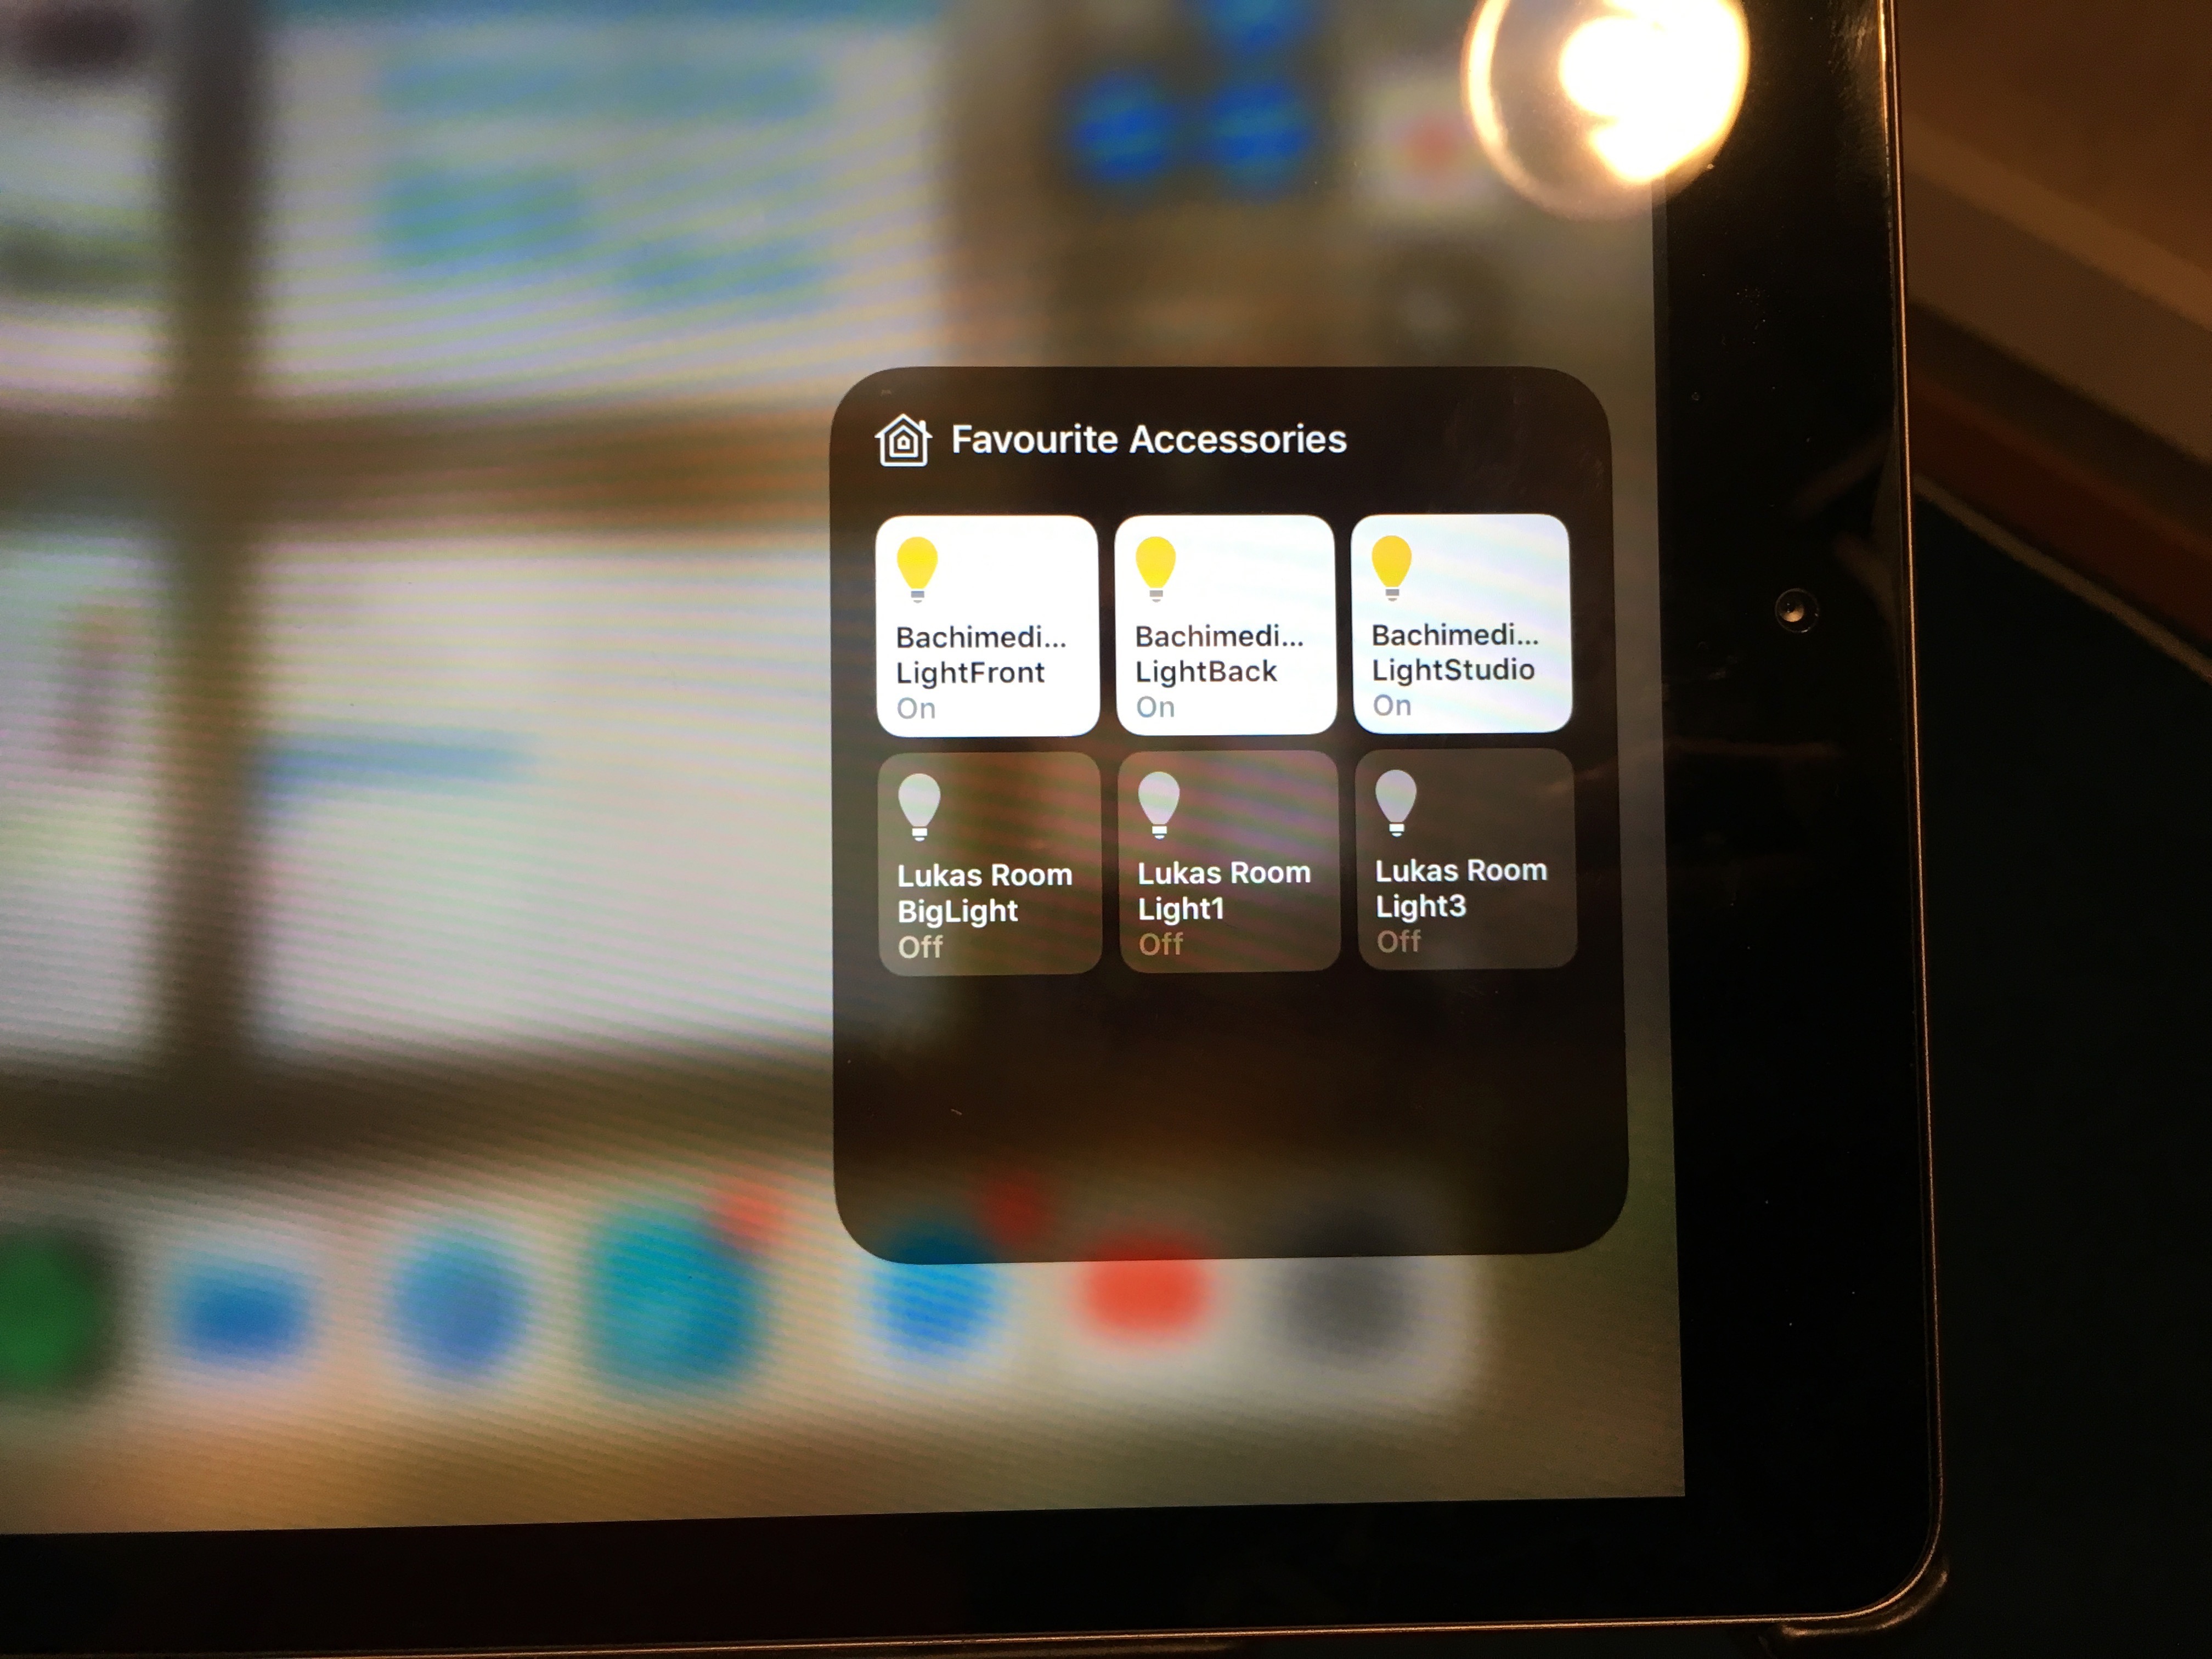
Homekit
Some time went by and I started to think about my old home-automation Roadmap again. There I said I want to have Siri support again. In the old days I used Siri with the Siriproxy project but now using Homekit integration it would be much easier to just create a Homekit accessory. Luckily there is already an application for that. The HomeKitAccesoryServer does exactly that. And look: there is even already a node-red node for it!
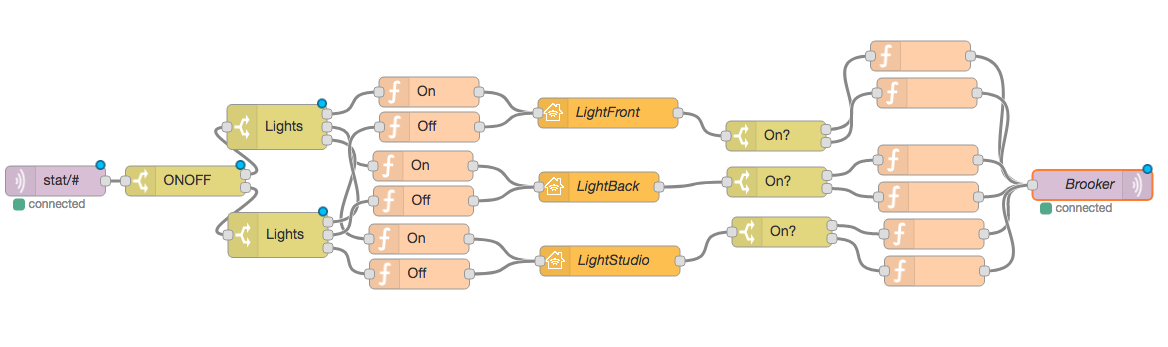
Some more hours later I had it running using my Sonoff switches. It now even provides feedback and the native IOS and Siri integration makes it actually really useful:
Security
Hell yeah IOT and security. No seriously there are several things we can do here to properly ensure some level of good security.
For example use the MQTT authentication functionality and using Access Control Lists for the different channels on the broker. This of course needs us to have all traffic properly encrypted using SSL. Also the WebGUIs should all be properly encrypted and use strong passwords. You can also use client certificates, put despite this being a really great concept I had my troubles getting it to function properly, because the browser side implementations are really bad, especially on mobile so I ended up just using basic auth.
After all It is also a good Idea to have a hardware override for every controlled light and device you build, because jamming a wifi (using for example deauthentication attacks) is really easy.
You can still make it a little less obvious and use a separate hidden WiFi only for your devices without direct internet access. (forward any data through node red)
For the last thing: I did not yet implement that yet but I am planning to. SSL and authentication is of course a minimum requirement and deployed in my entire current setup.
Putting it all together
Move fast and CREATE stuff
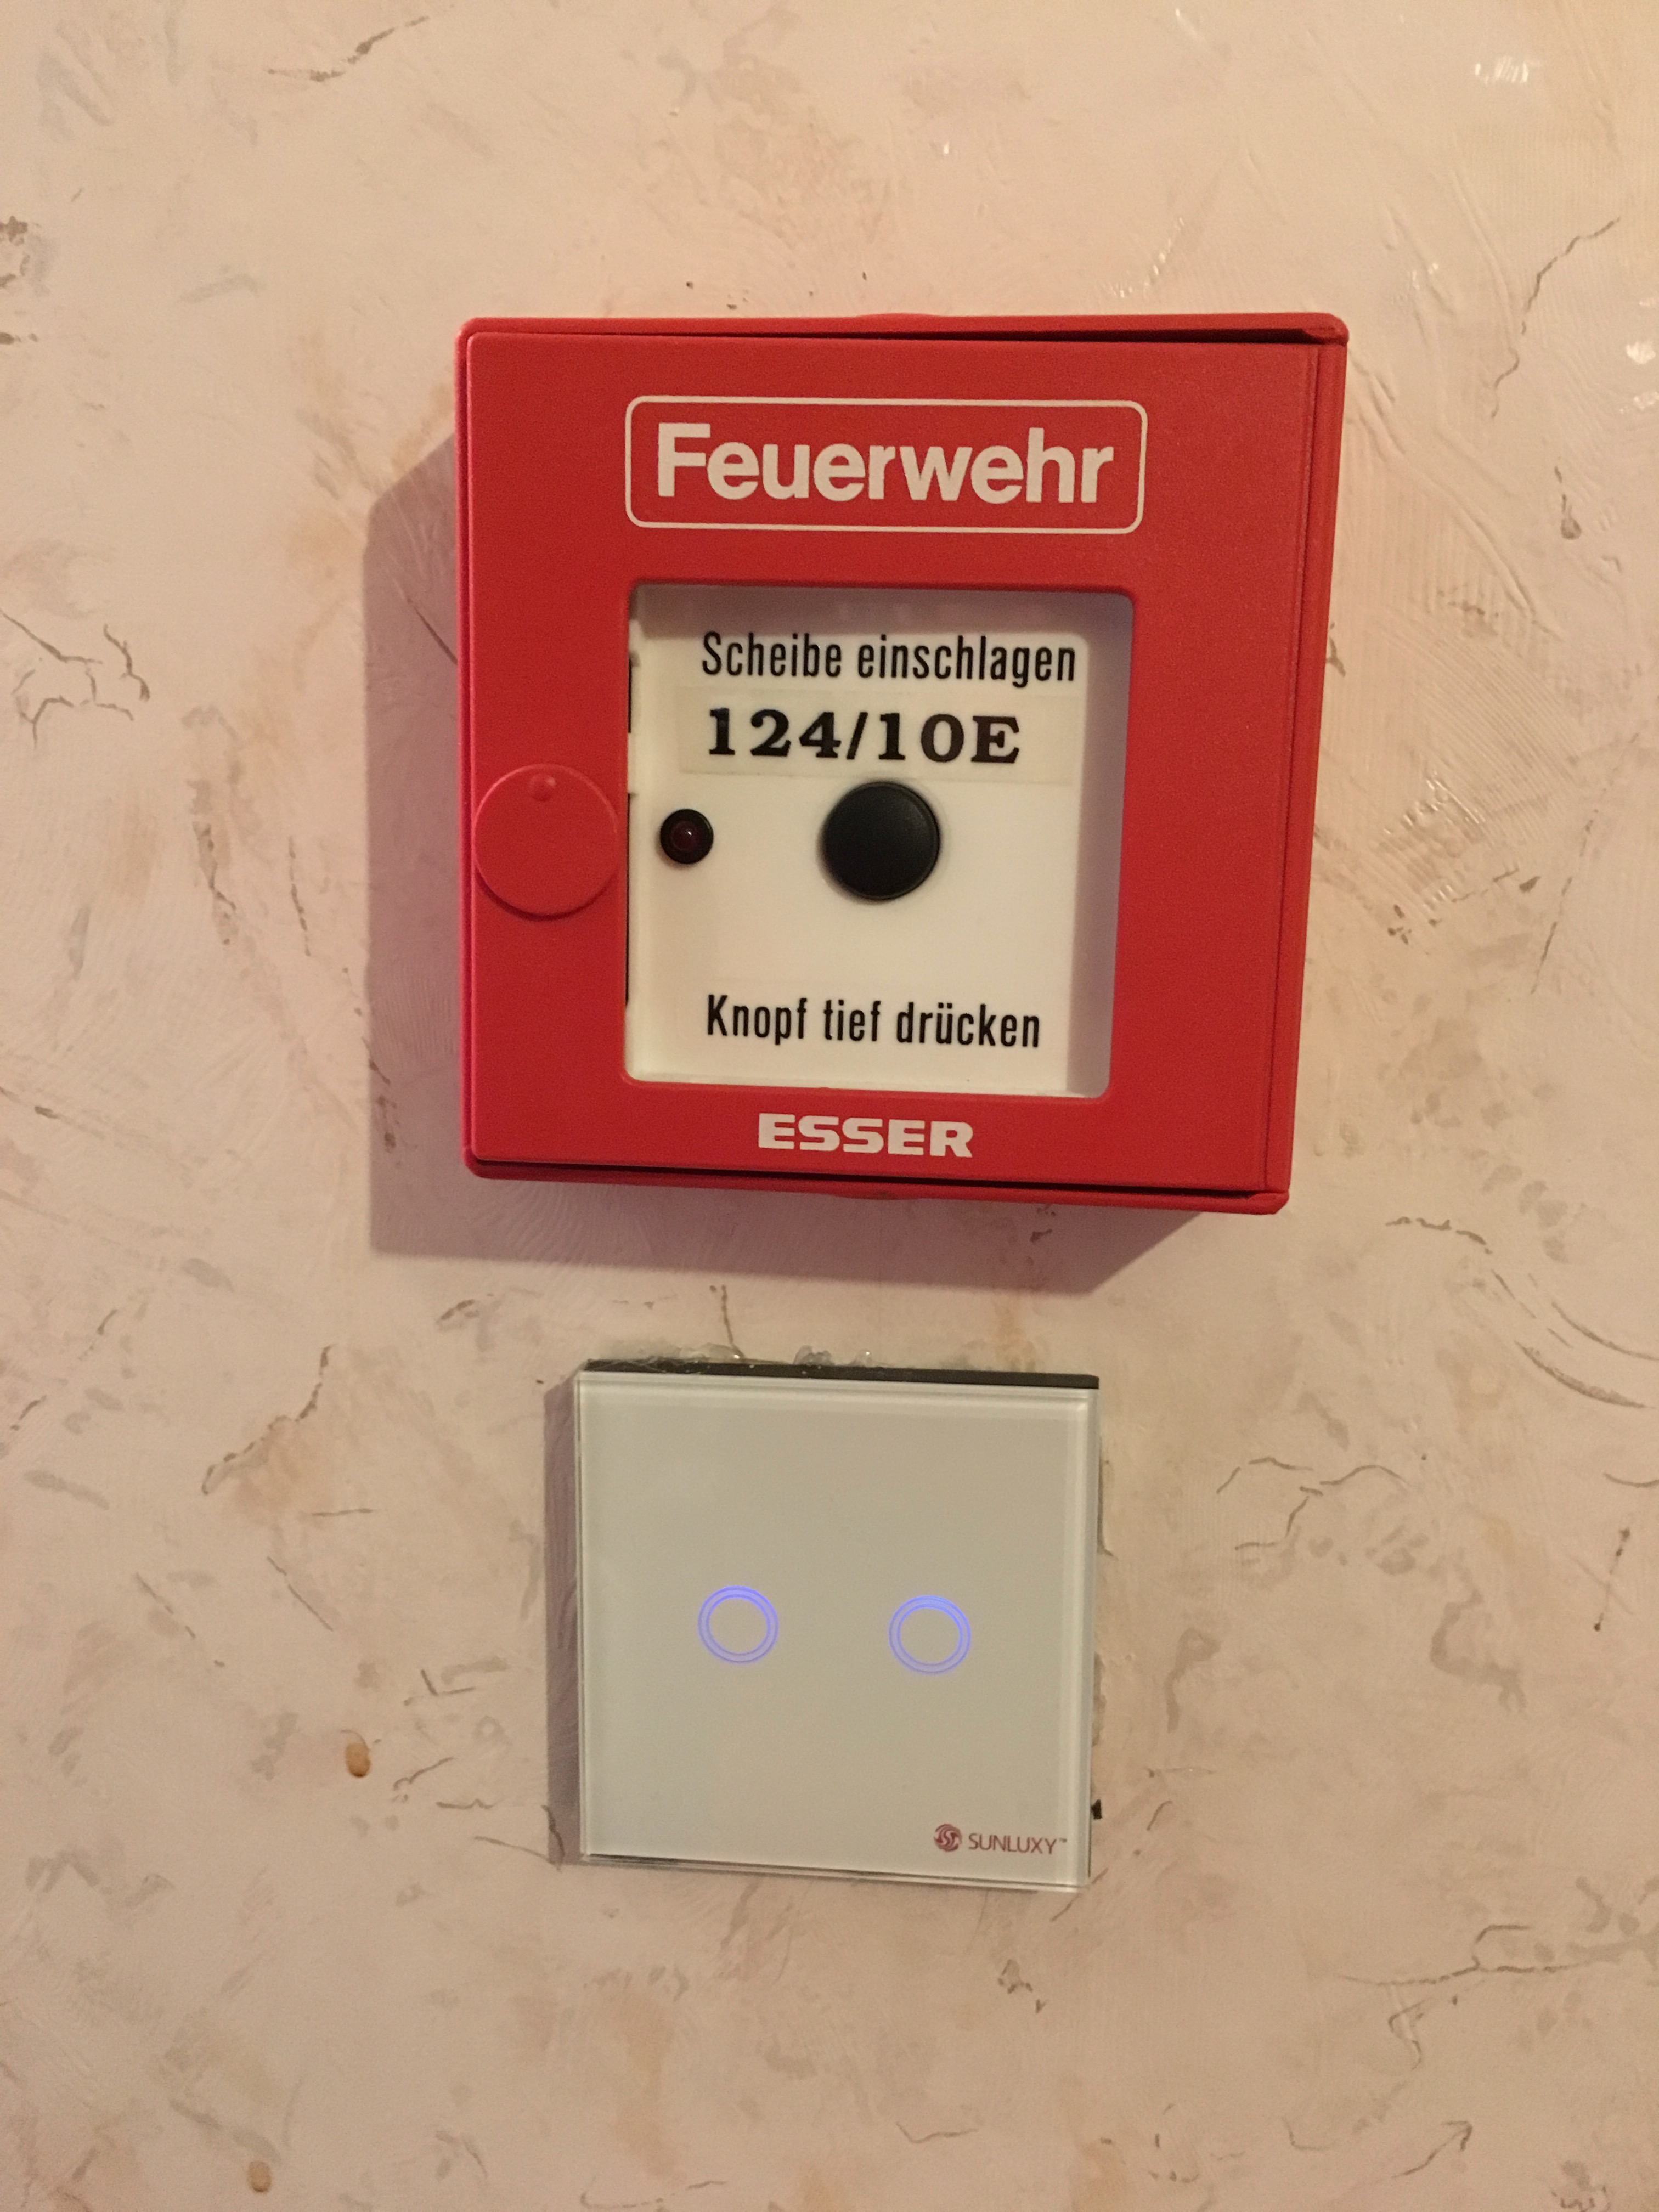
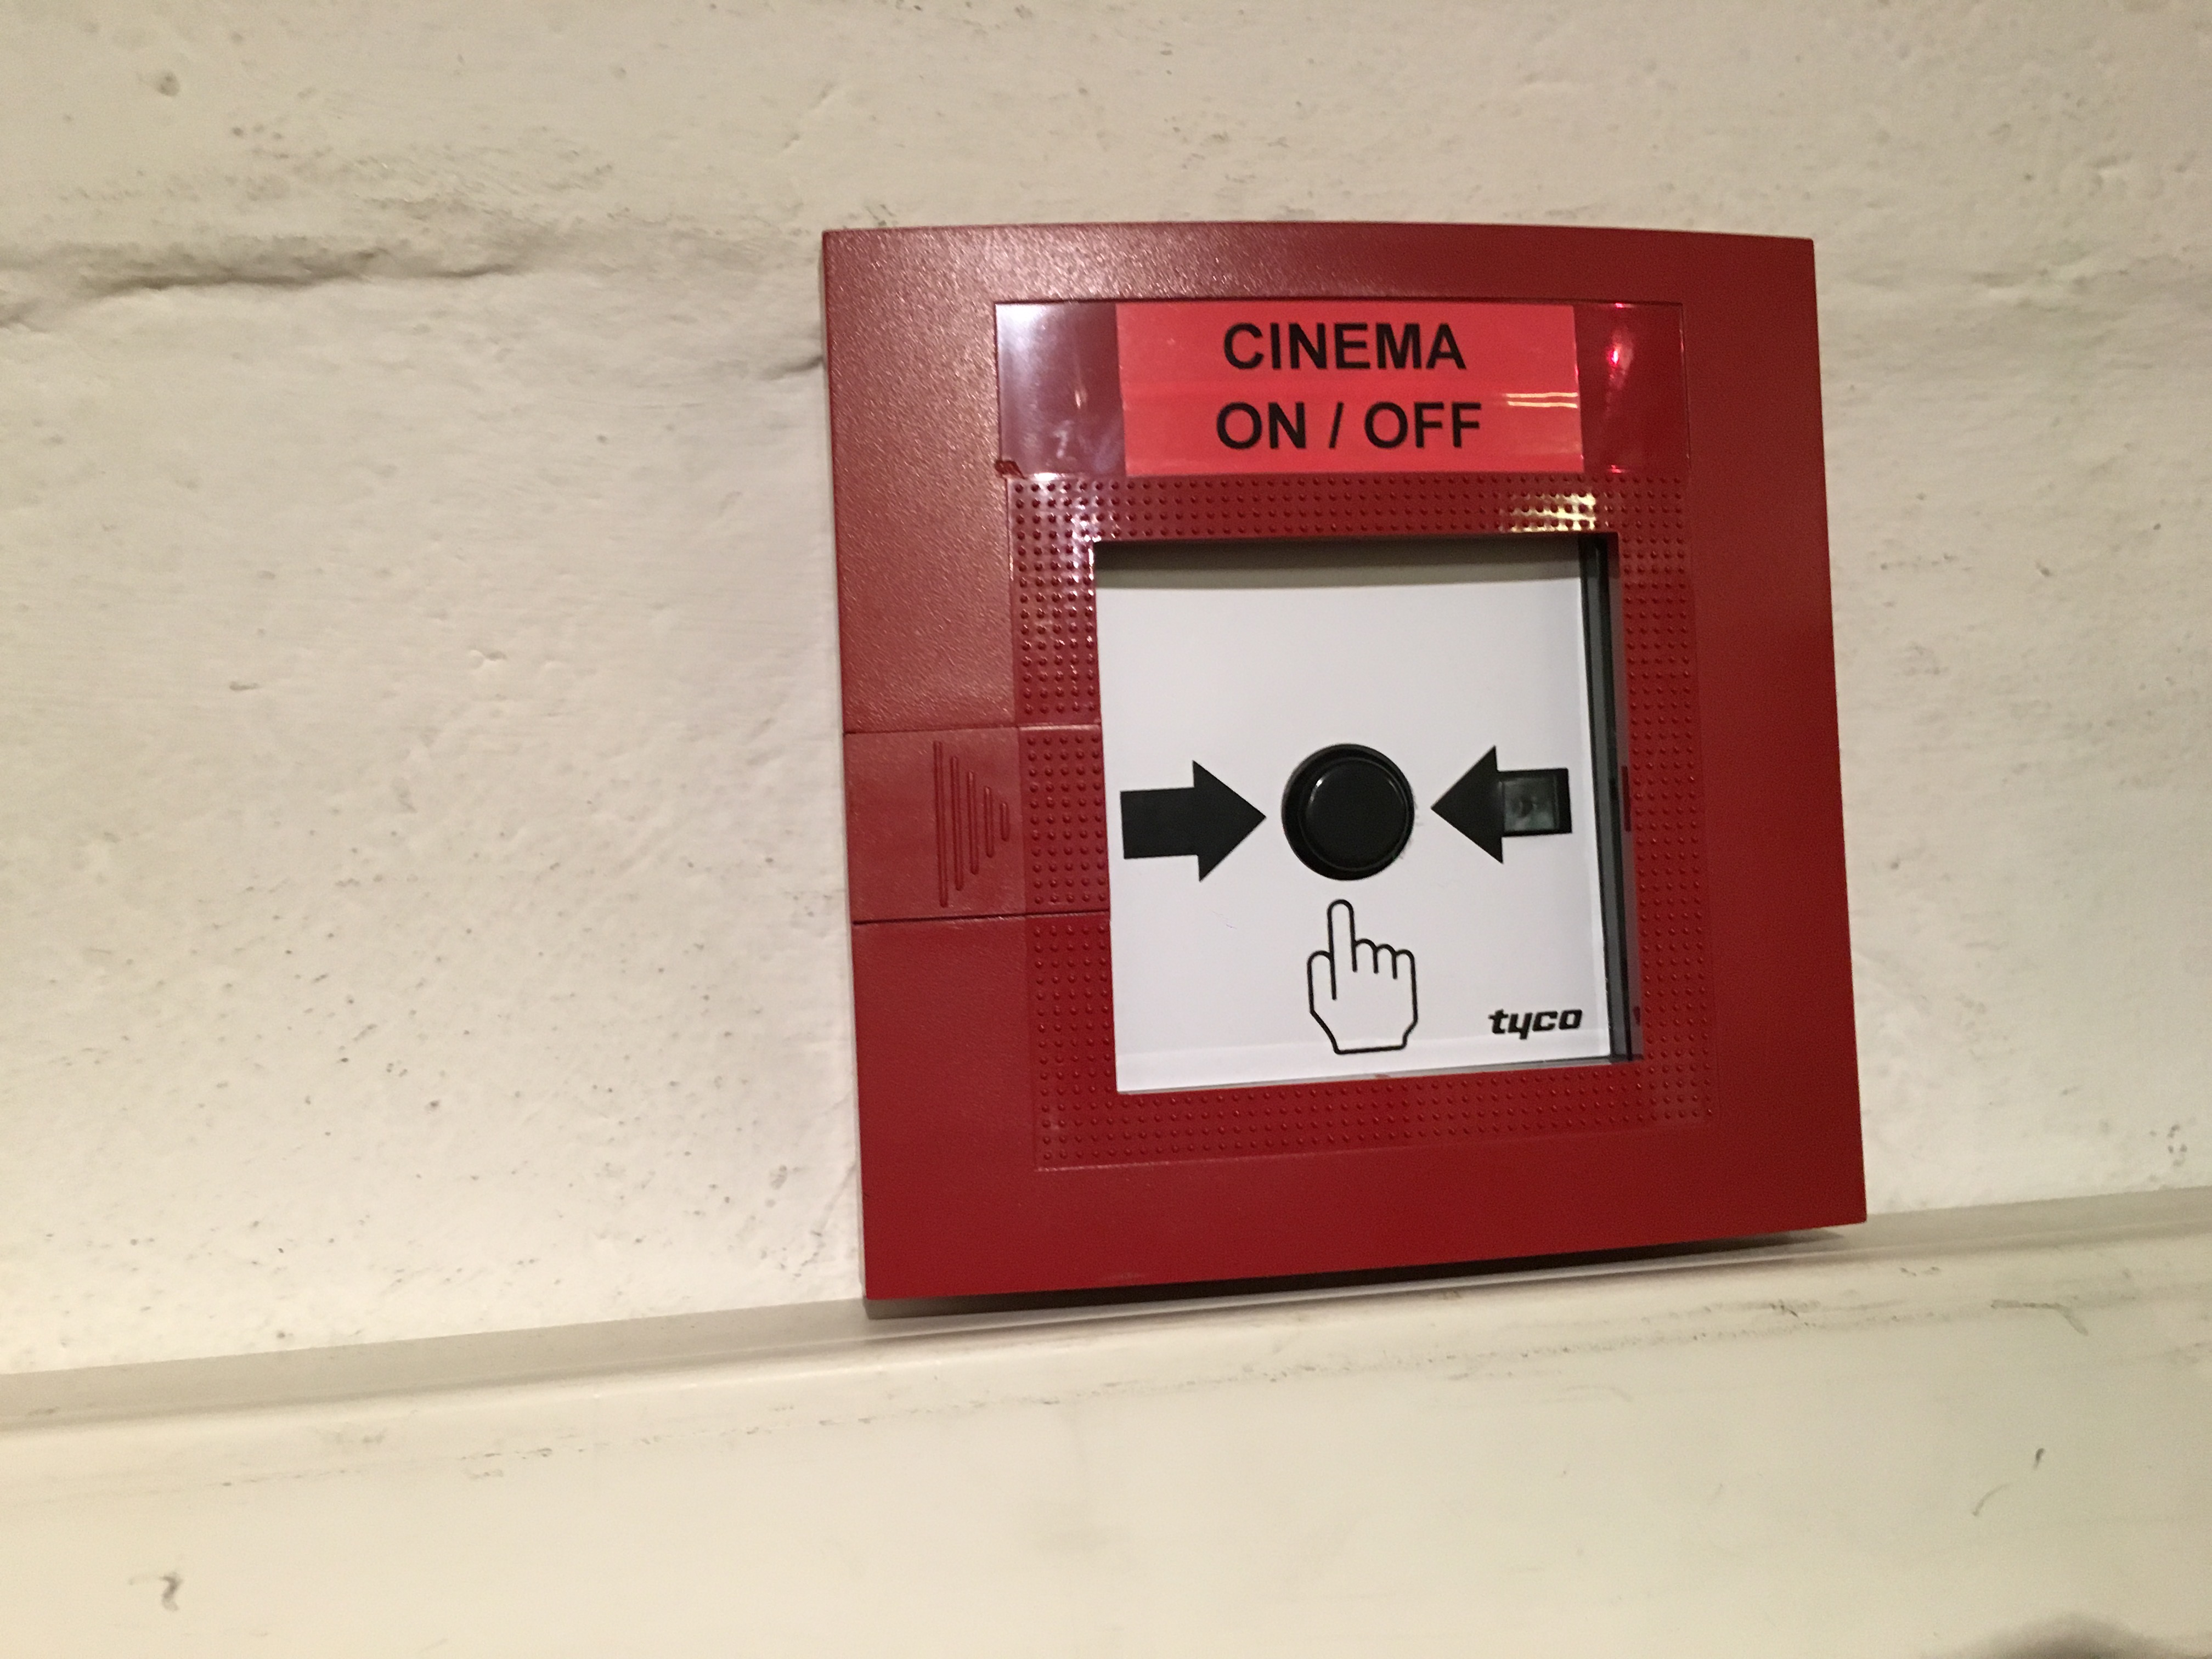
This is the whole point here. Derived from Move fast and break stuff the above fits this project better. Using the described setup it is a very fast process to prototype new applications. For example when I went on vacations once I quickly deployed a flow to help my grandmother turn on the sat receiver, projector, sound system, configure the HDMI switcher and unroll the screen so that she could watch TV. All that with just pressing one Button. I called it the “Cinema button” therefore. It is made from a recycled fire alarm Button.
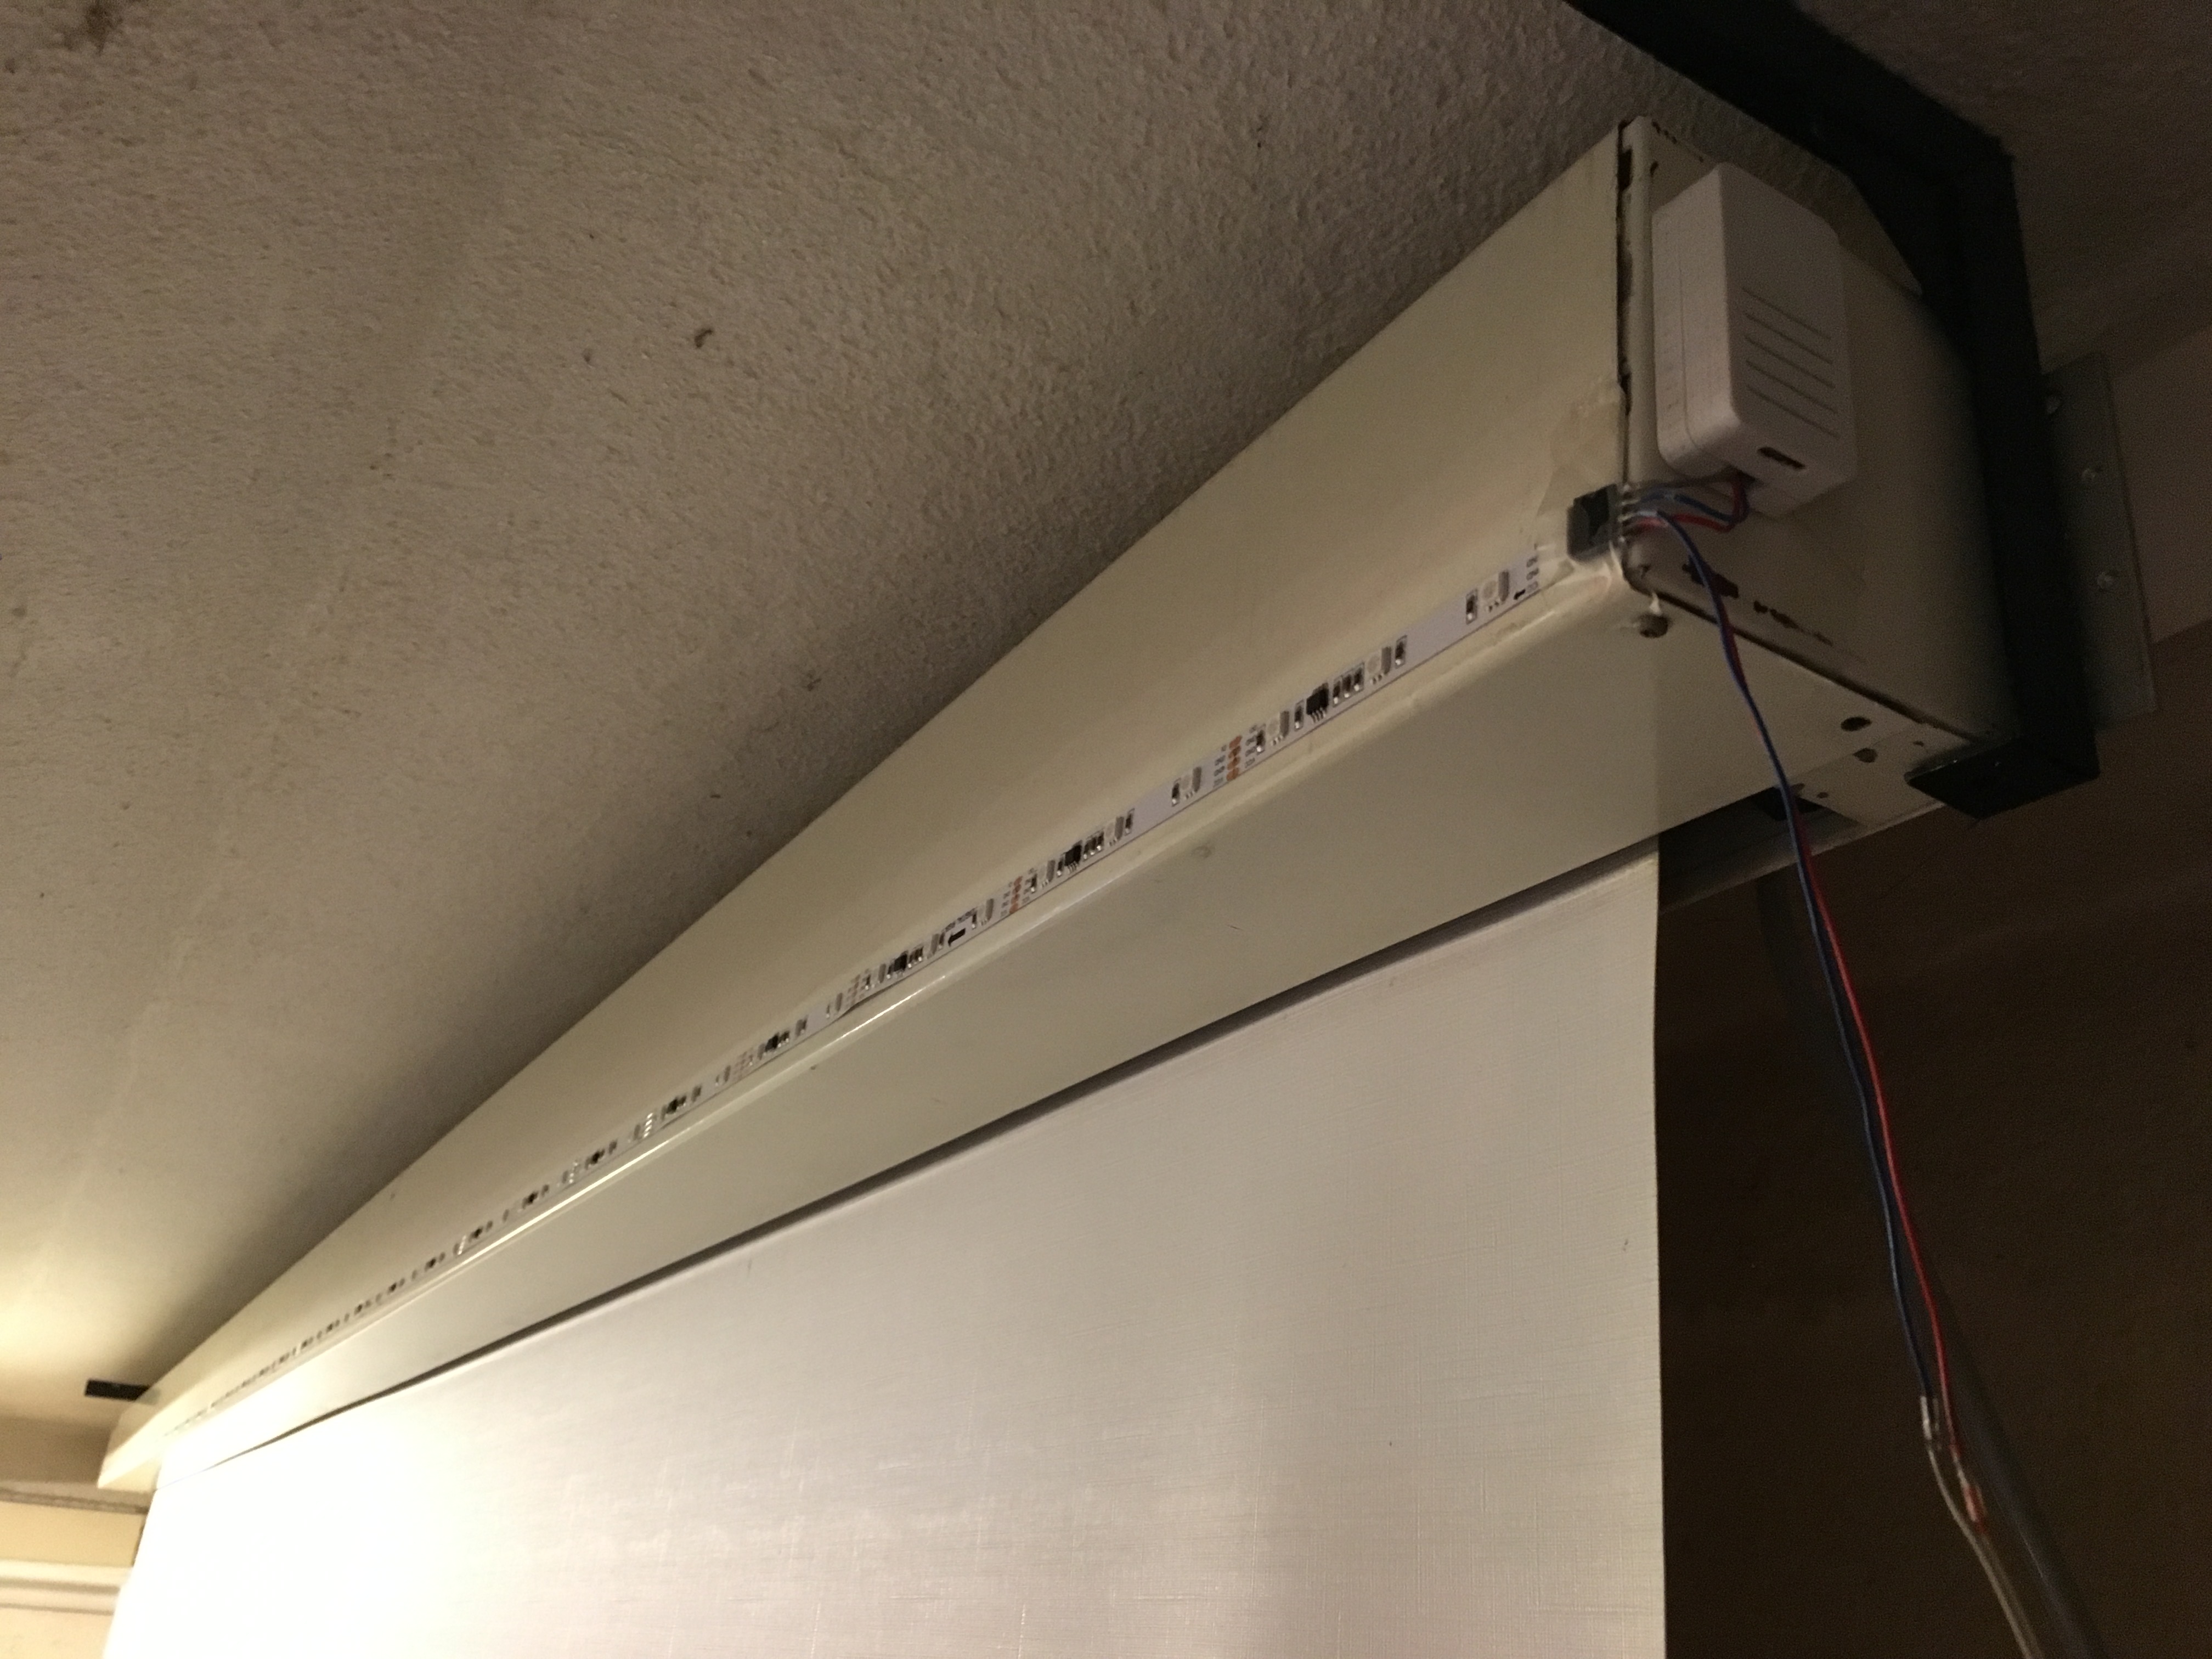
Also my brother and my father got into the game and started to build their own interesting applications. For example my father made our pool filtration system completely controllable. My brother built a LED strip that automatically counts the scores of our football table and displays it. During the european championship it could also query a web API and display the flags of the teams scoring a goal at the moment.

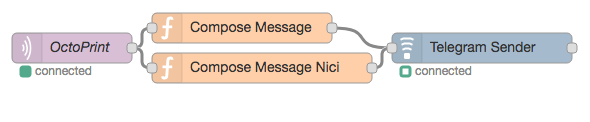
Also a funny application are telegram bots in nodered. I built one to notify me when my 3D prints are finished, but you can basically monitor everything. I use Octoprint to control my 3D printer and it has also a convenient MQTT plugin.
The Future
In the future I hope I will finally be able to switch to HOMIE v2 or just use something entirely different. I also will replace the central server, start all my configurations all over and this time be organised from the start.
Also the bigger brother of the ESP8266, the ESP32 is out and by now very well supported. This also makes it an option even though it might be overpowered for some things.
For the rest of it the future will be implementing more and more funny things, making all lights controllable and build more gadgetry
If you have any question to this project feel free to drop me an email and if I helped you in any way maybe buy me a coffee 🙂
By the way: I recently found a very nice instructable on all this! check it out