Electric Skateboard Project
As this is the ultimate trend I of course had to get me an electric skateboard somehow.
This project got started when I initially started to study in St. Pölten and I wanted a quick way to get from the train station to university. I saw a lot of other people using skateboards and some kids with electronic balance scooters. But I never really liked these because they are really heavy and it does not look so elegant using them. A skateboard meanwhile is much more classy. So I started my quest for an electric skateboard.
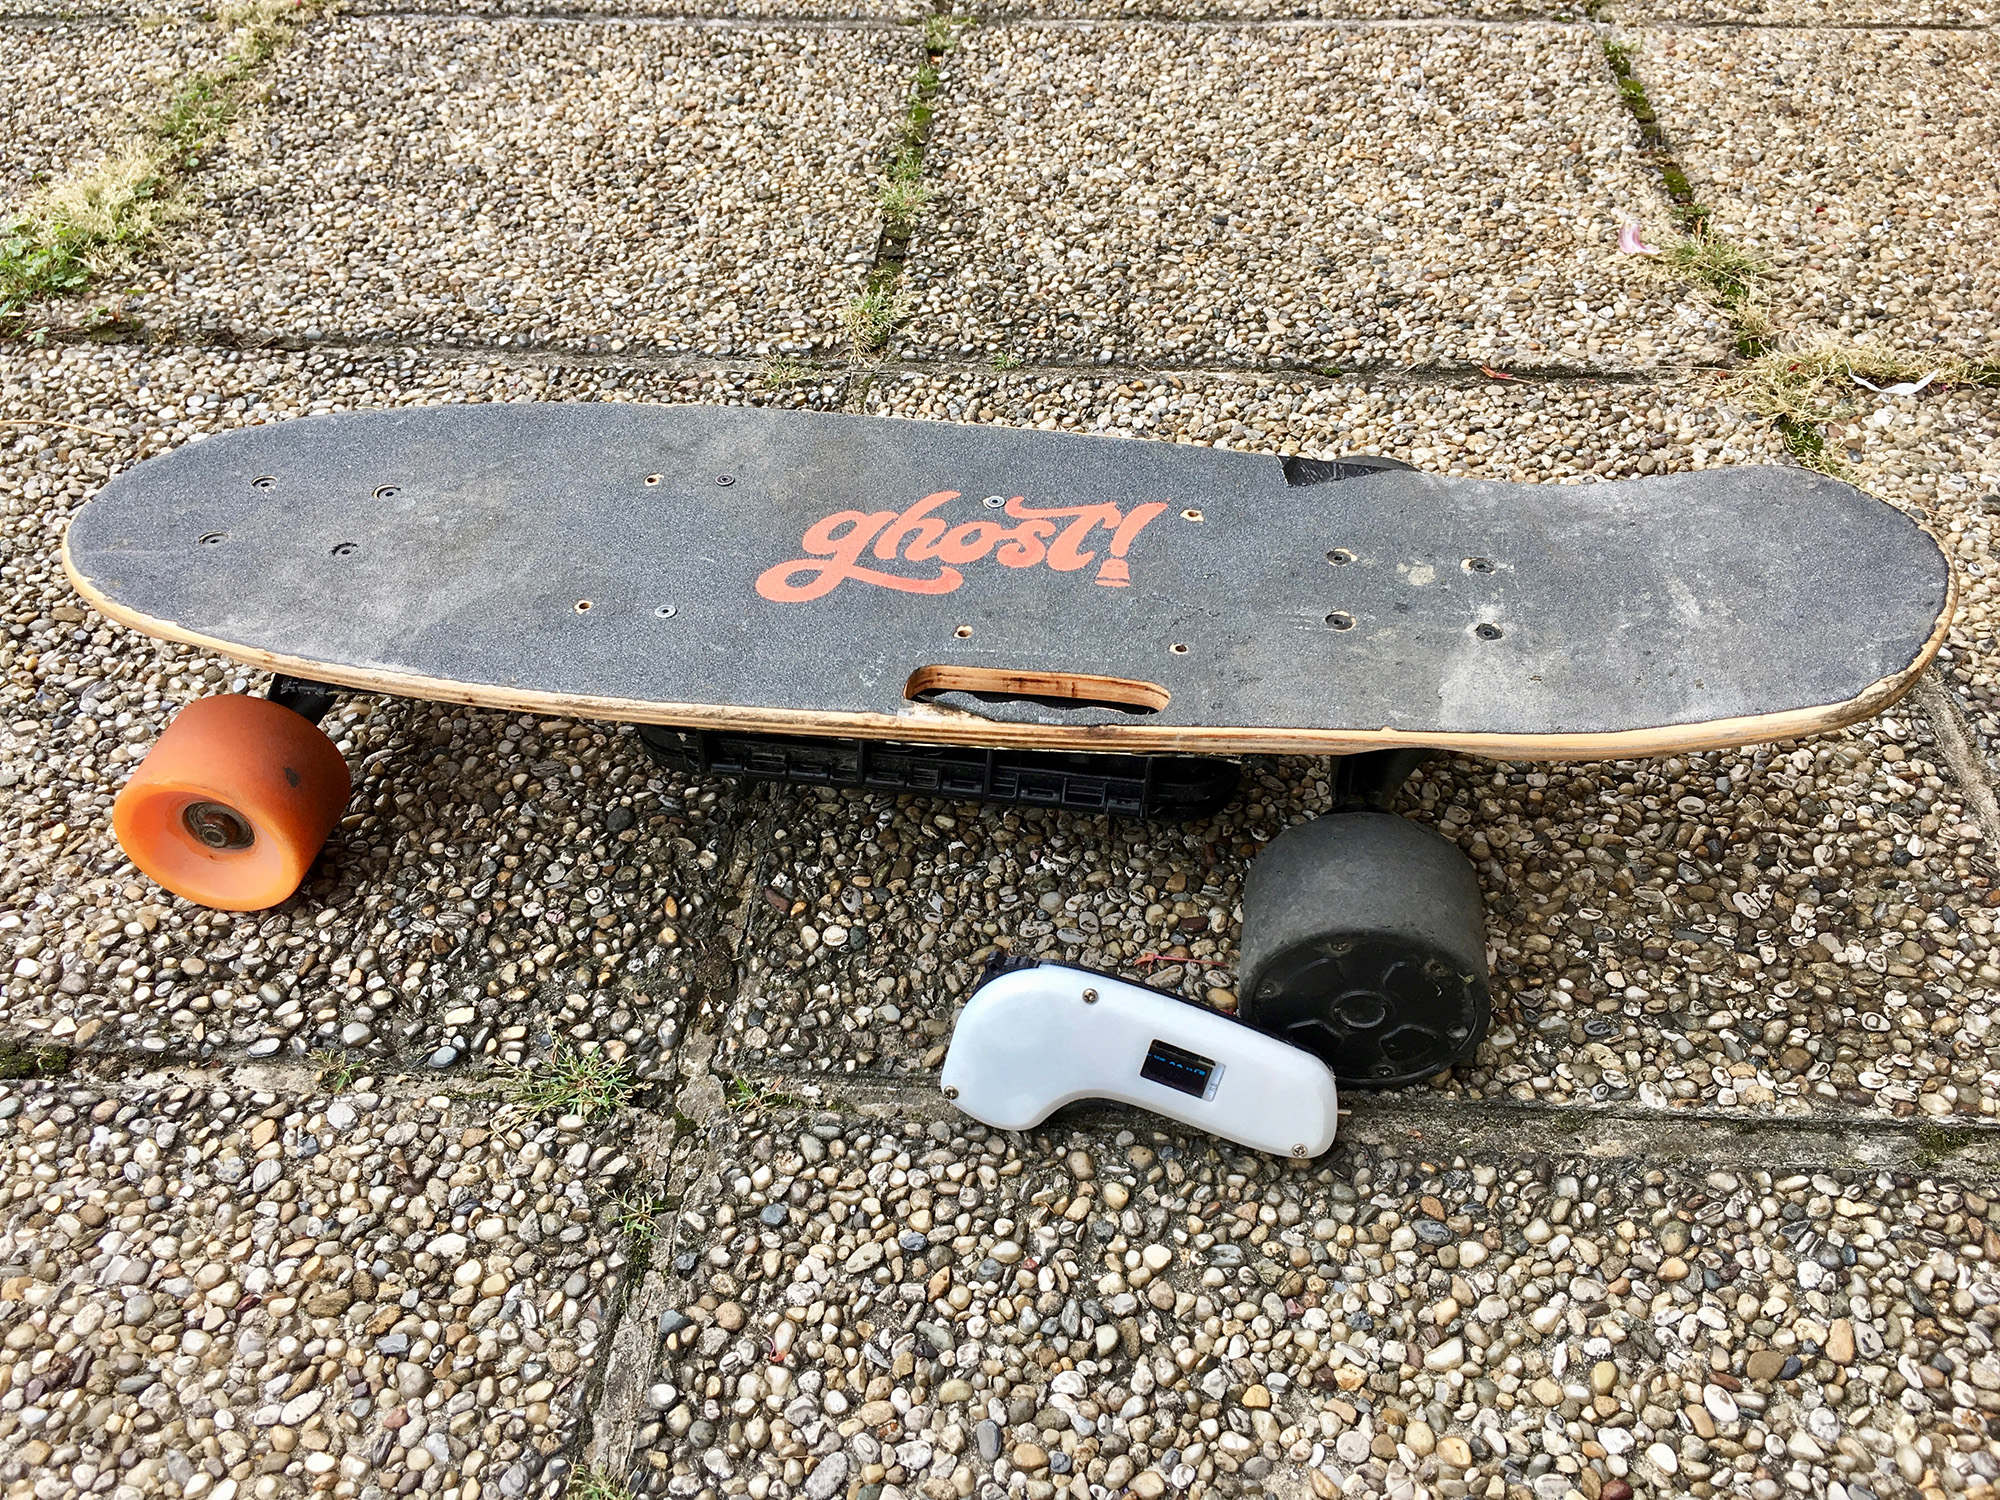
The Tesla of electric skateboards is the Boosted Board, but with that comes a high price and also a very heavy board. That was not really what I wanted, I wanted something agile and lightweight that I could take on my train journey every day. After searching around on Ali-Express I finally found the size of board I wanted, a "Nickl" style board with a single side hub motor. So I ordered that and started to use it for some time.
The board also cam e with a little remote, that was not really able to regulate its speed to something slow. This can be very useful when you want to walk beside somebody while talking to them... And it was anything but fast, additionally it shut down the motors on the slightest hills...
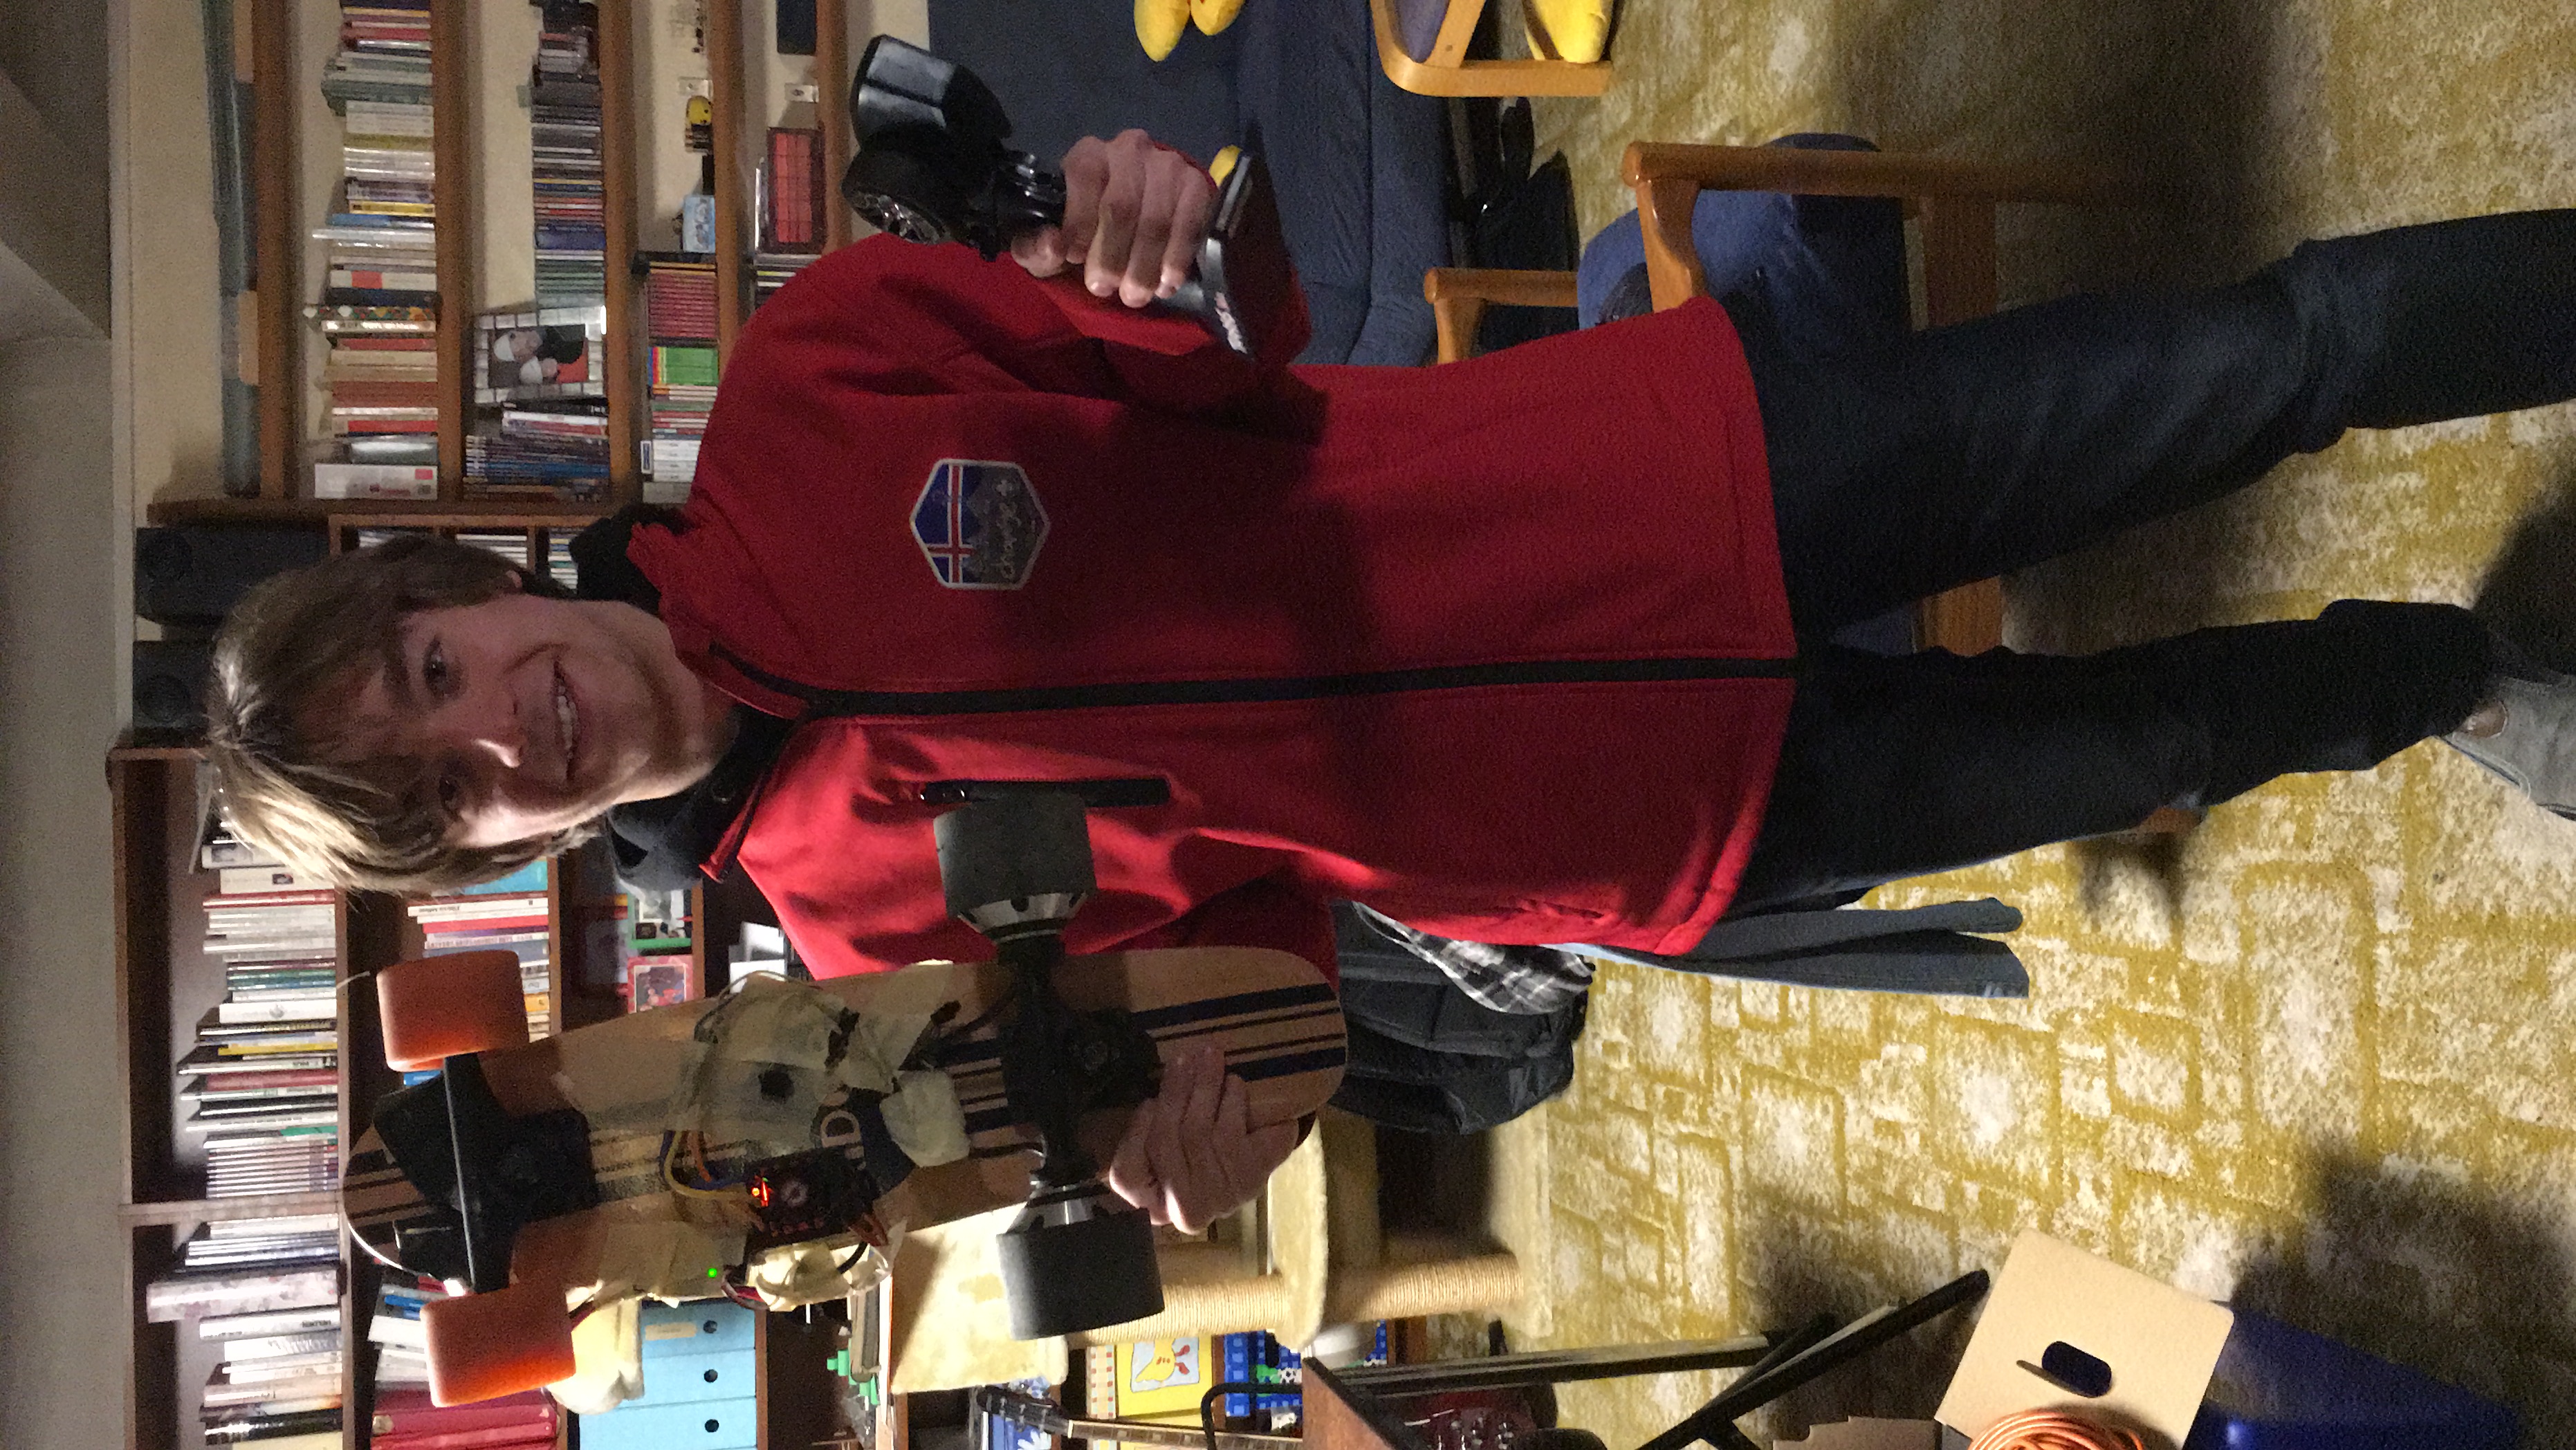
I still used the board a lot to get from and to uni and that was my main motivation to rebuild it. I also finally wanted to be able to answer the question "Did you build it yourself?" with a clear YESS.
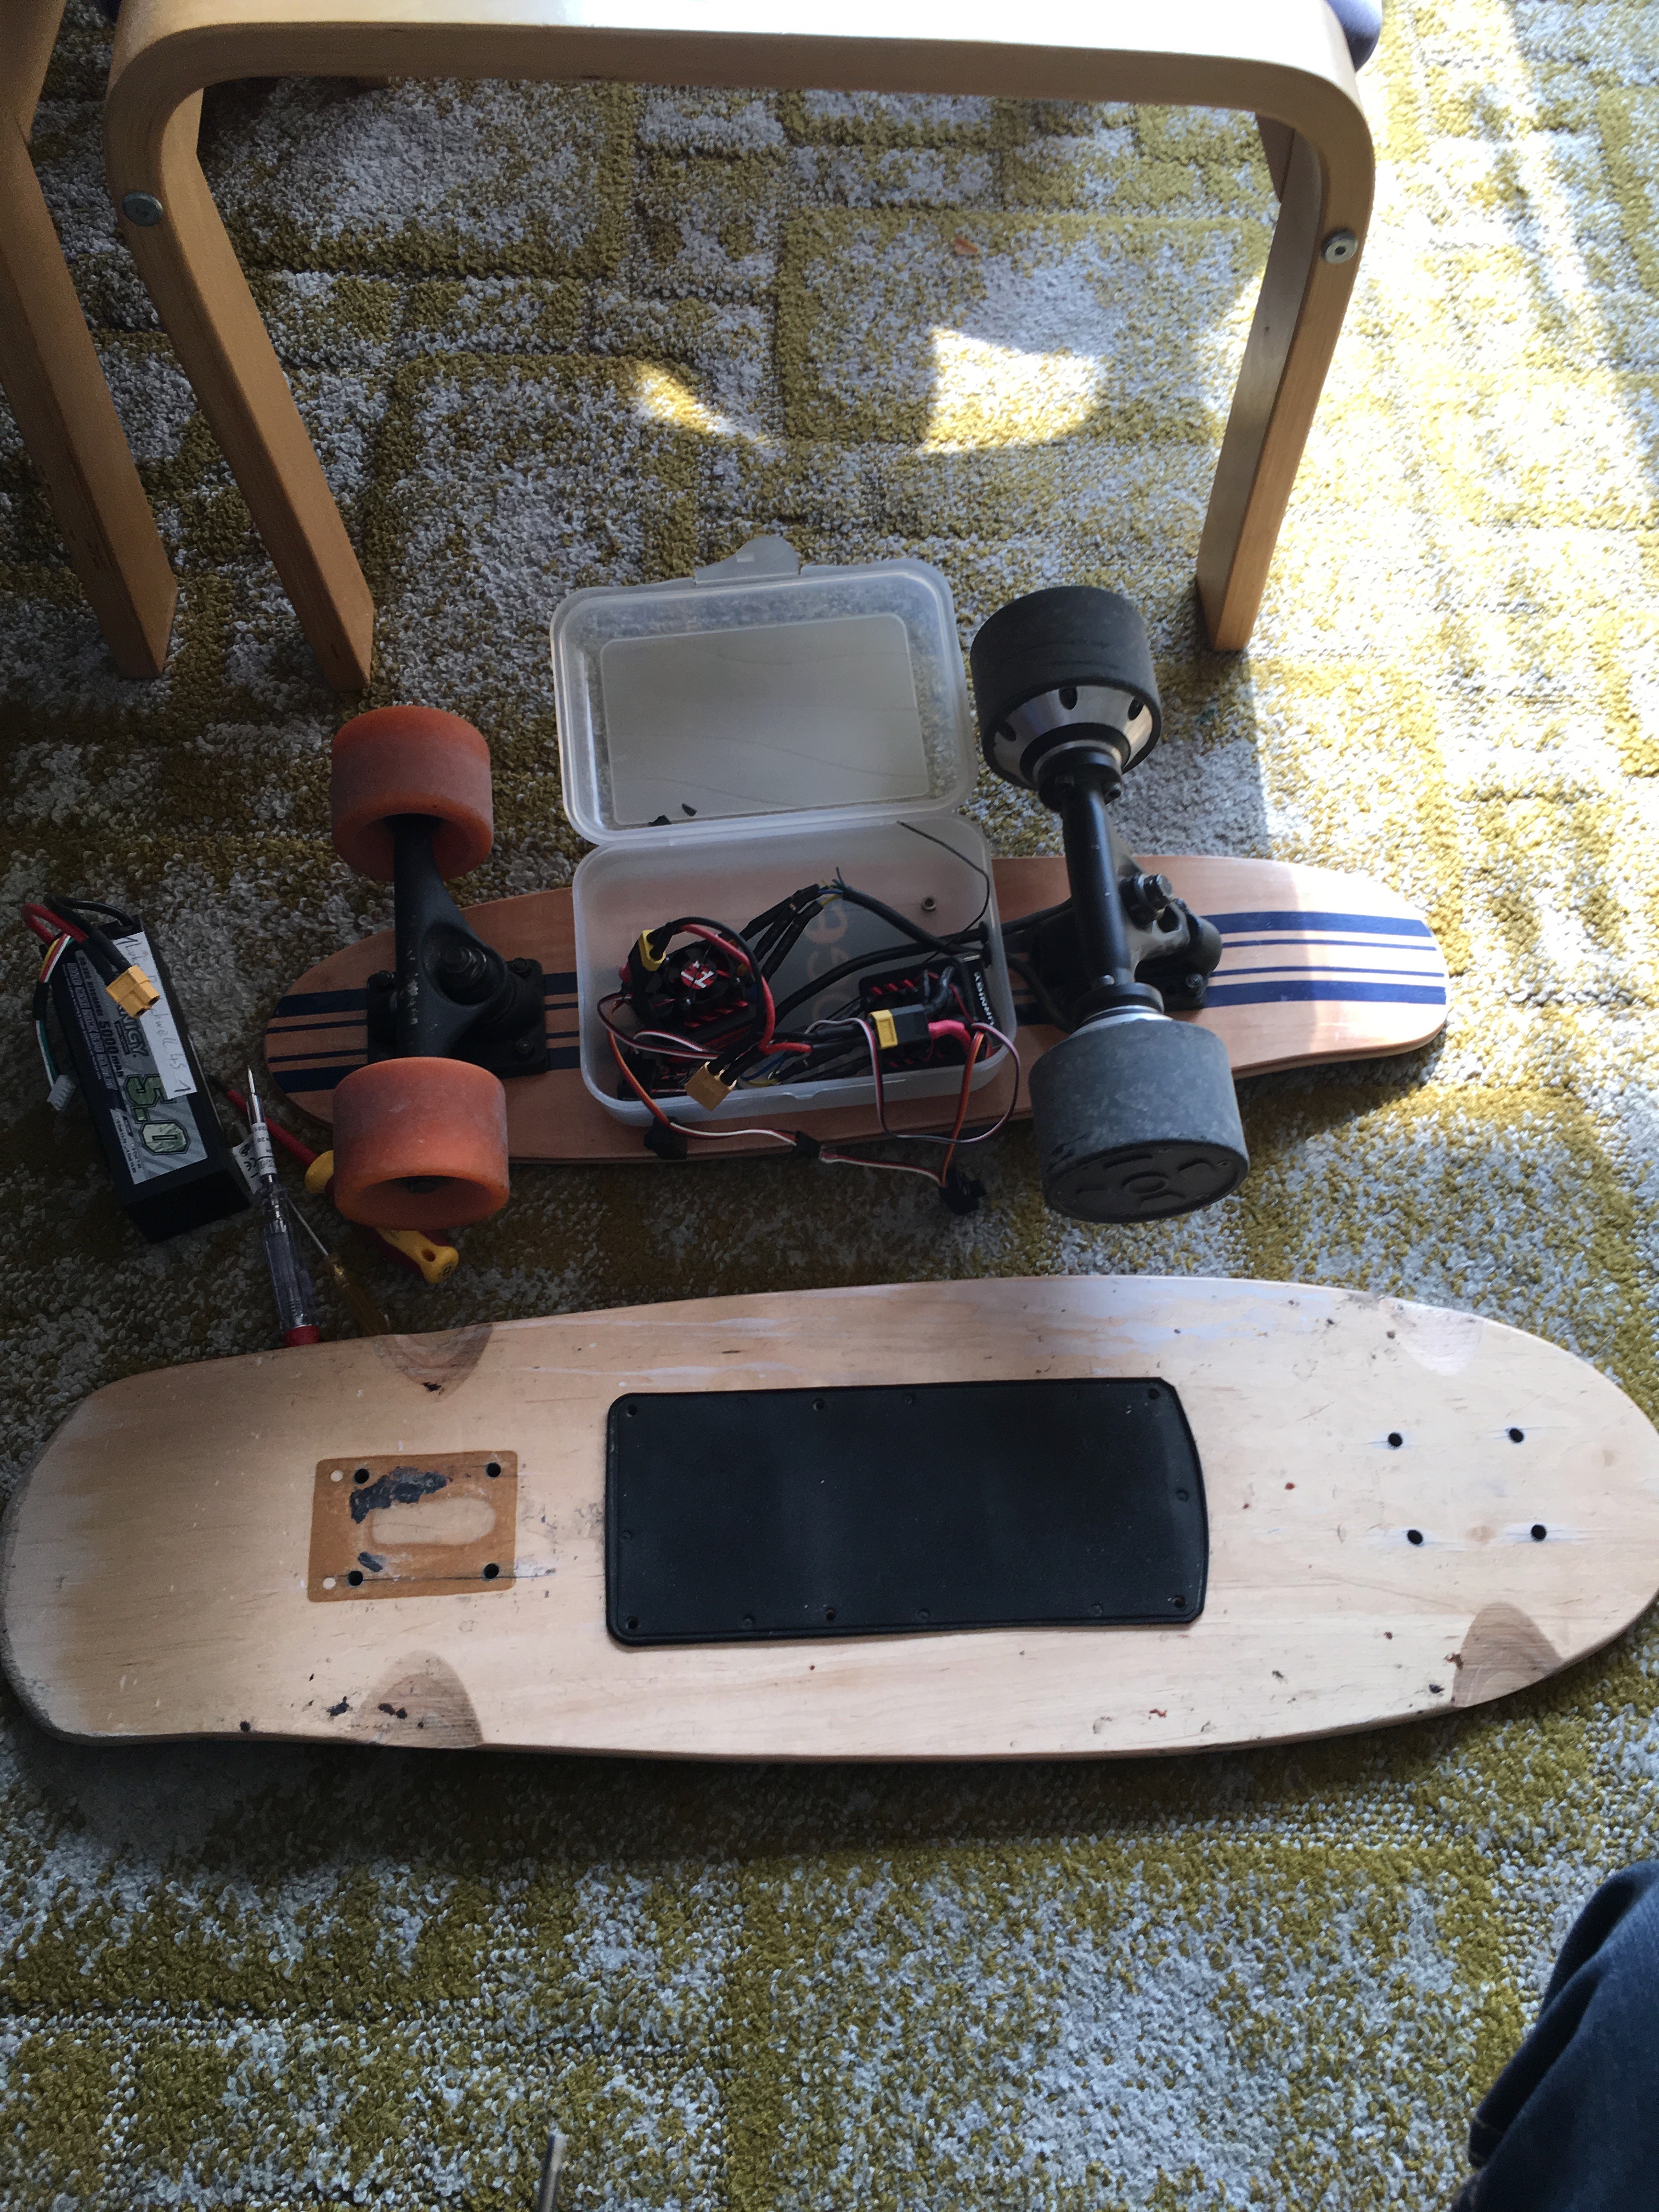
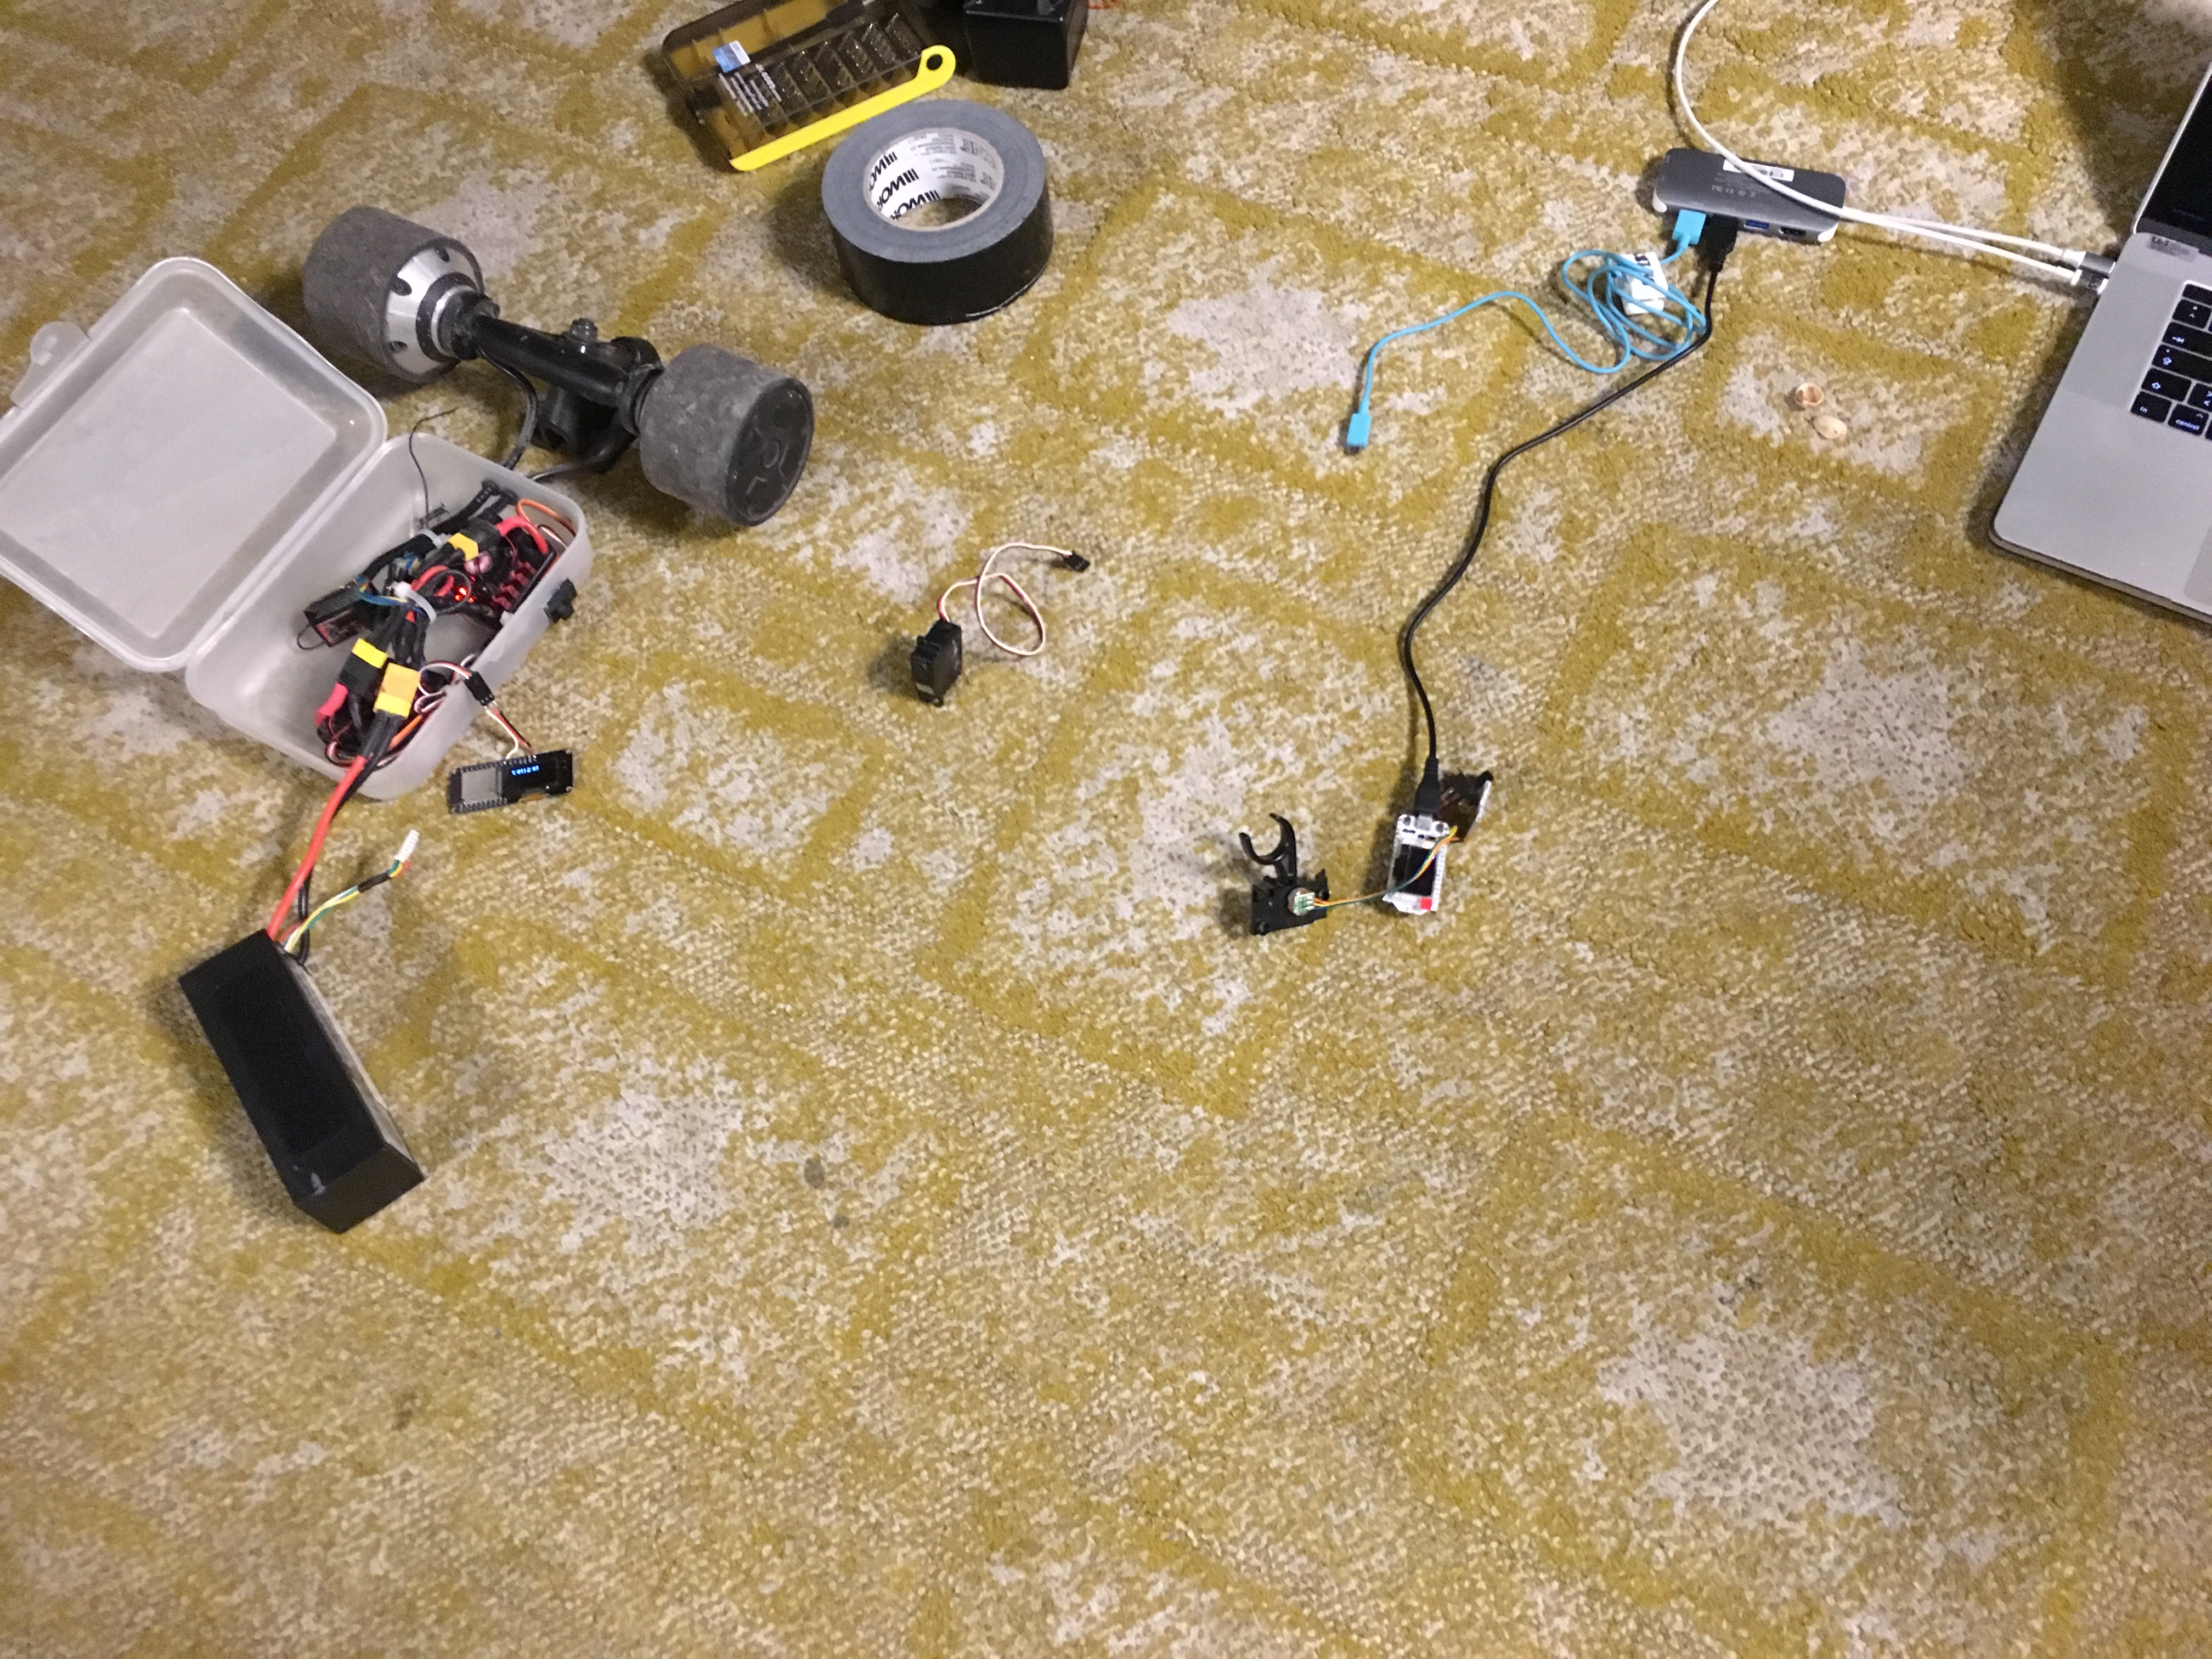
After my Semester in Valencia I got offered a motorized axis for my board from a friend for not too much money. So I took that as a motivation to get started. I ordered some cheap model RC speed controllers and started to experiment with my old RC remotes. In the meantime I also got myself an even smaller, true "Penny" board to test if this could work. To hold everything together I used an old lunchbox that I screwed to the board in the beginning.

After testing this setup for a little I decided that it is way too dangerous so I mounted everything on the bigger board.
Then the next thing was to replace the remote. I used the RC remote in the beginning but for everyday use it is just stupidly big to carry in your backpack all day.
I had some old scrap RC remotes and started to build using a trigger from one of these. I found a few designs on thingiverse and got started to build. For the electronics I used two ESP32 modules.
My first try was this design
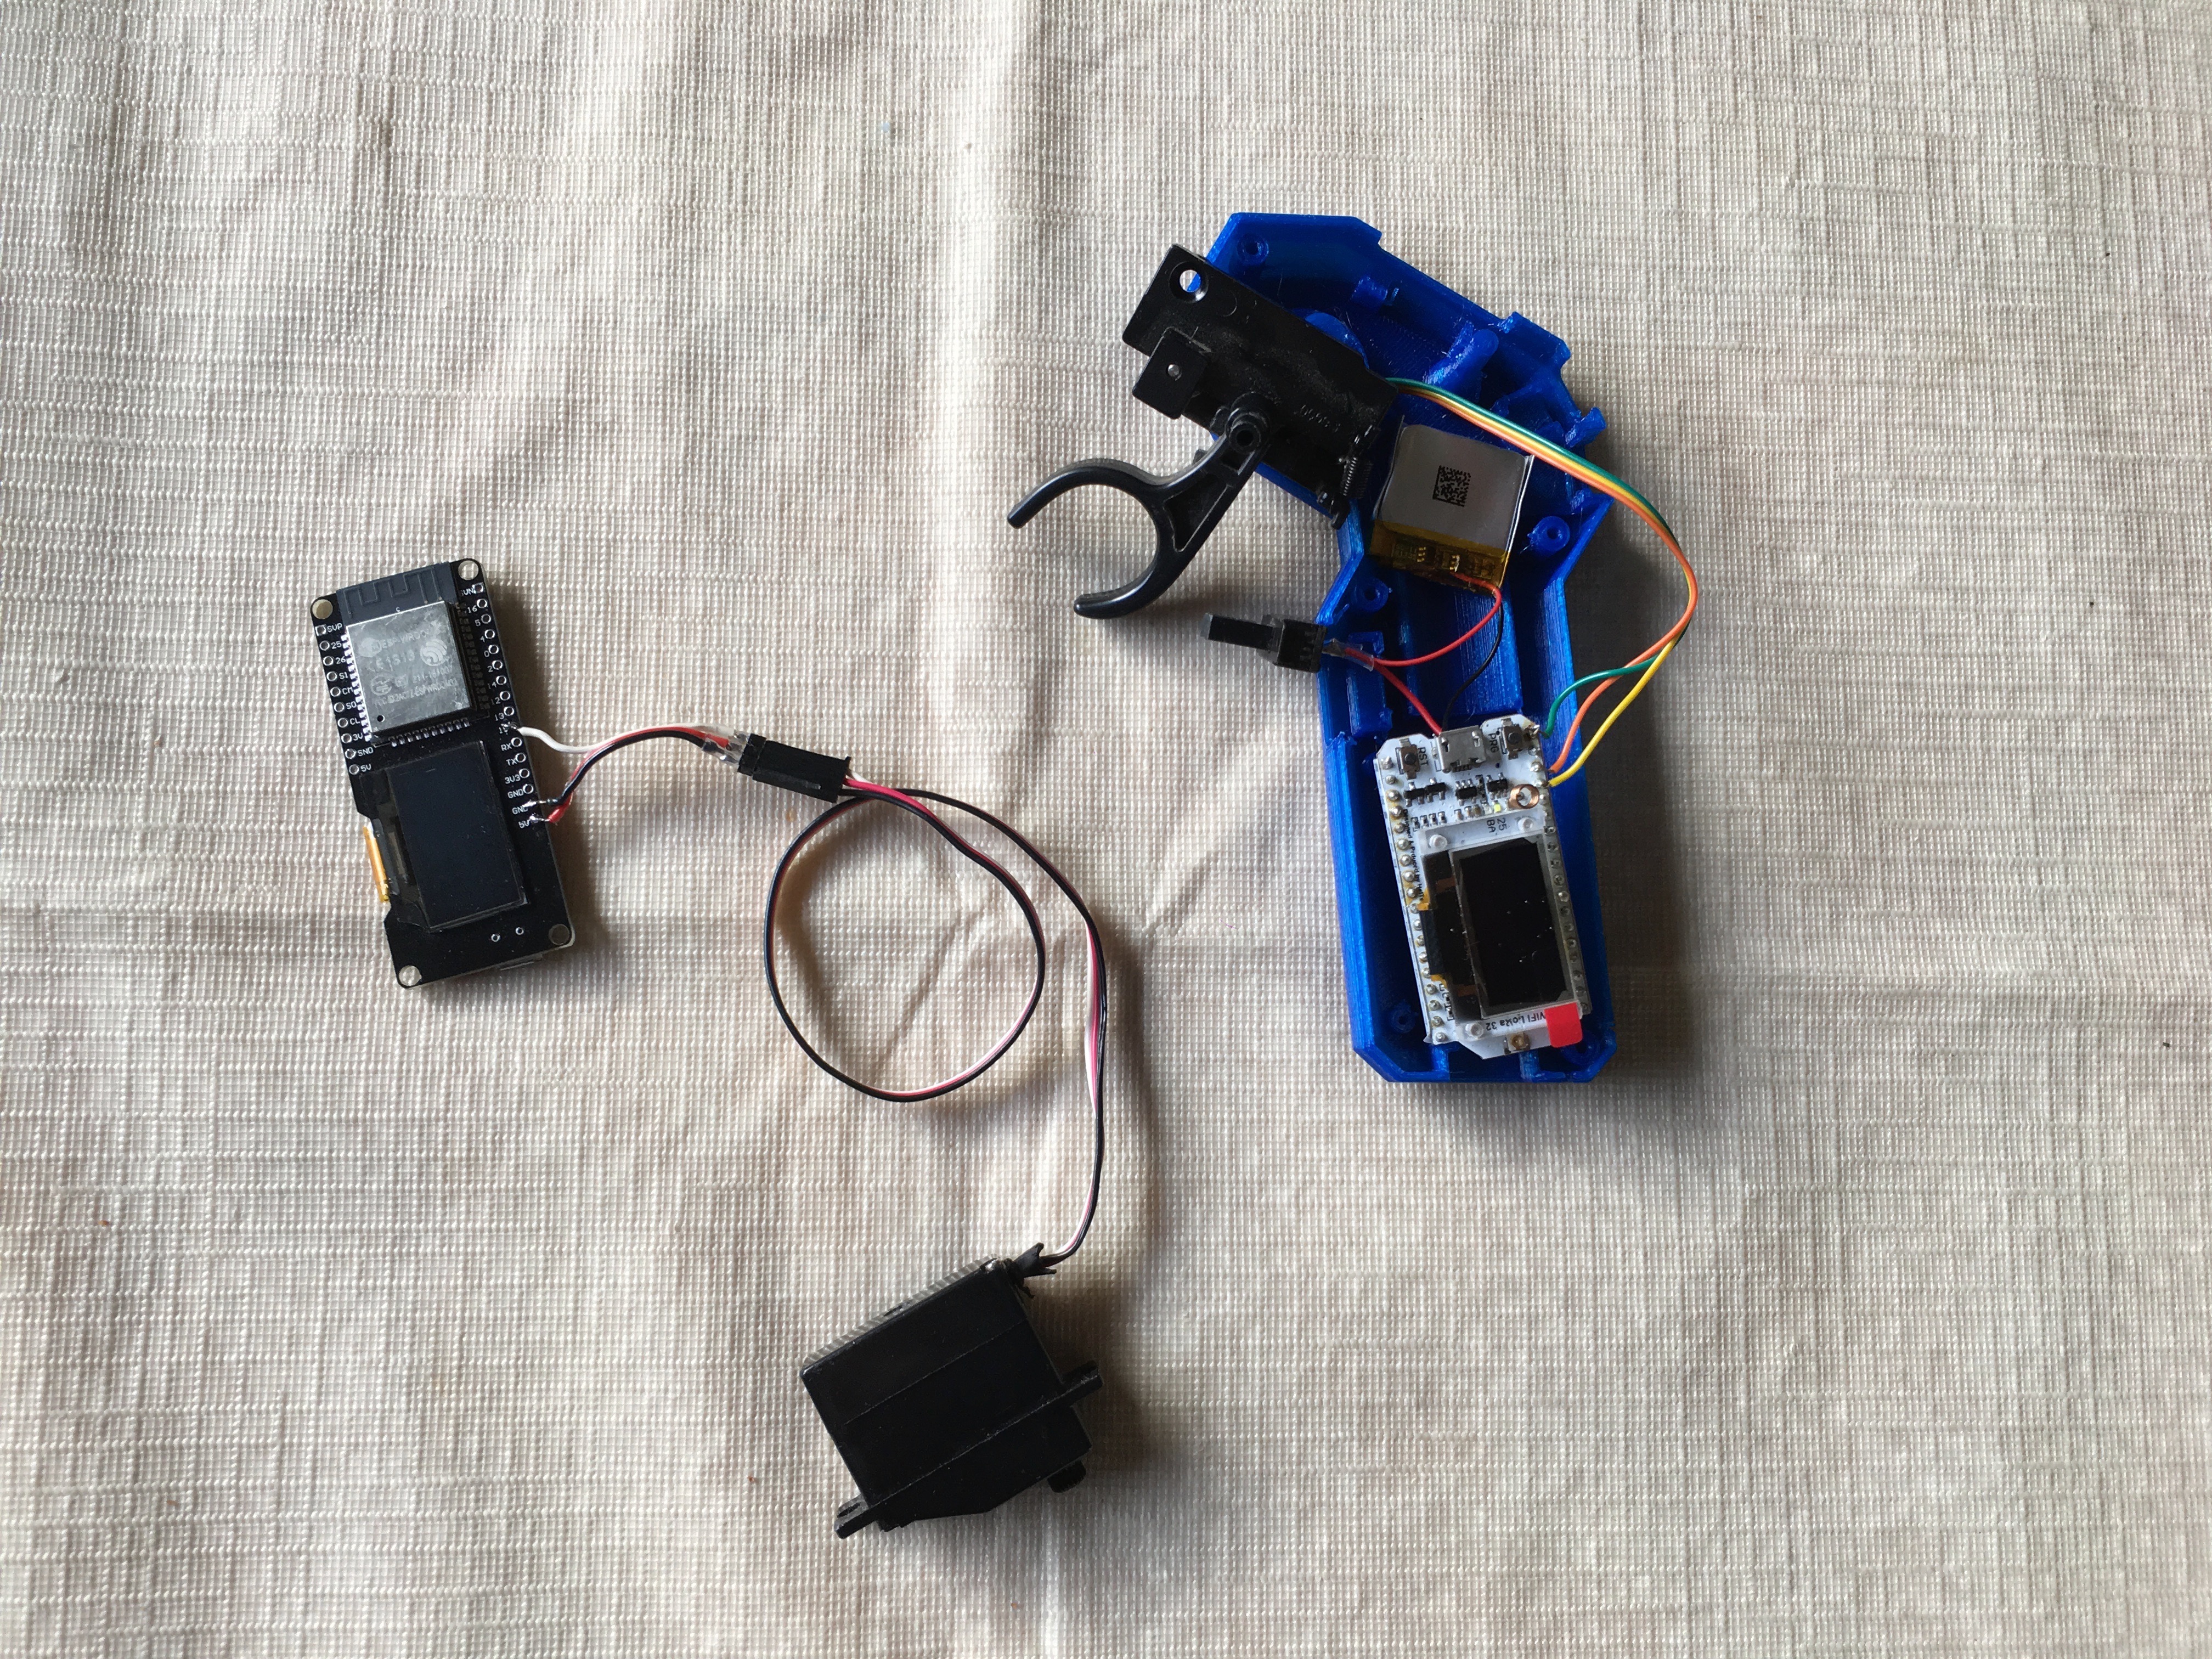
The designs I found on thingiverse are meant to be used with Arduino Nanos and NRF24 rf modules to create the connection. But I wanted to do that a little simpler. And since I knew about the ESPNOW protocol from Espressif
I decided to give that a try. And after some testing I got it working quite nicely.
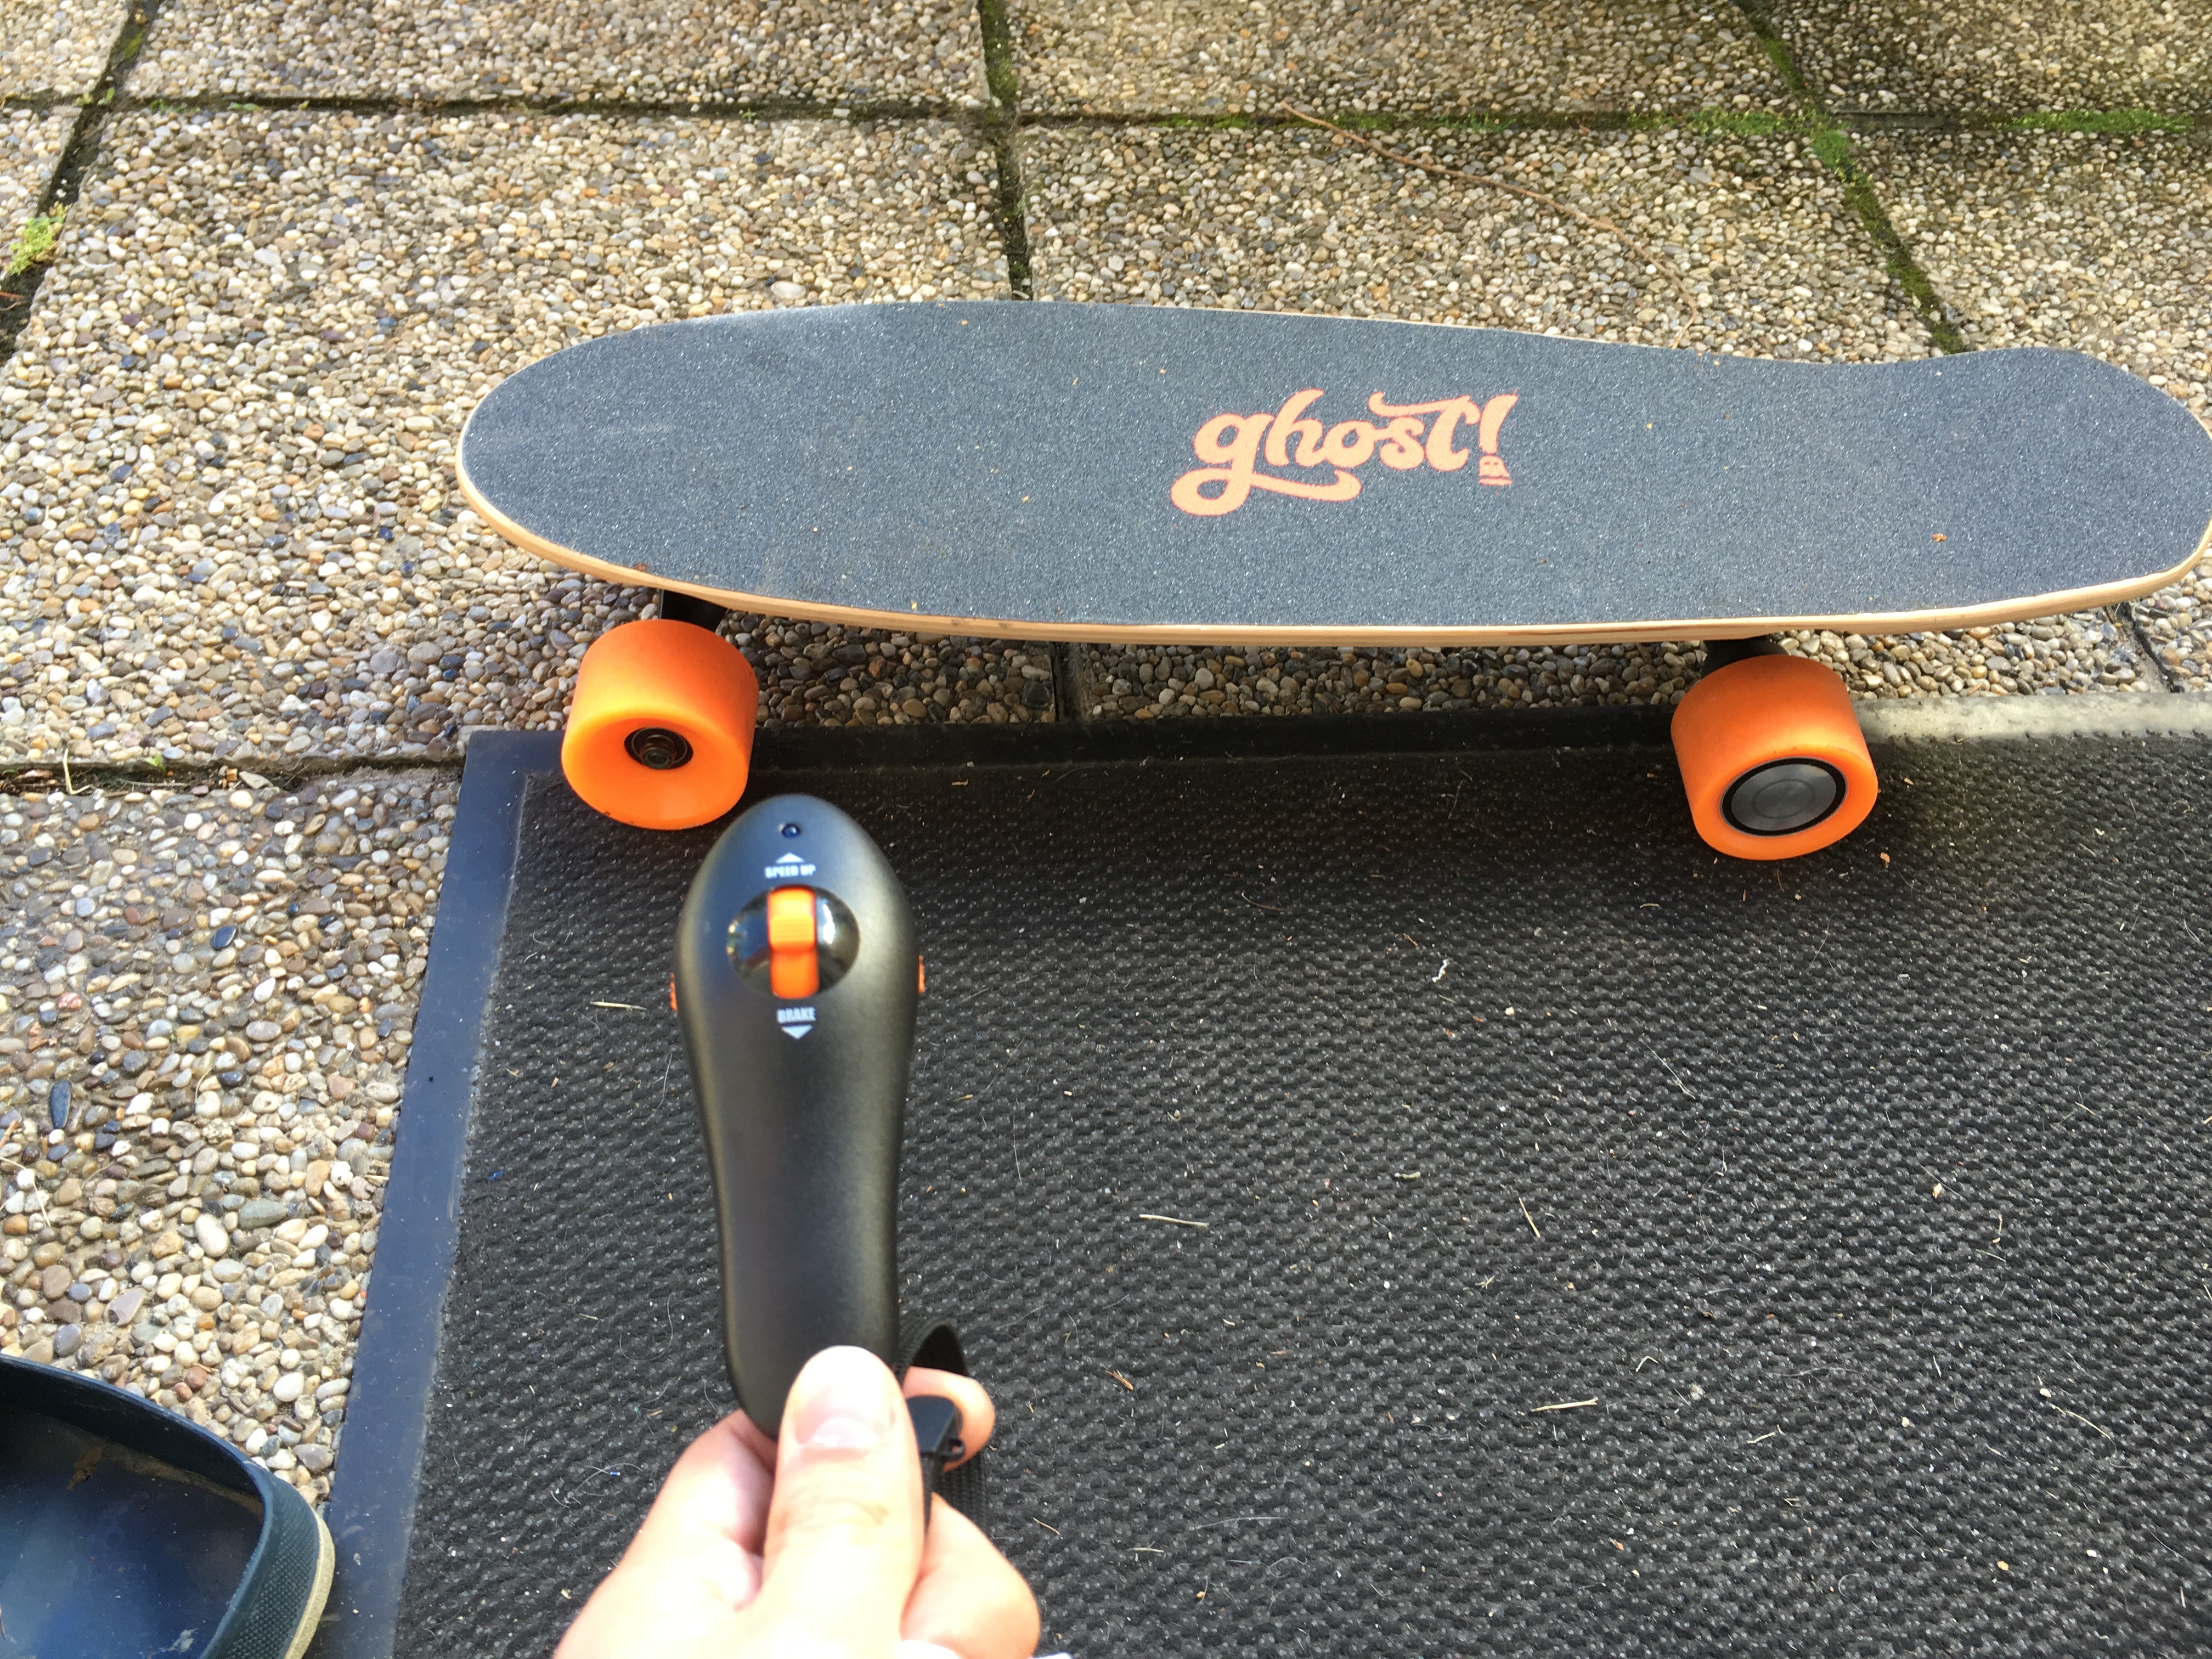
But the housing still caused difficulties. After searching again on thingiverse I found this design, the firefly remote. This remote is the latest design of SolidGeek, the actual creator of the firmware that everybody uses for their NRF24/Nano remotes. It uses a hall sensor and magnets to read the trigger and I printed and assembeled it. I still had some hall sensors from other projects and the neodym magnets where available on Amazon.
I started to build my own nice firmware with nice displays and using the ESPNOW control for the remote. I really liked SolidGeeks display setup so I copied a little bit from him and started add my own features to it. After some time my board also got 2 ws2812 programmable led strips on each side and I added some nifty features into it like cruise control.
Here is a gallery of my final skateboard:
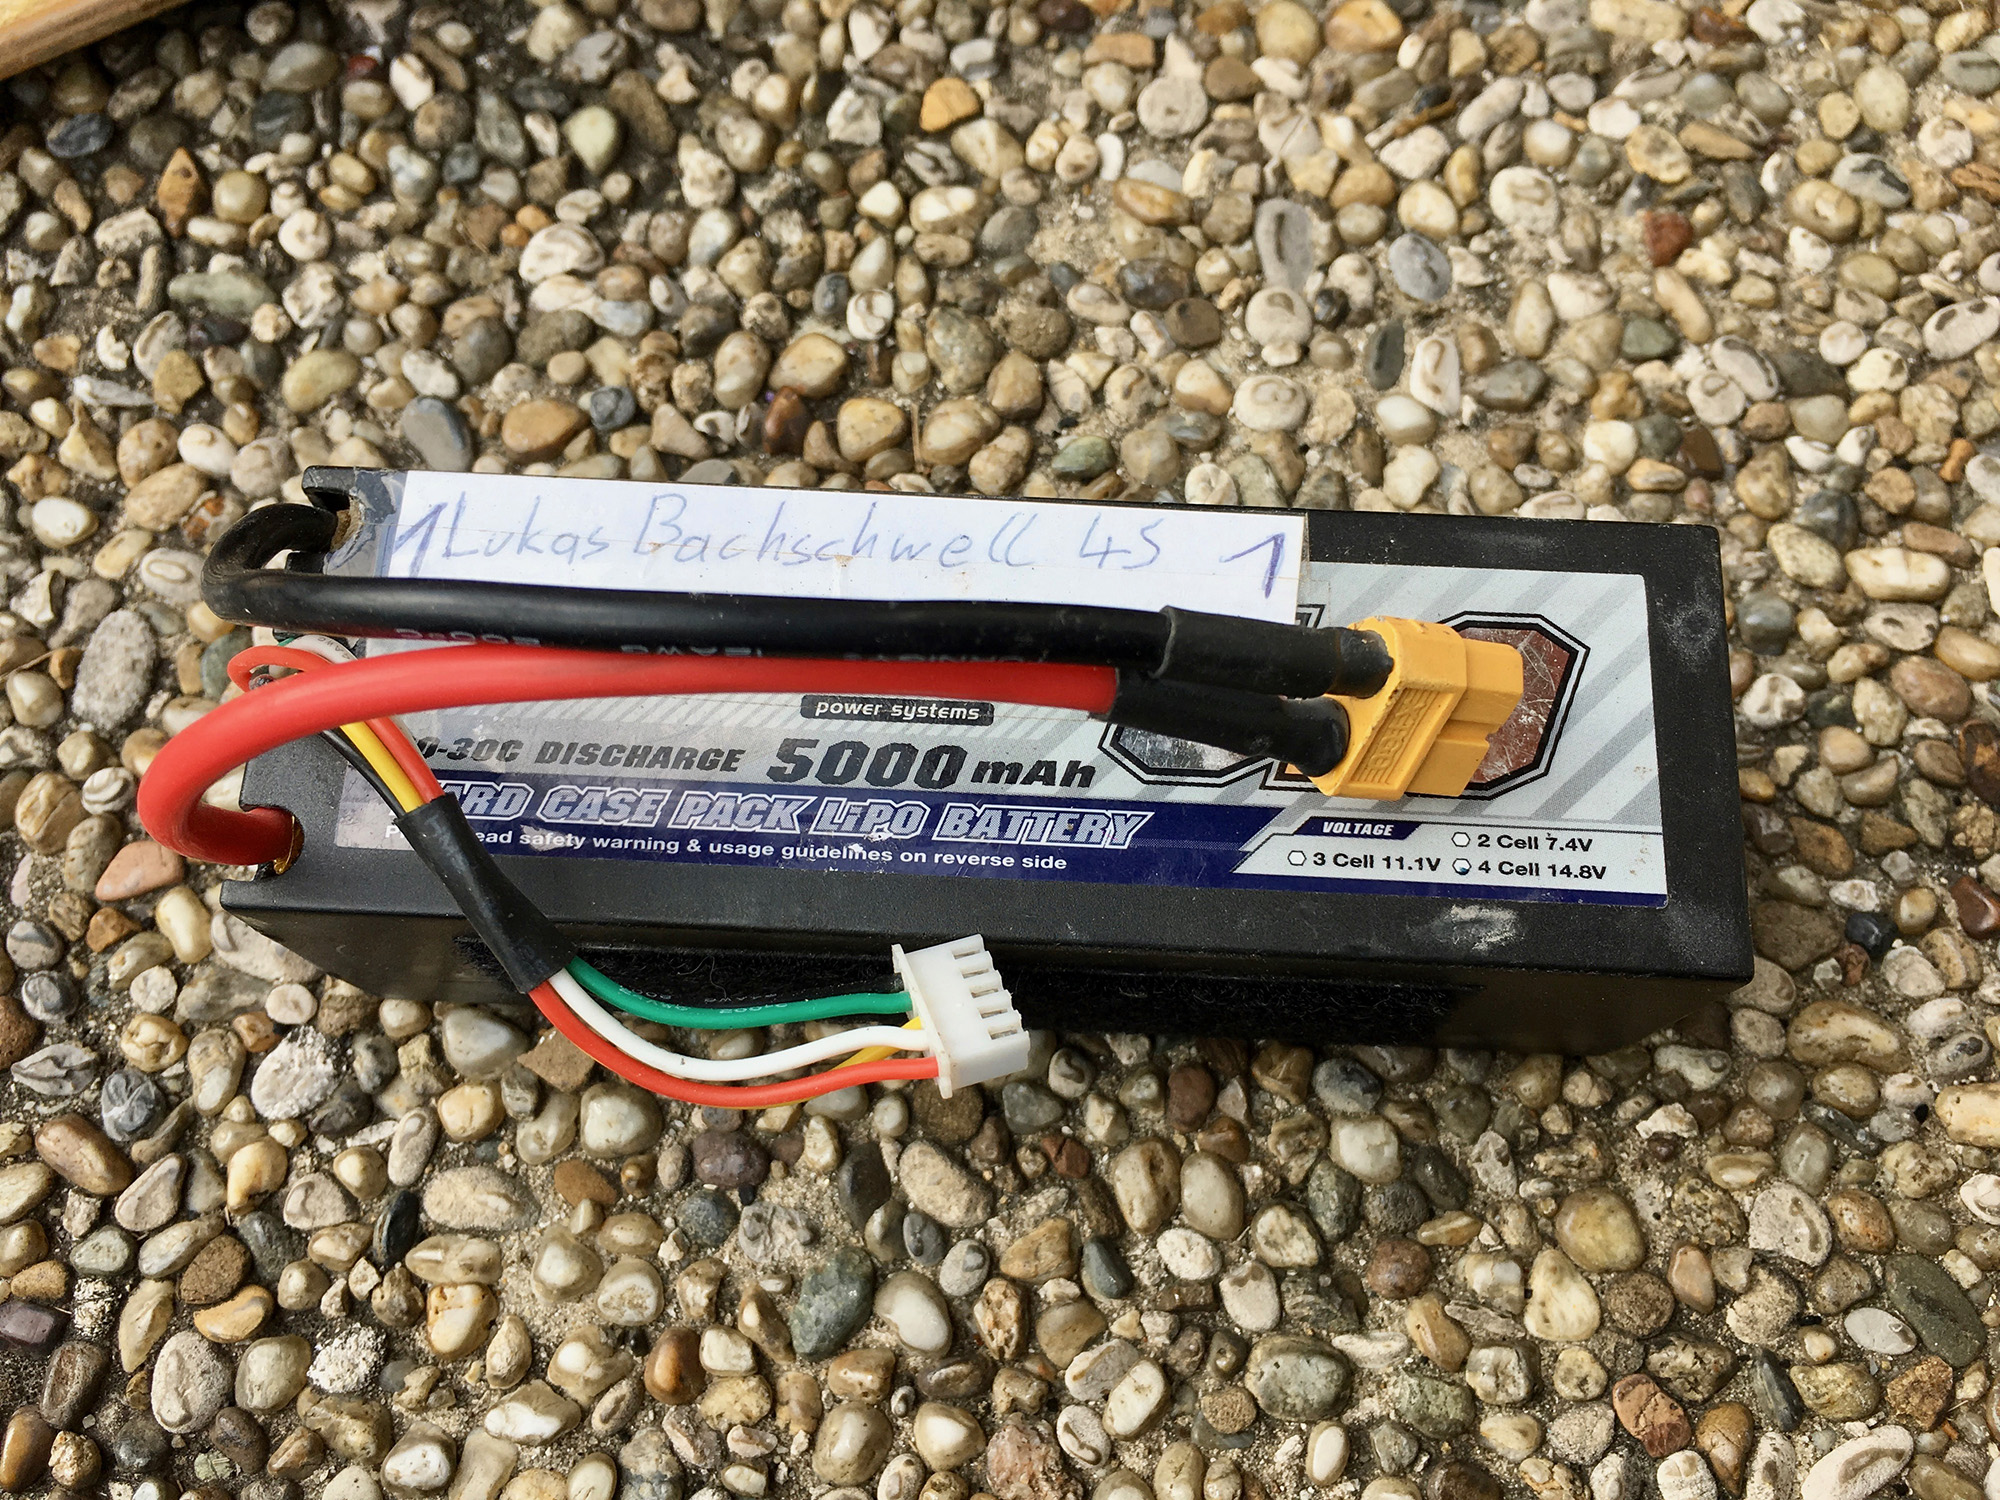
Batteries
I still had these 4S batteries from my old hexacopter, so I decided to use them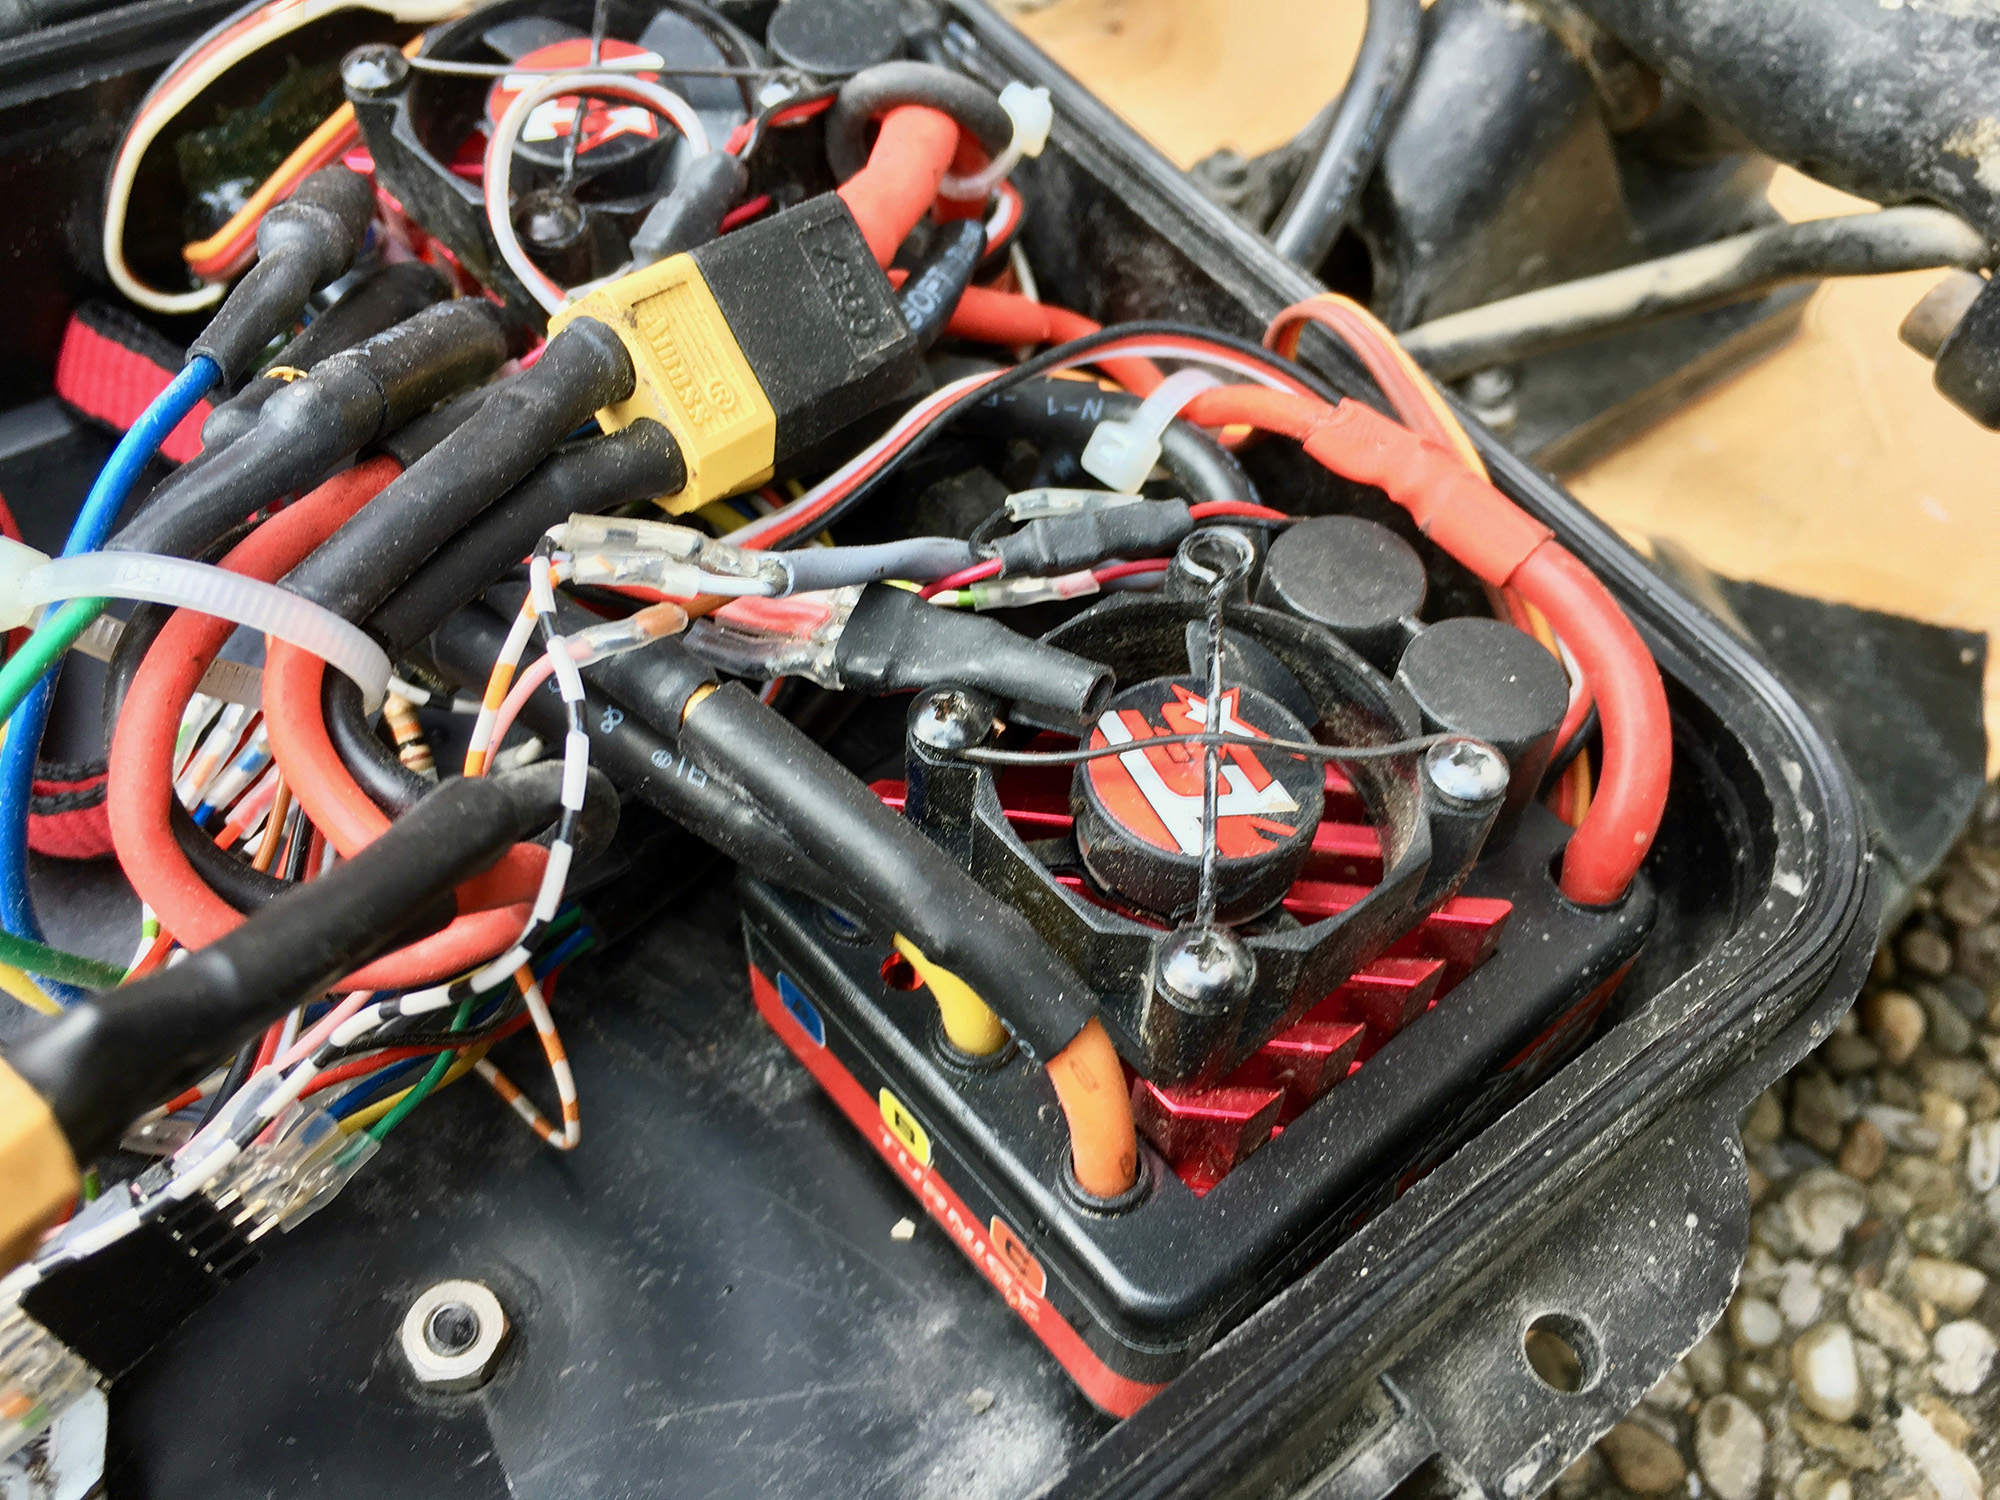
The Motor Controllers
Just some very small regular 4S controllers form hobbyking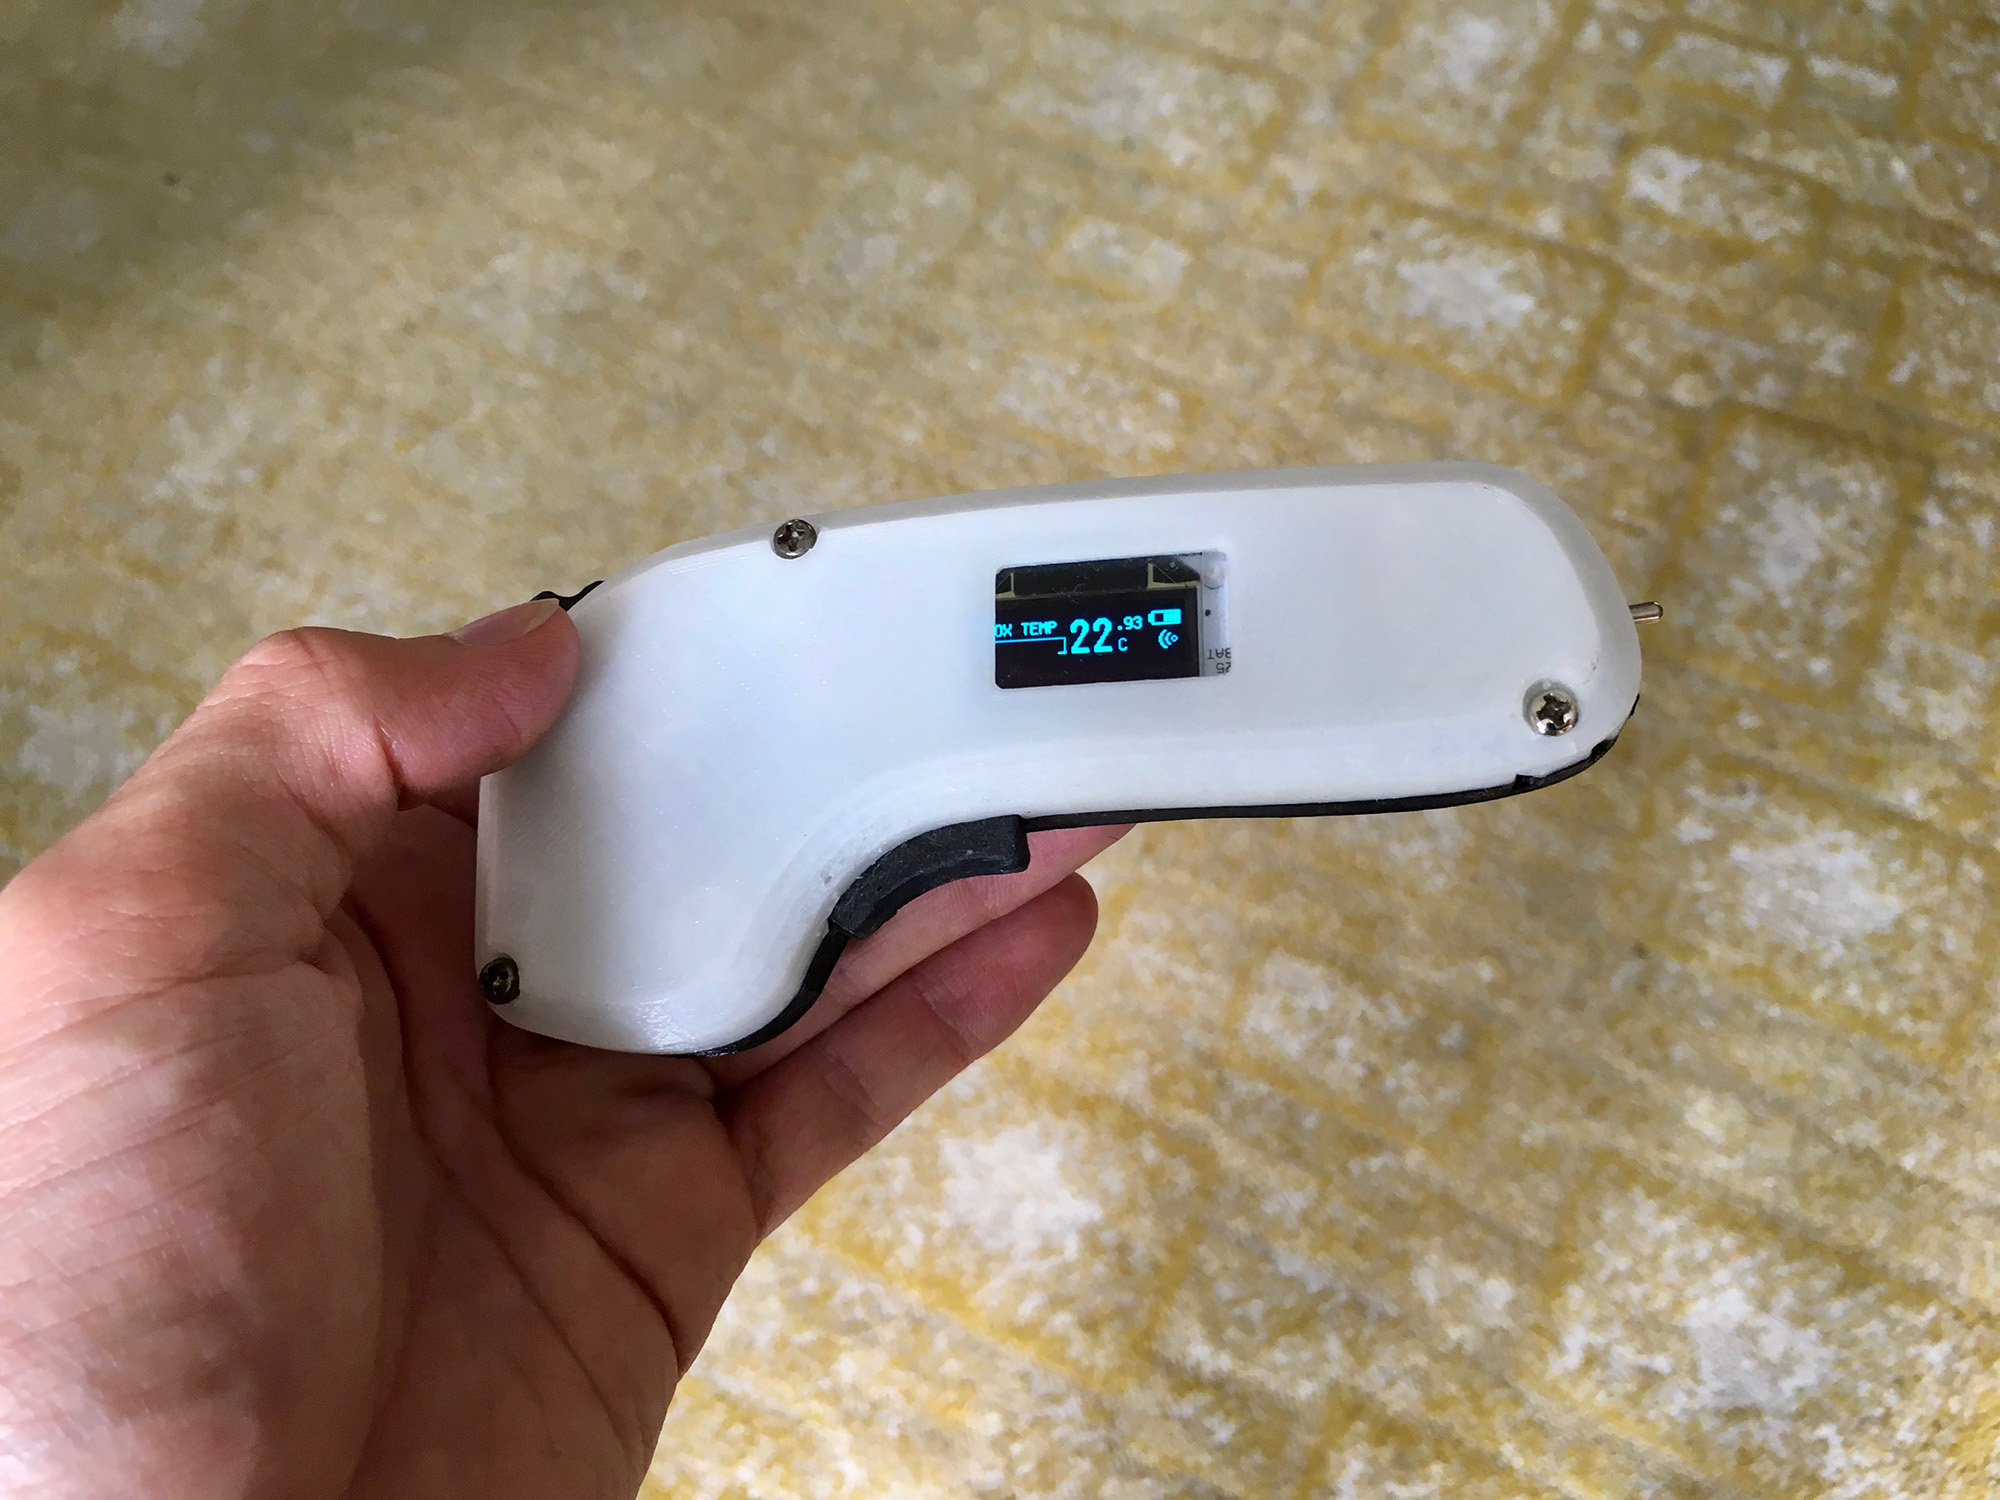
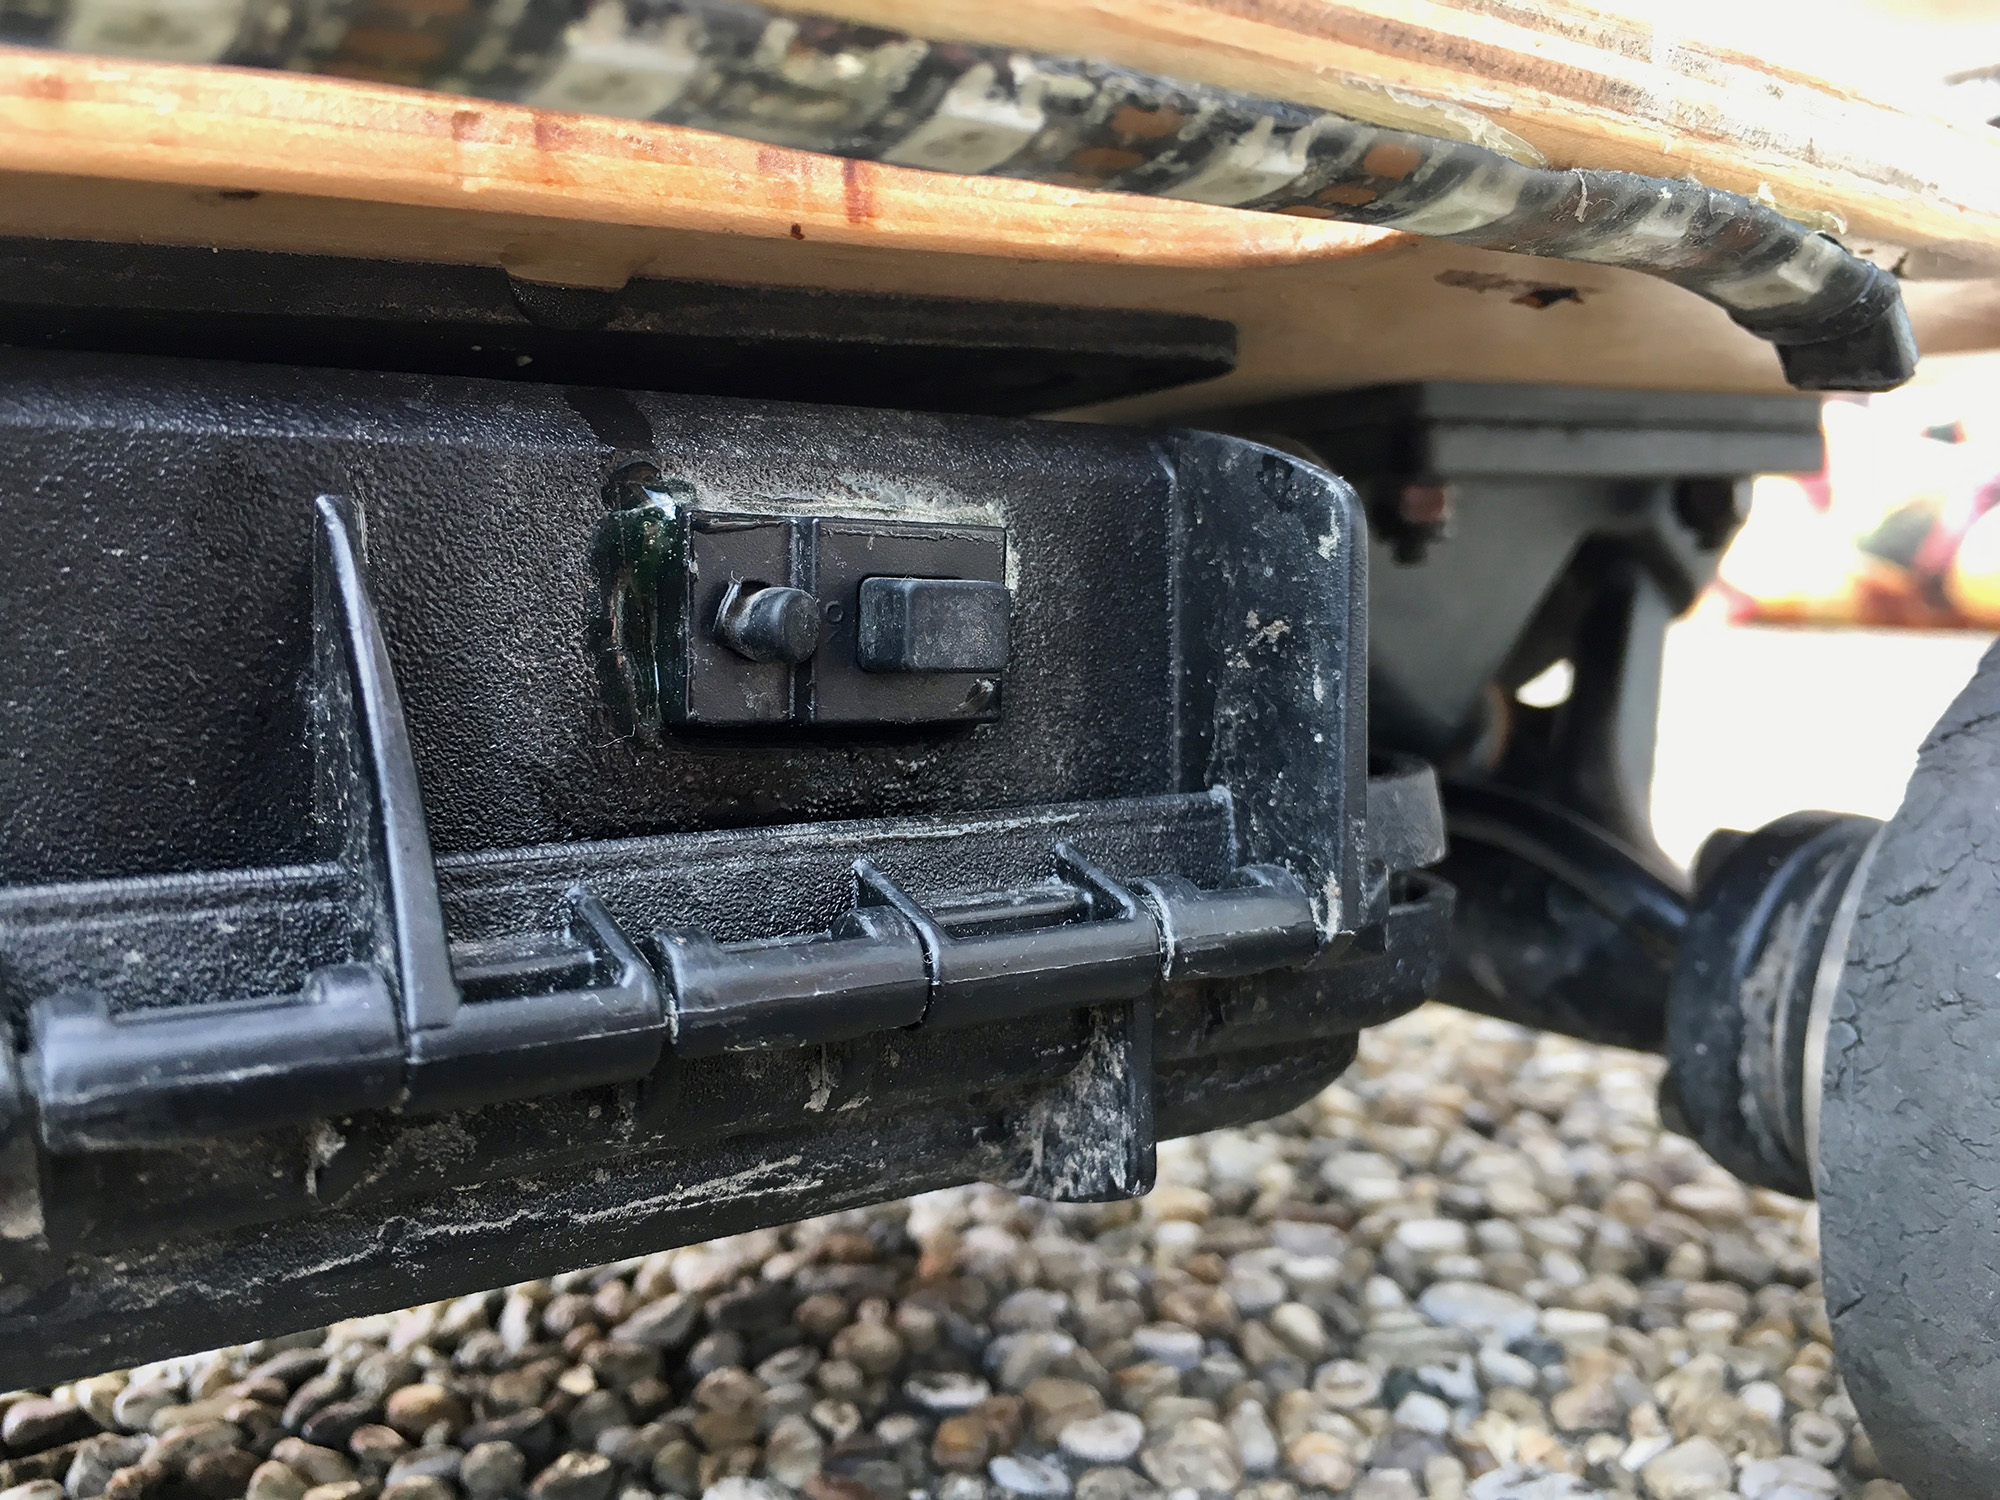
The on/off switch
Glued in with some epoxy
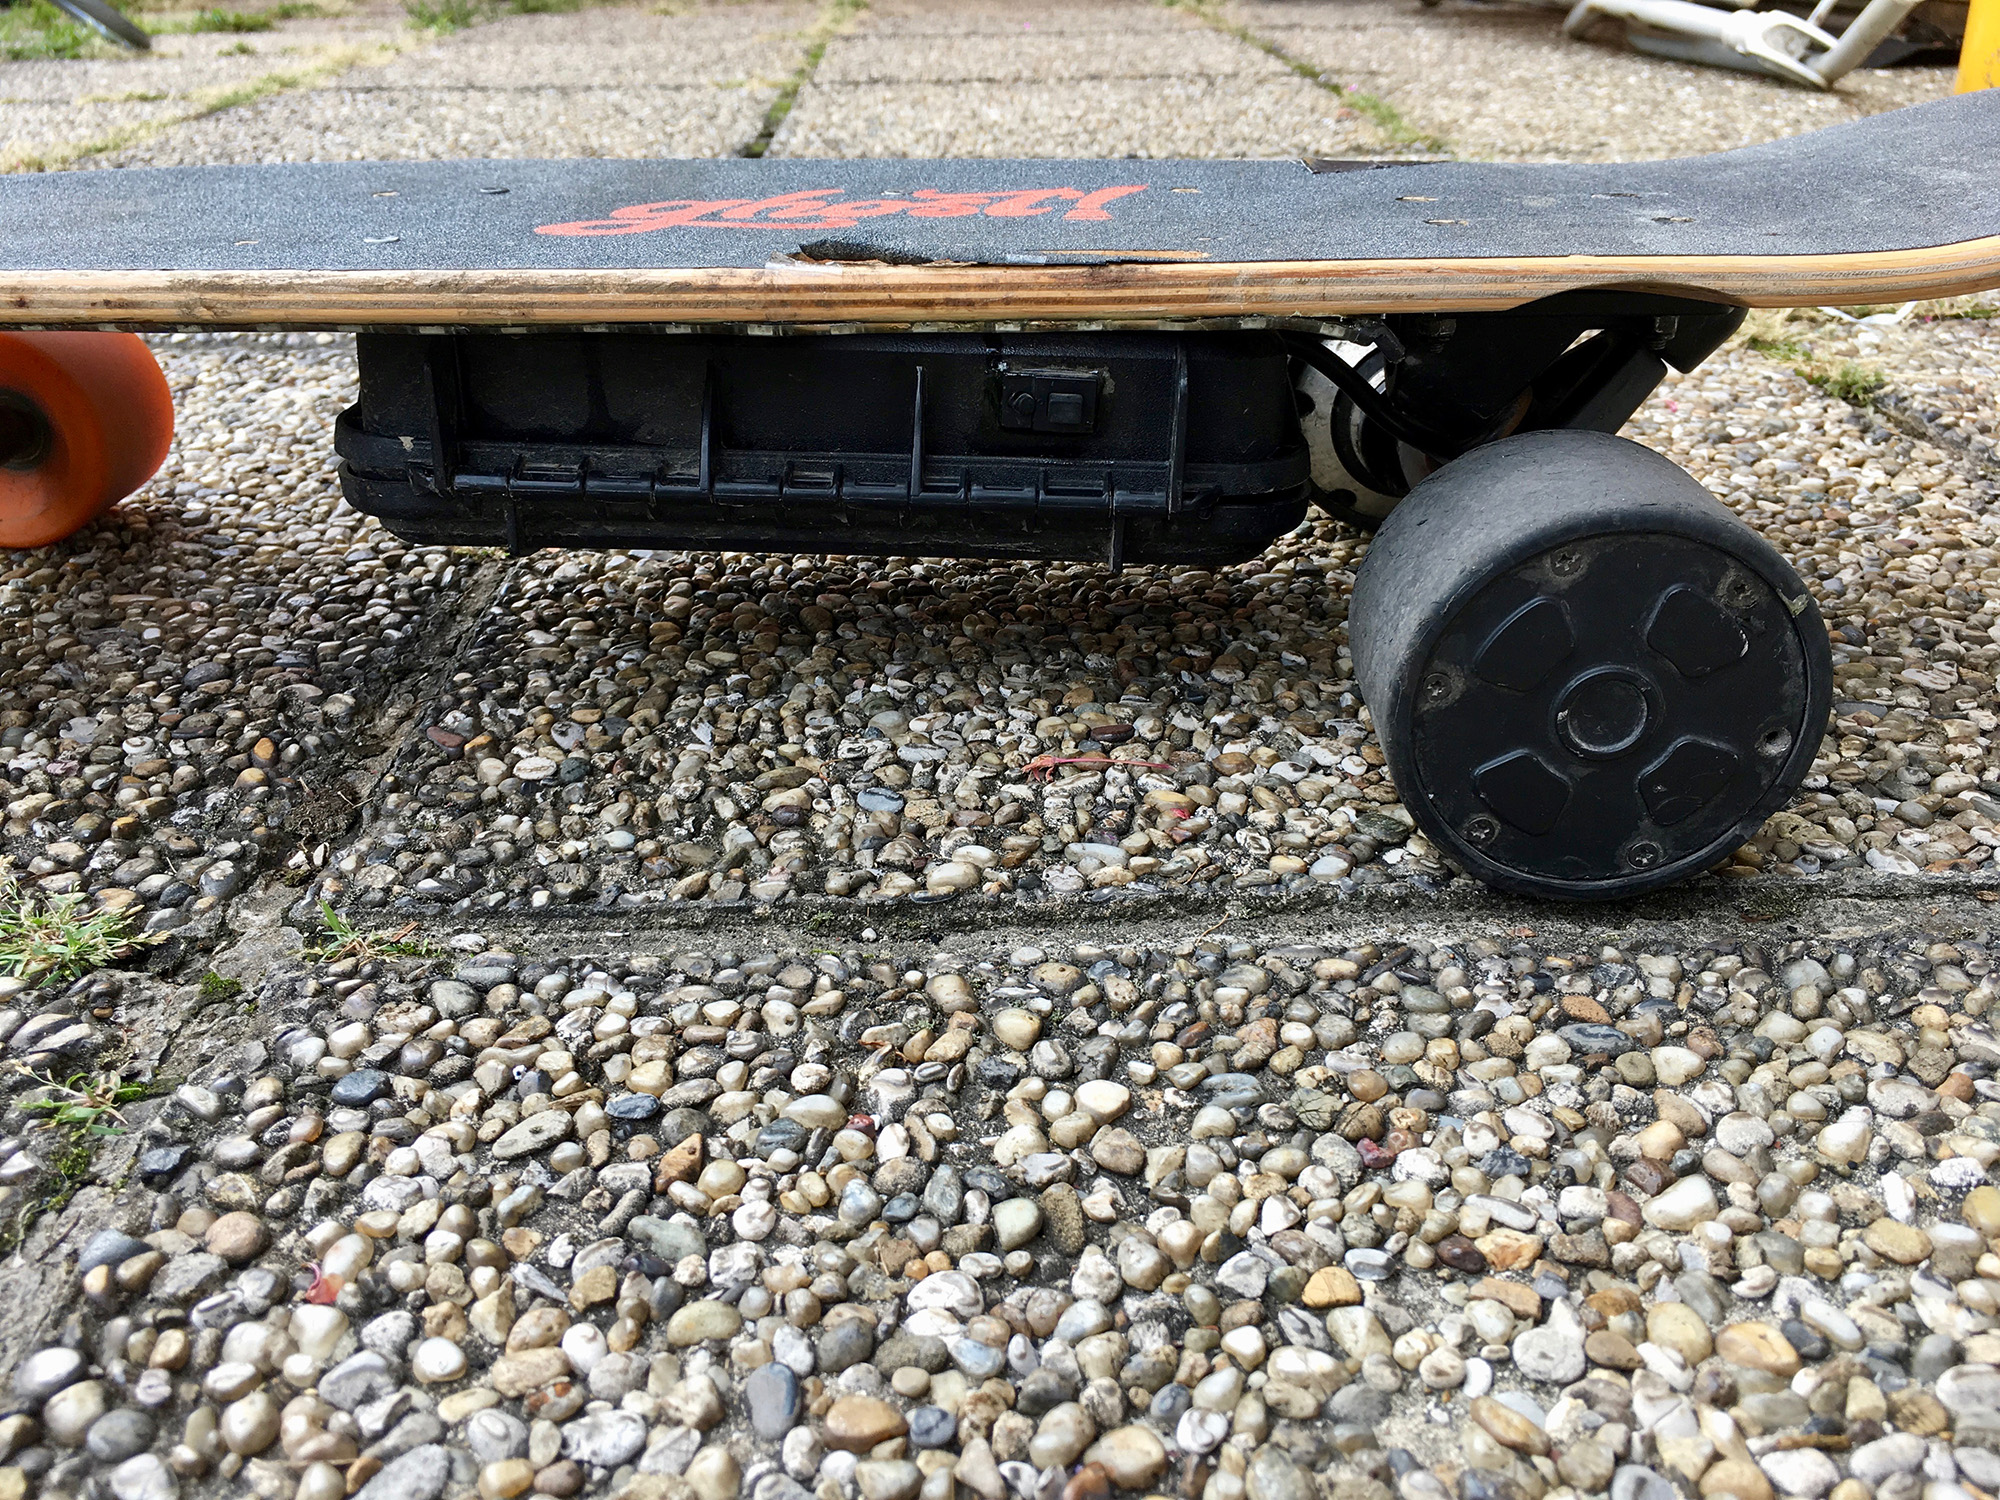
Motor axis

Frontside
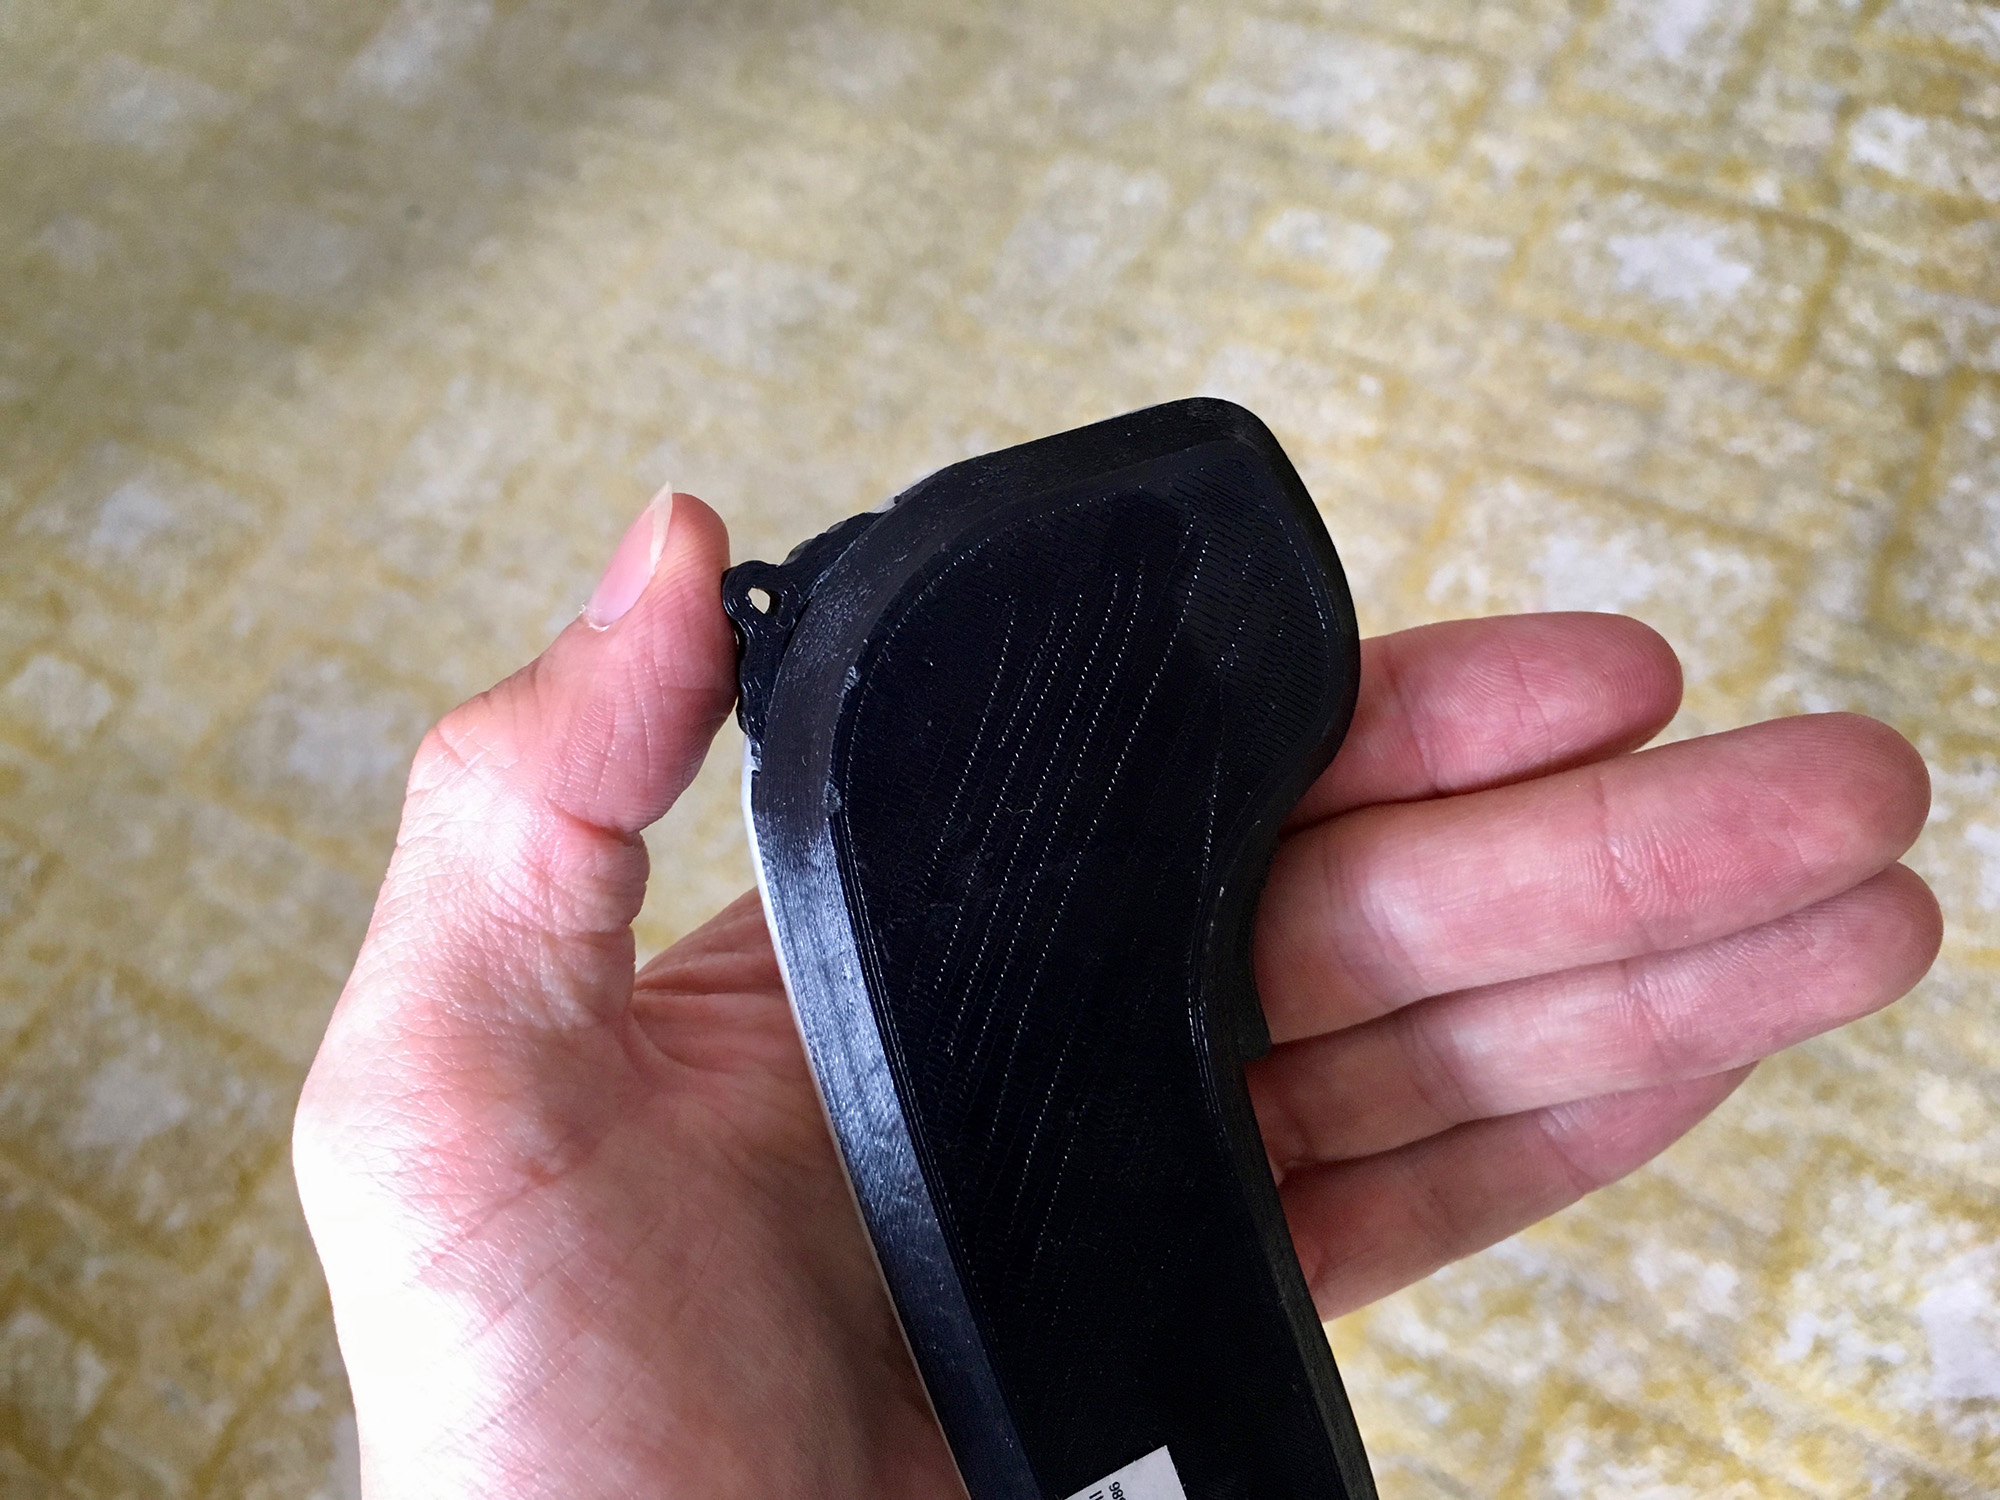
I cut a handle in the side, this makes it especially easy to carry the board around. The handle sits right in the center of gravity
Backside
Additional Features in the remote firmware:
FAN Control
There are two fans on the ESCs and they are stupidly loud so I added control over them via the remote. Normally they would be off till the temperature in the box reaches 40°C and then turn on, they are pretty useless though since it is a closed box. I still had not have any heat problems with it.
LED Control
The two LED strips can be controlled from the skateboard and can display different animations based on the mode set in the settings of the remote.
Cruise Control
In this mode the board can hold its current motor power value without the rider pressing the trigger, you still need to keep the deadman switch pressed though for security.
Steering Mode
Steering mode is still a bit experimental. It should be a solution for when you want your electric skateboard to drive in front of you like a dog while you are walking and socializing. To achieve that I control the two motors on the axis separately by measuring the tilt of the remote with a gyro sensor. It is not 100 percent working on asphalt, but it works on dirt and stones.
Limit Mode
A limit mode that can be enabled when you hand your remote and board to a non-e-skateboarder ;-)
Full telemetry
On the remote I can see my current speed, the battery level of remote and boars, if the connection is fine and the current temperature inside the box.
Finally a full demonstration video:
(My camera shutter was a little faster than the oled refreshrate...)
My firmware can currently be found here
If you have any questions write me an email :-]