Pringles Looper - A Loop Pedal in a Pringles Can
The Pringles looper is an idea that I am pursuing since a long time. It all started when I saw Ed Sheeran performing his tracks with a loop pedal and I wanted to have such a device too. But more than that I wanted it to be as portable as somehow possible to take it with me to scout camps and other occasions.
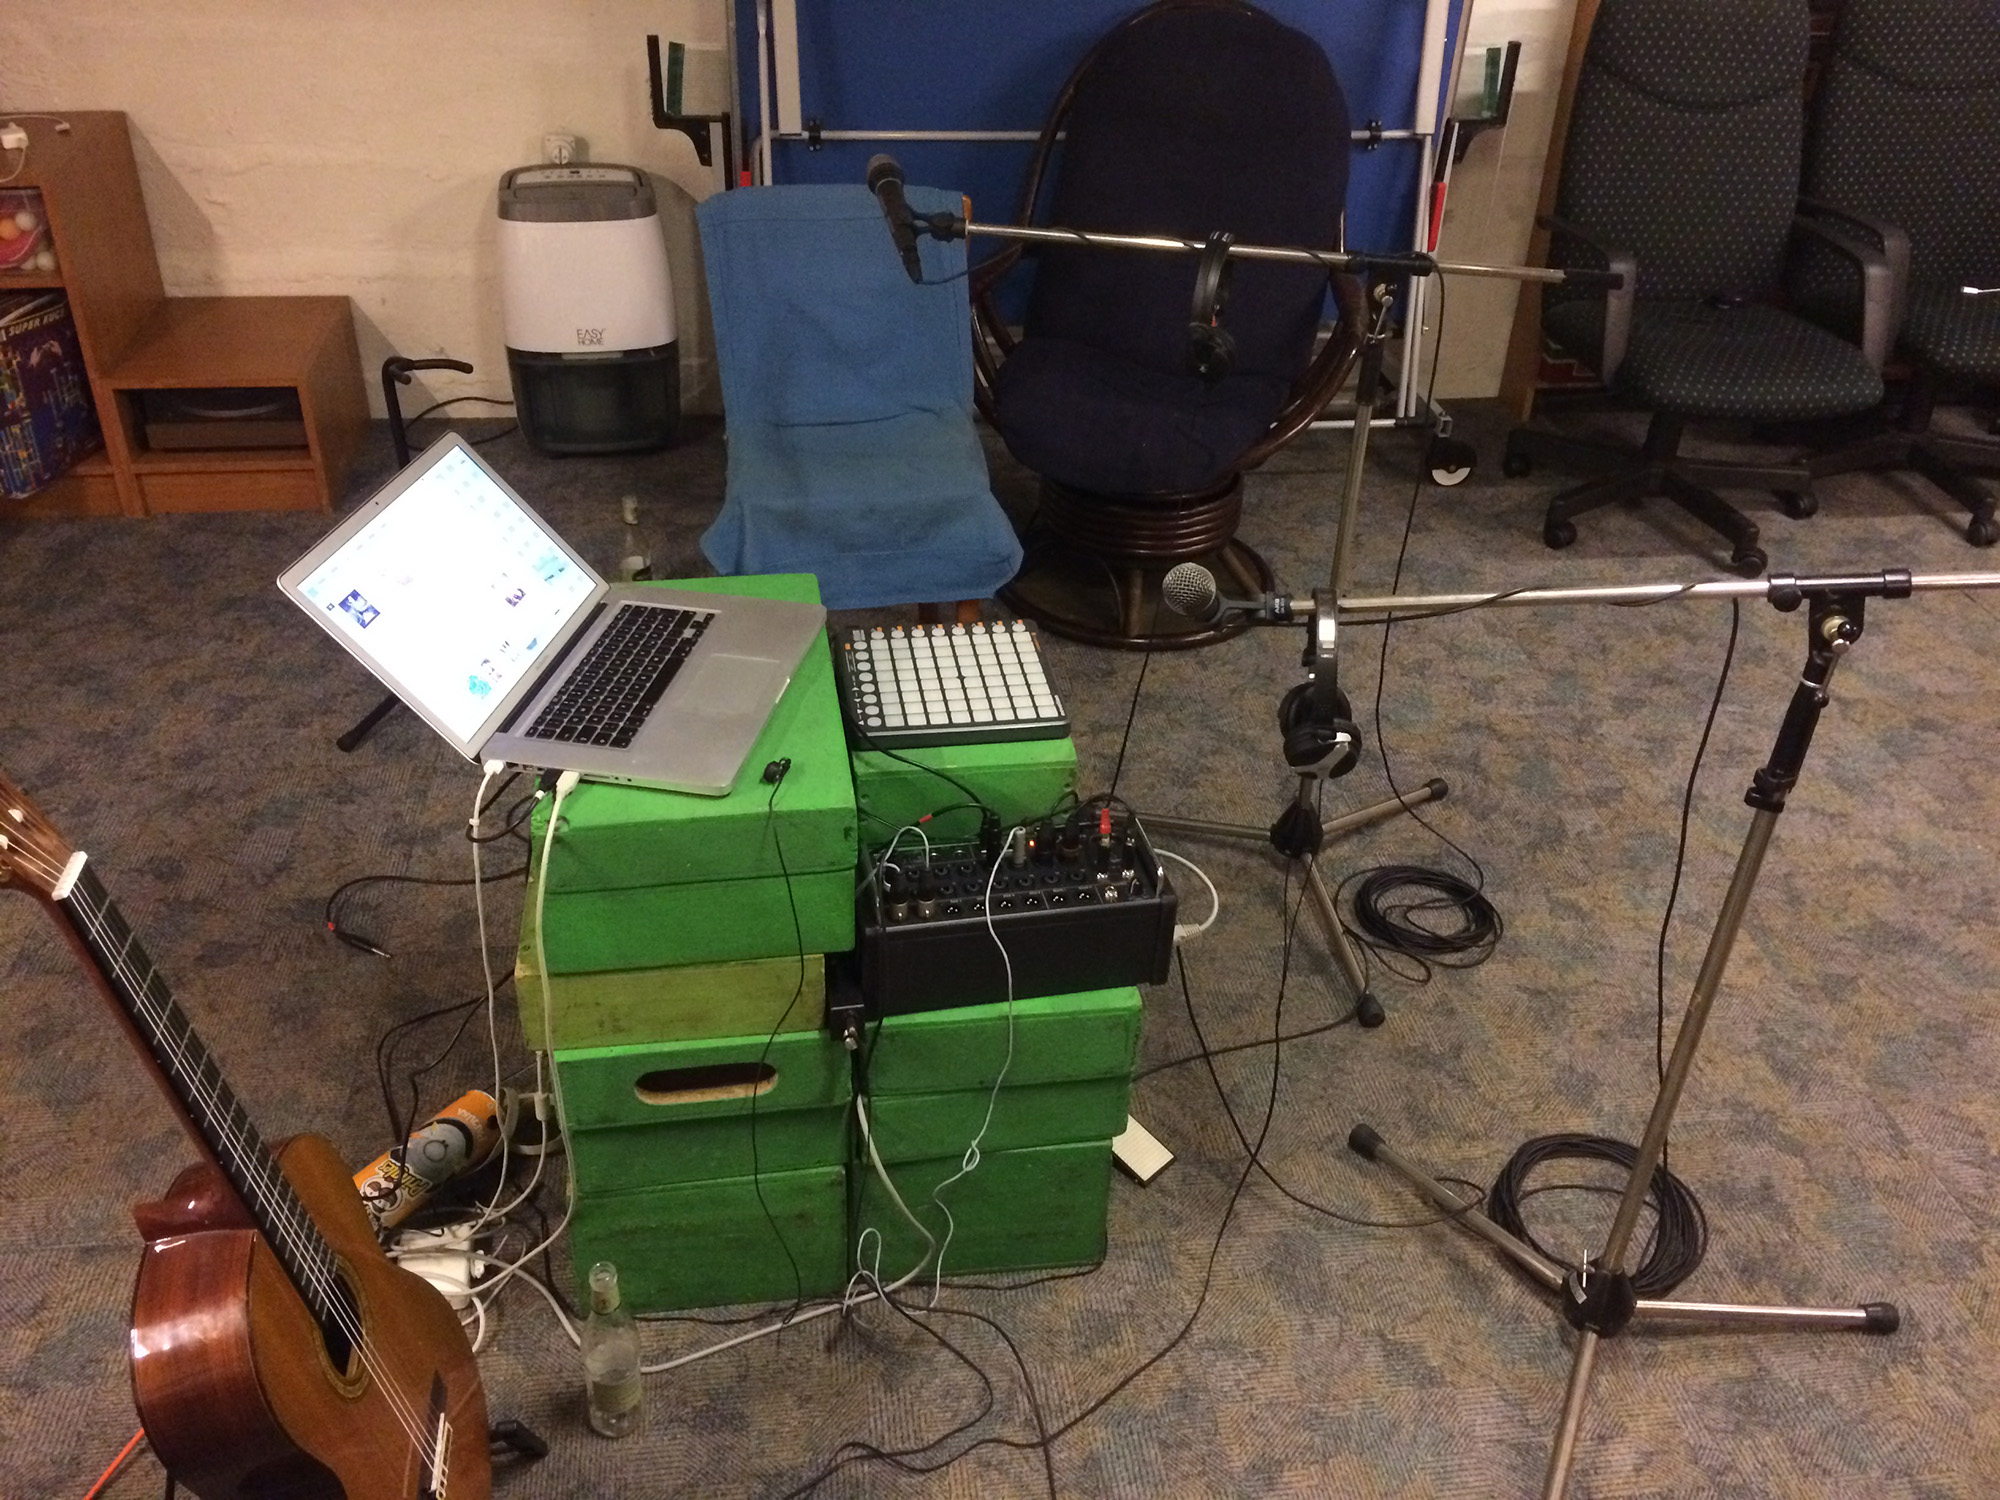
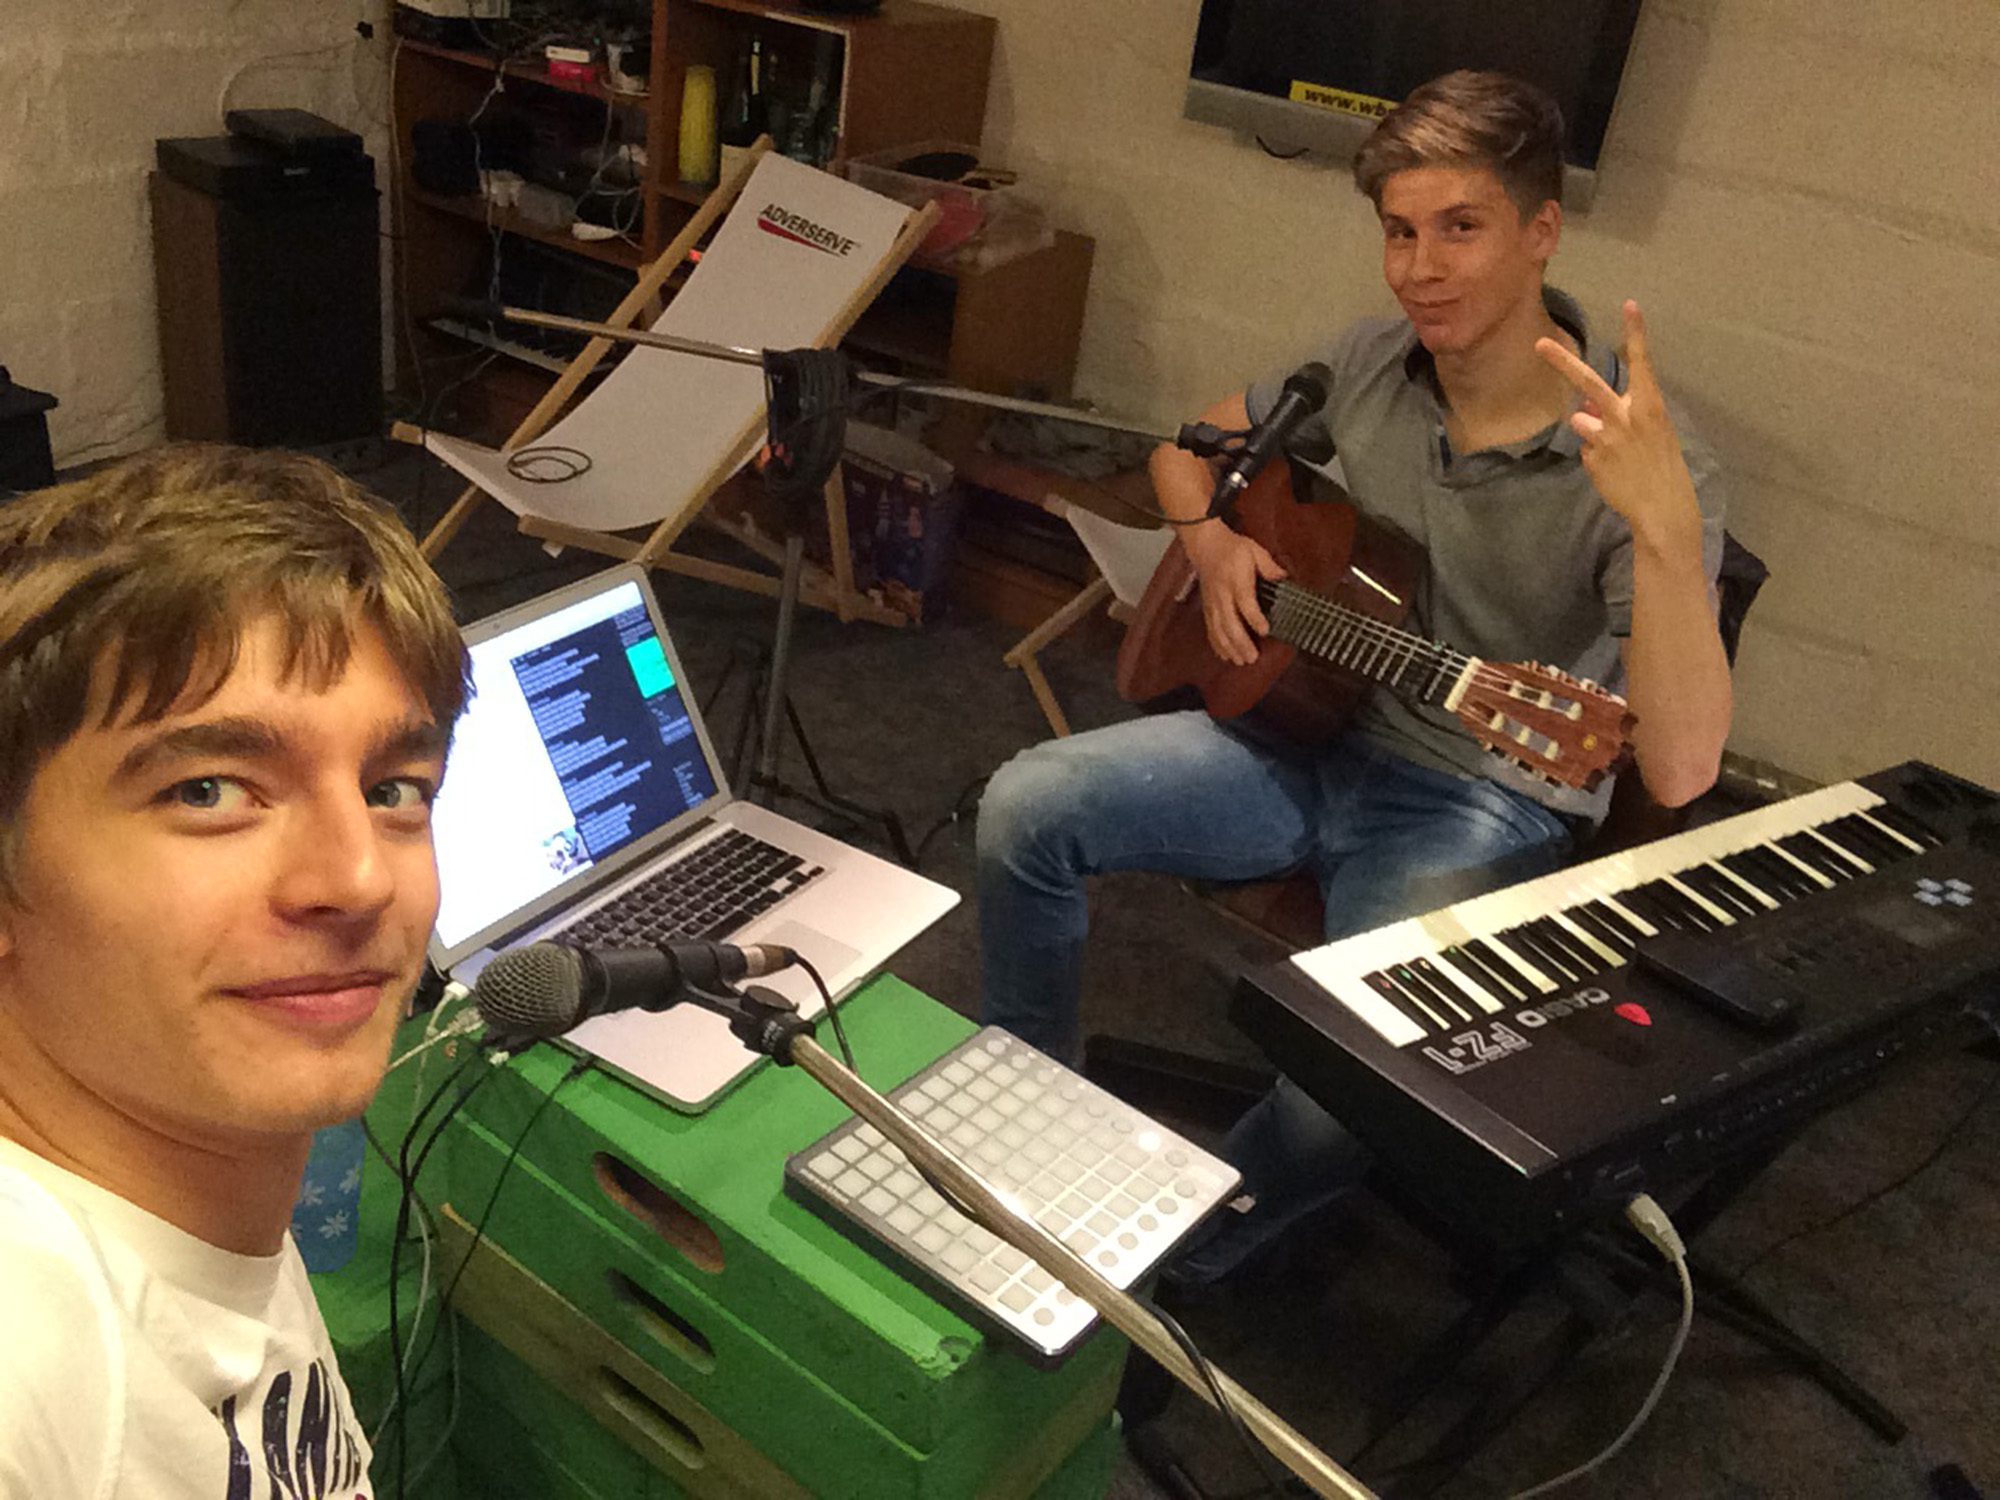
On IOS there is a great app for live looping called LOOPY. It was originally meant for beat boxers and works great but when you are trying to play guitar at the same time it becomes difficult, so I needed a proper controller. After some testing I figured out that you can use and map a midi controller with Loopy using Apple's Lightning to USB Adapters so I started thinking about the controller.
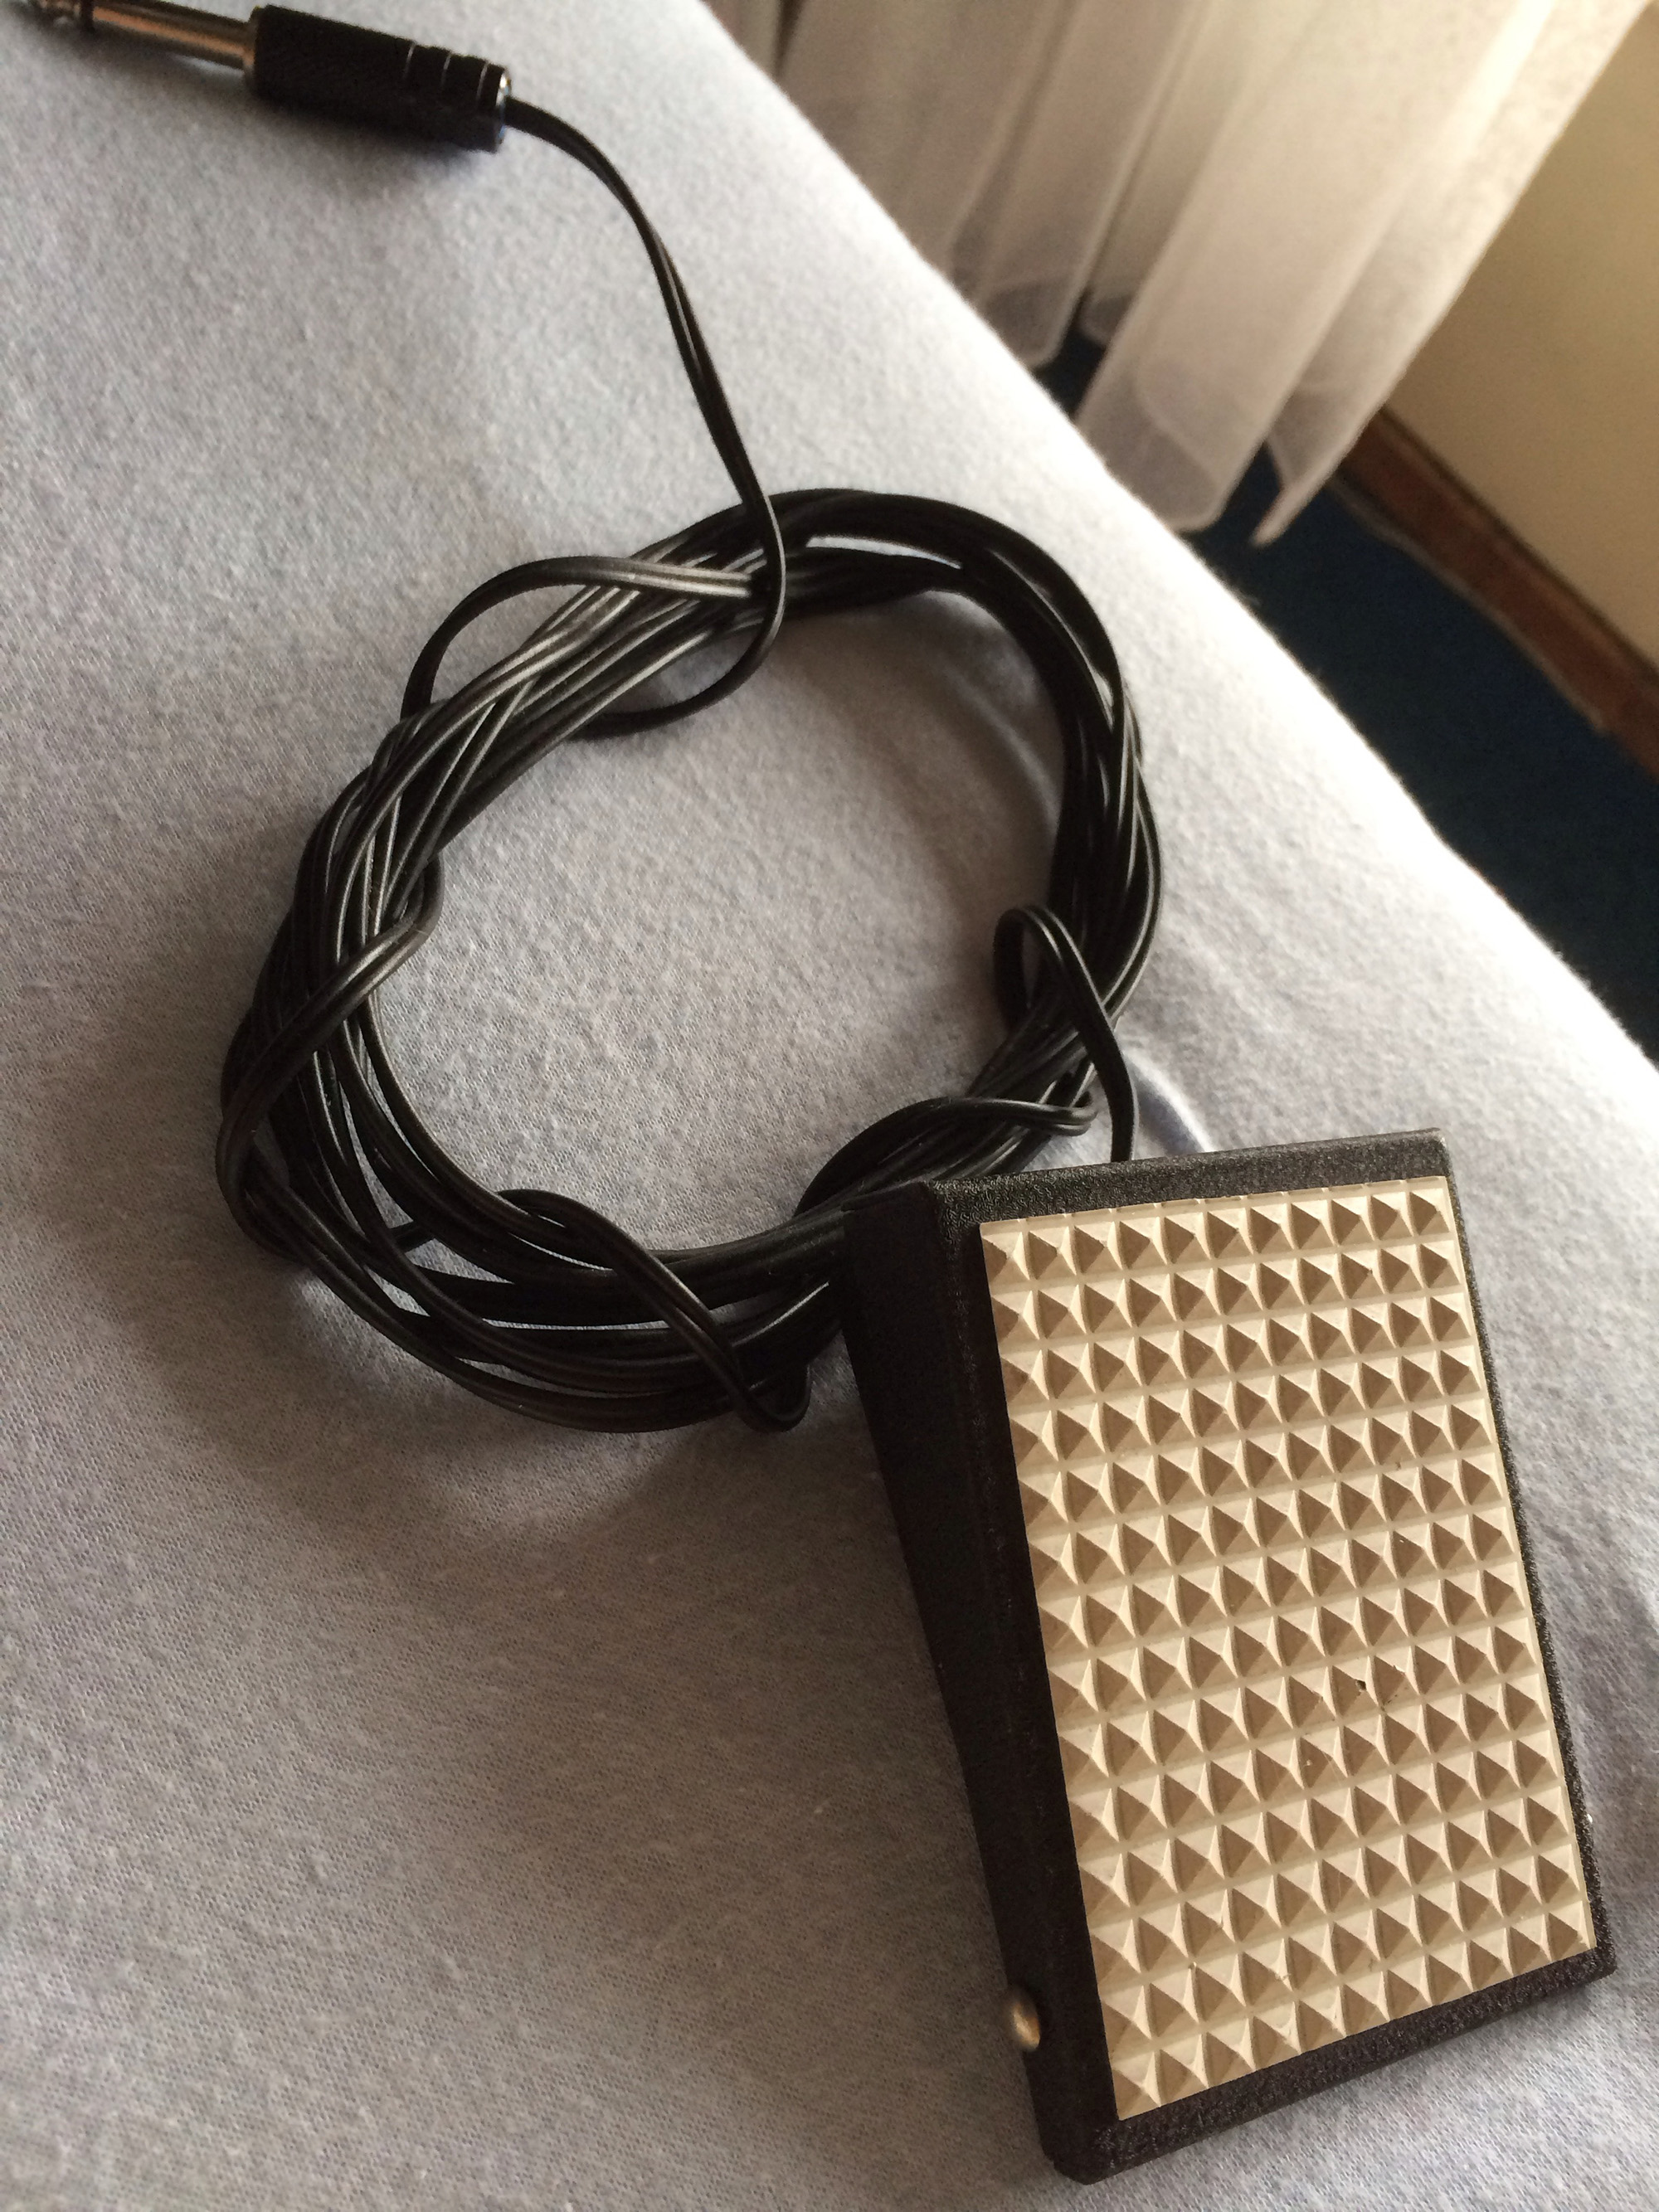
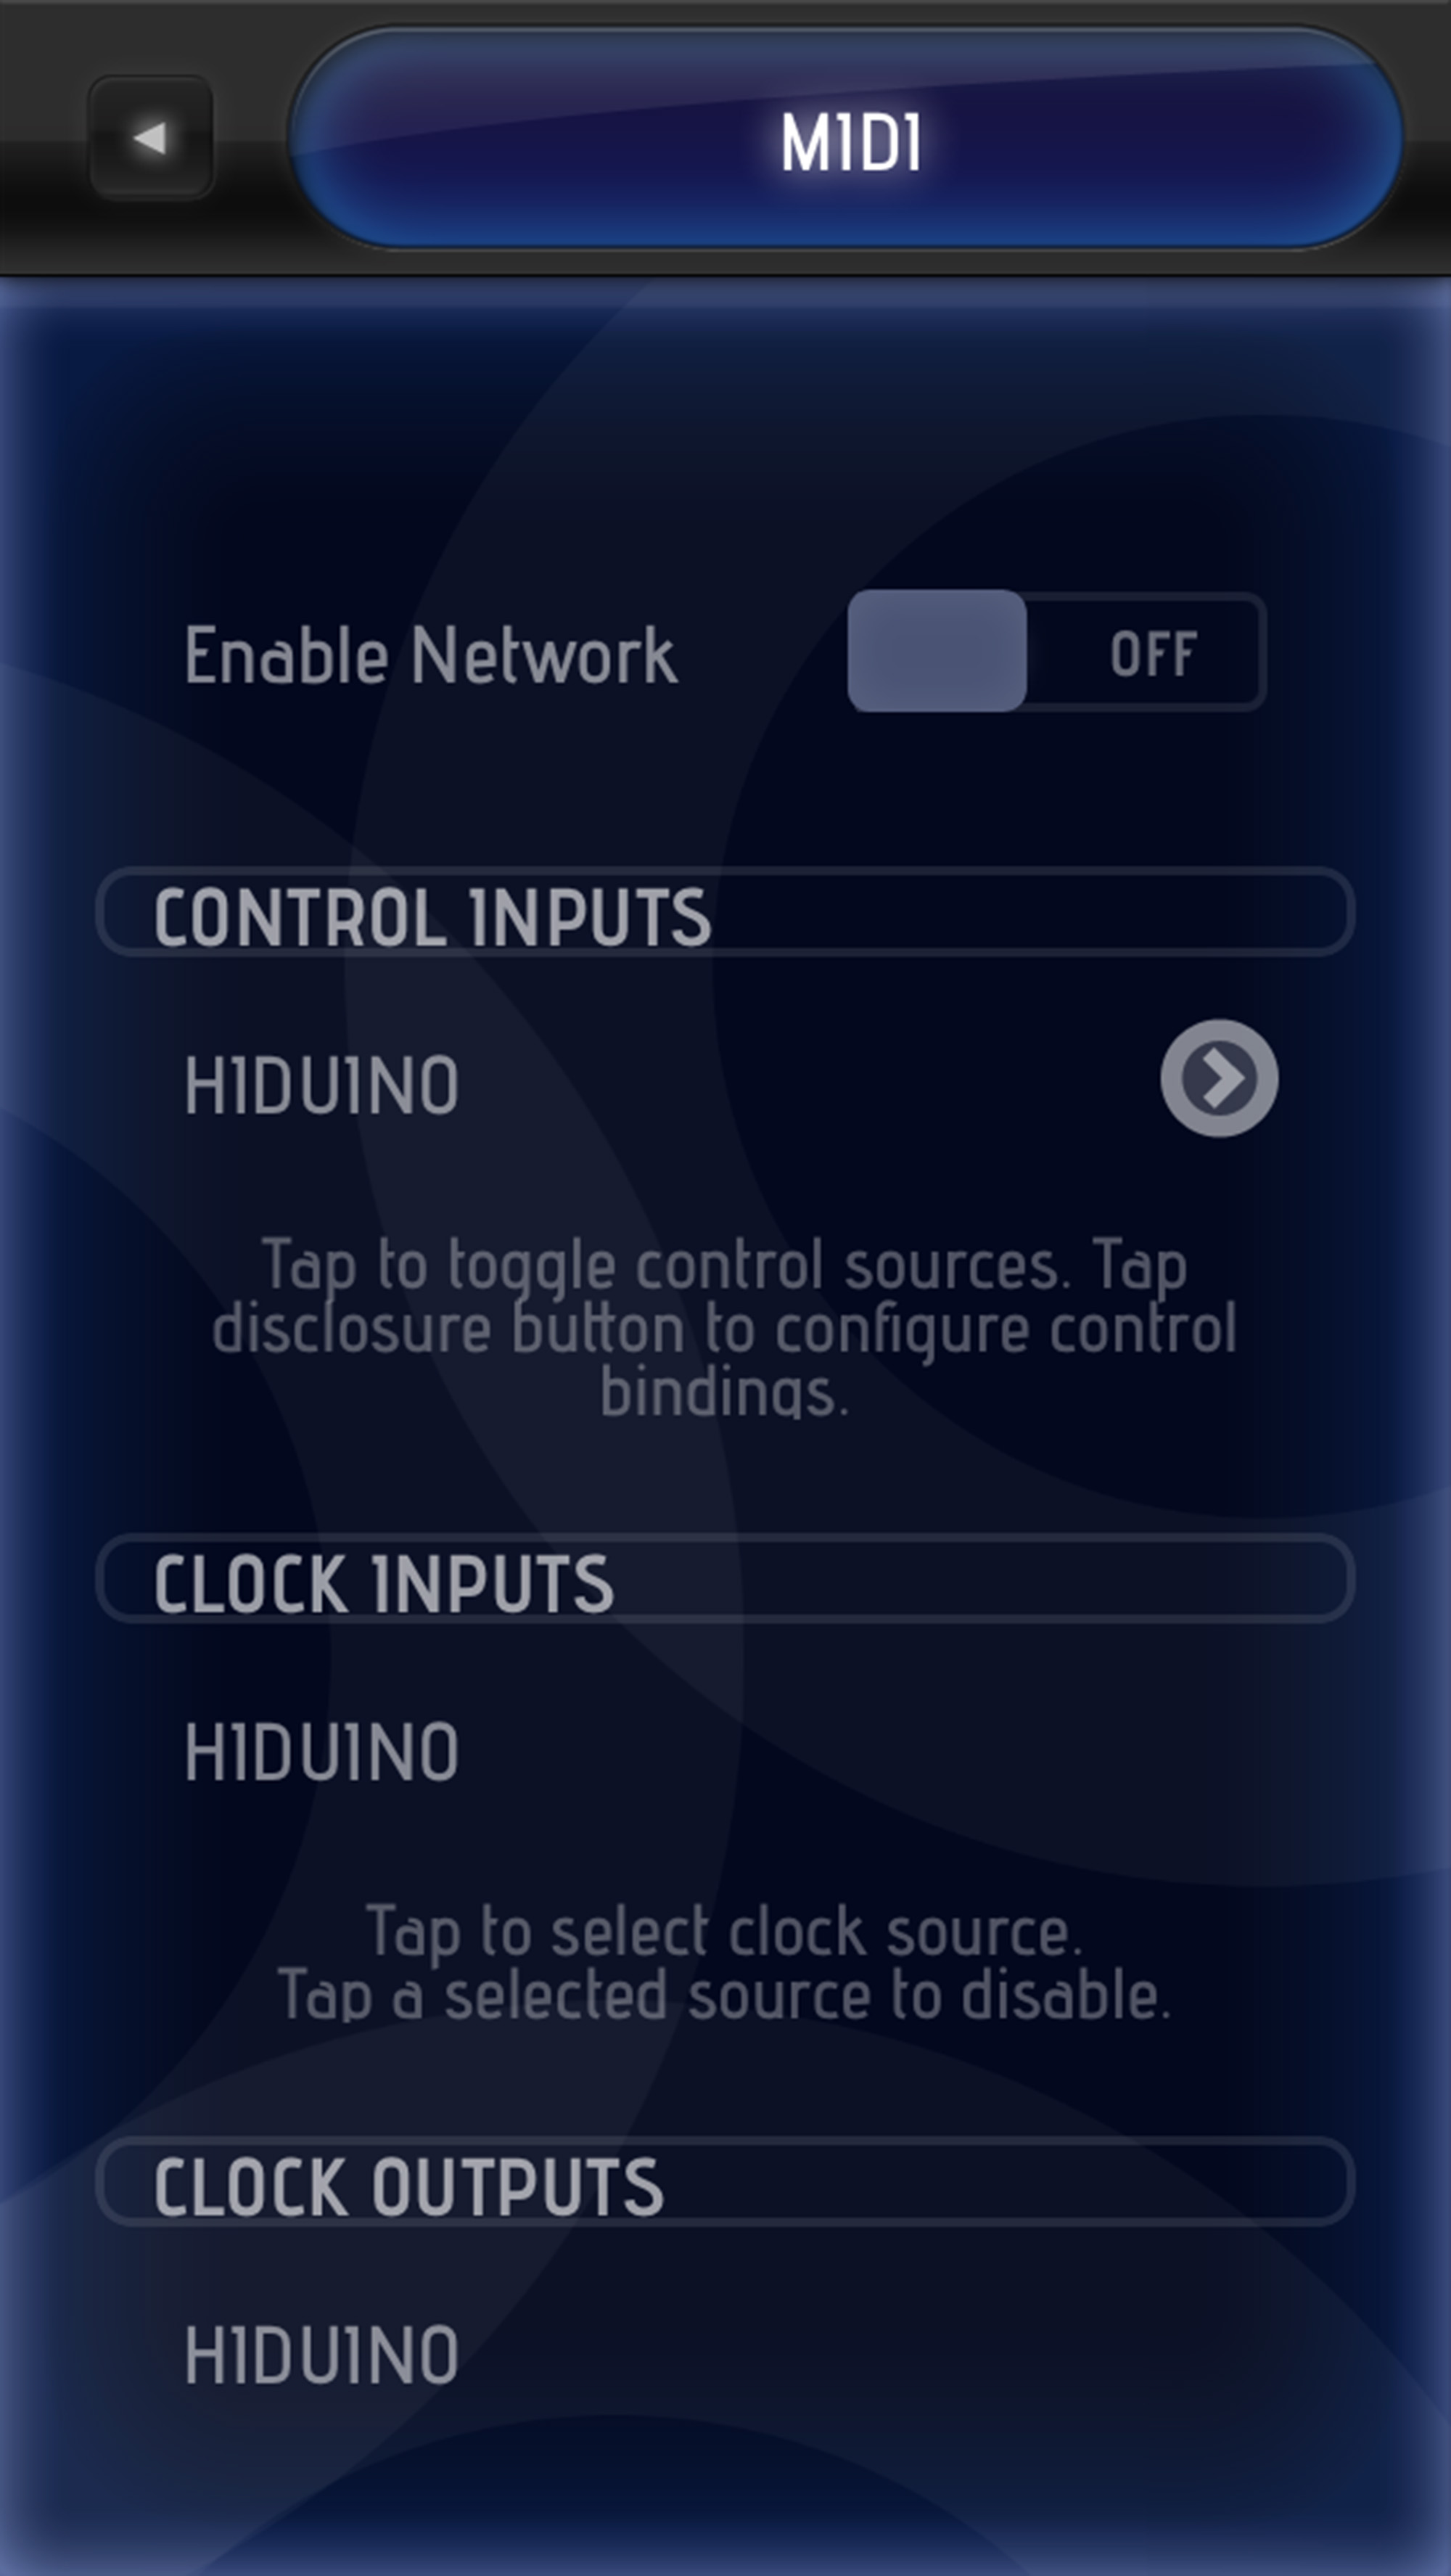
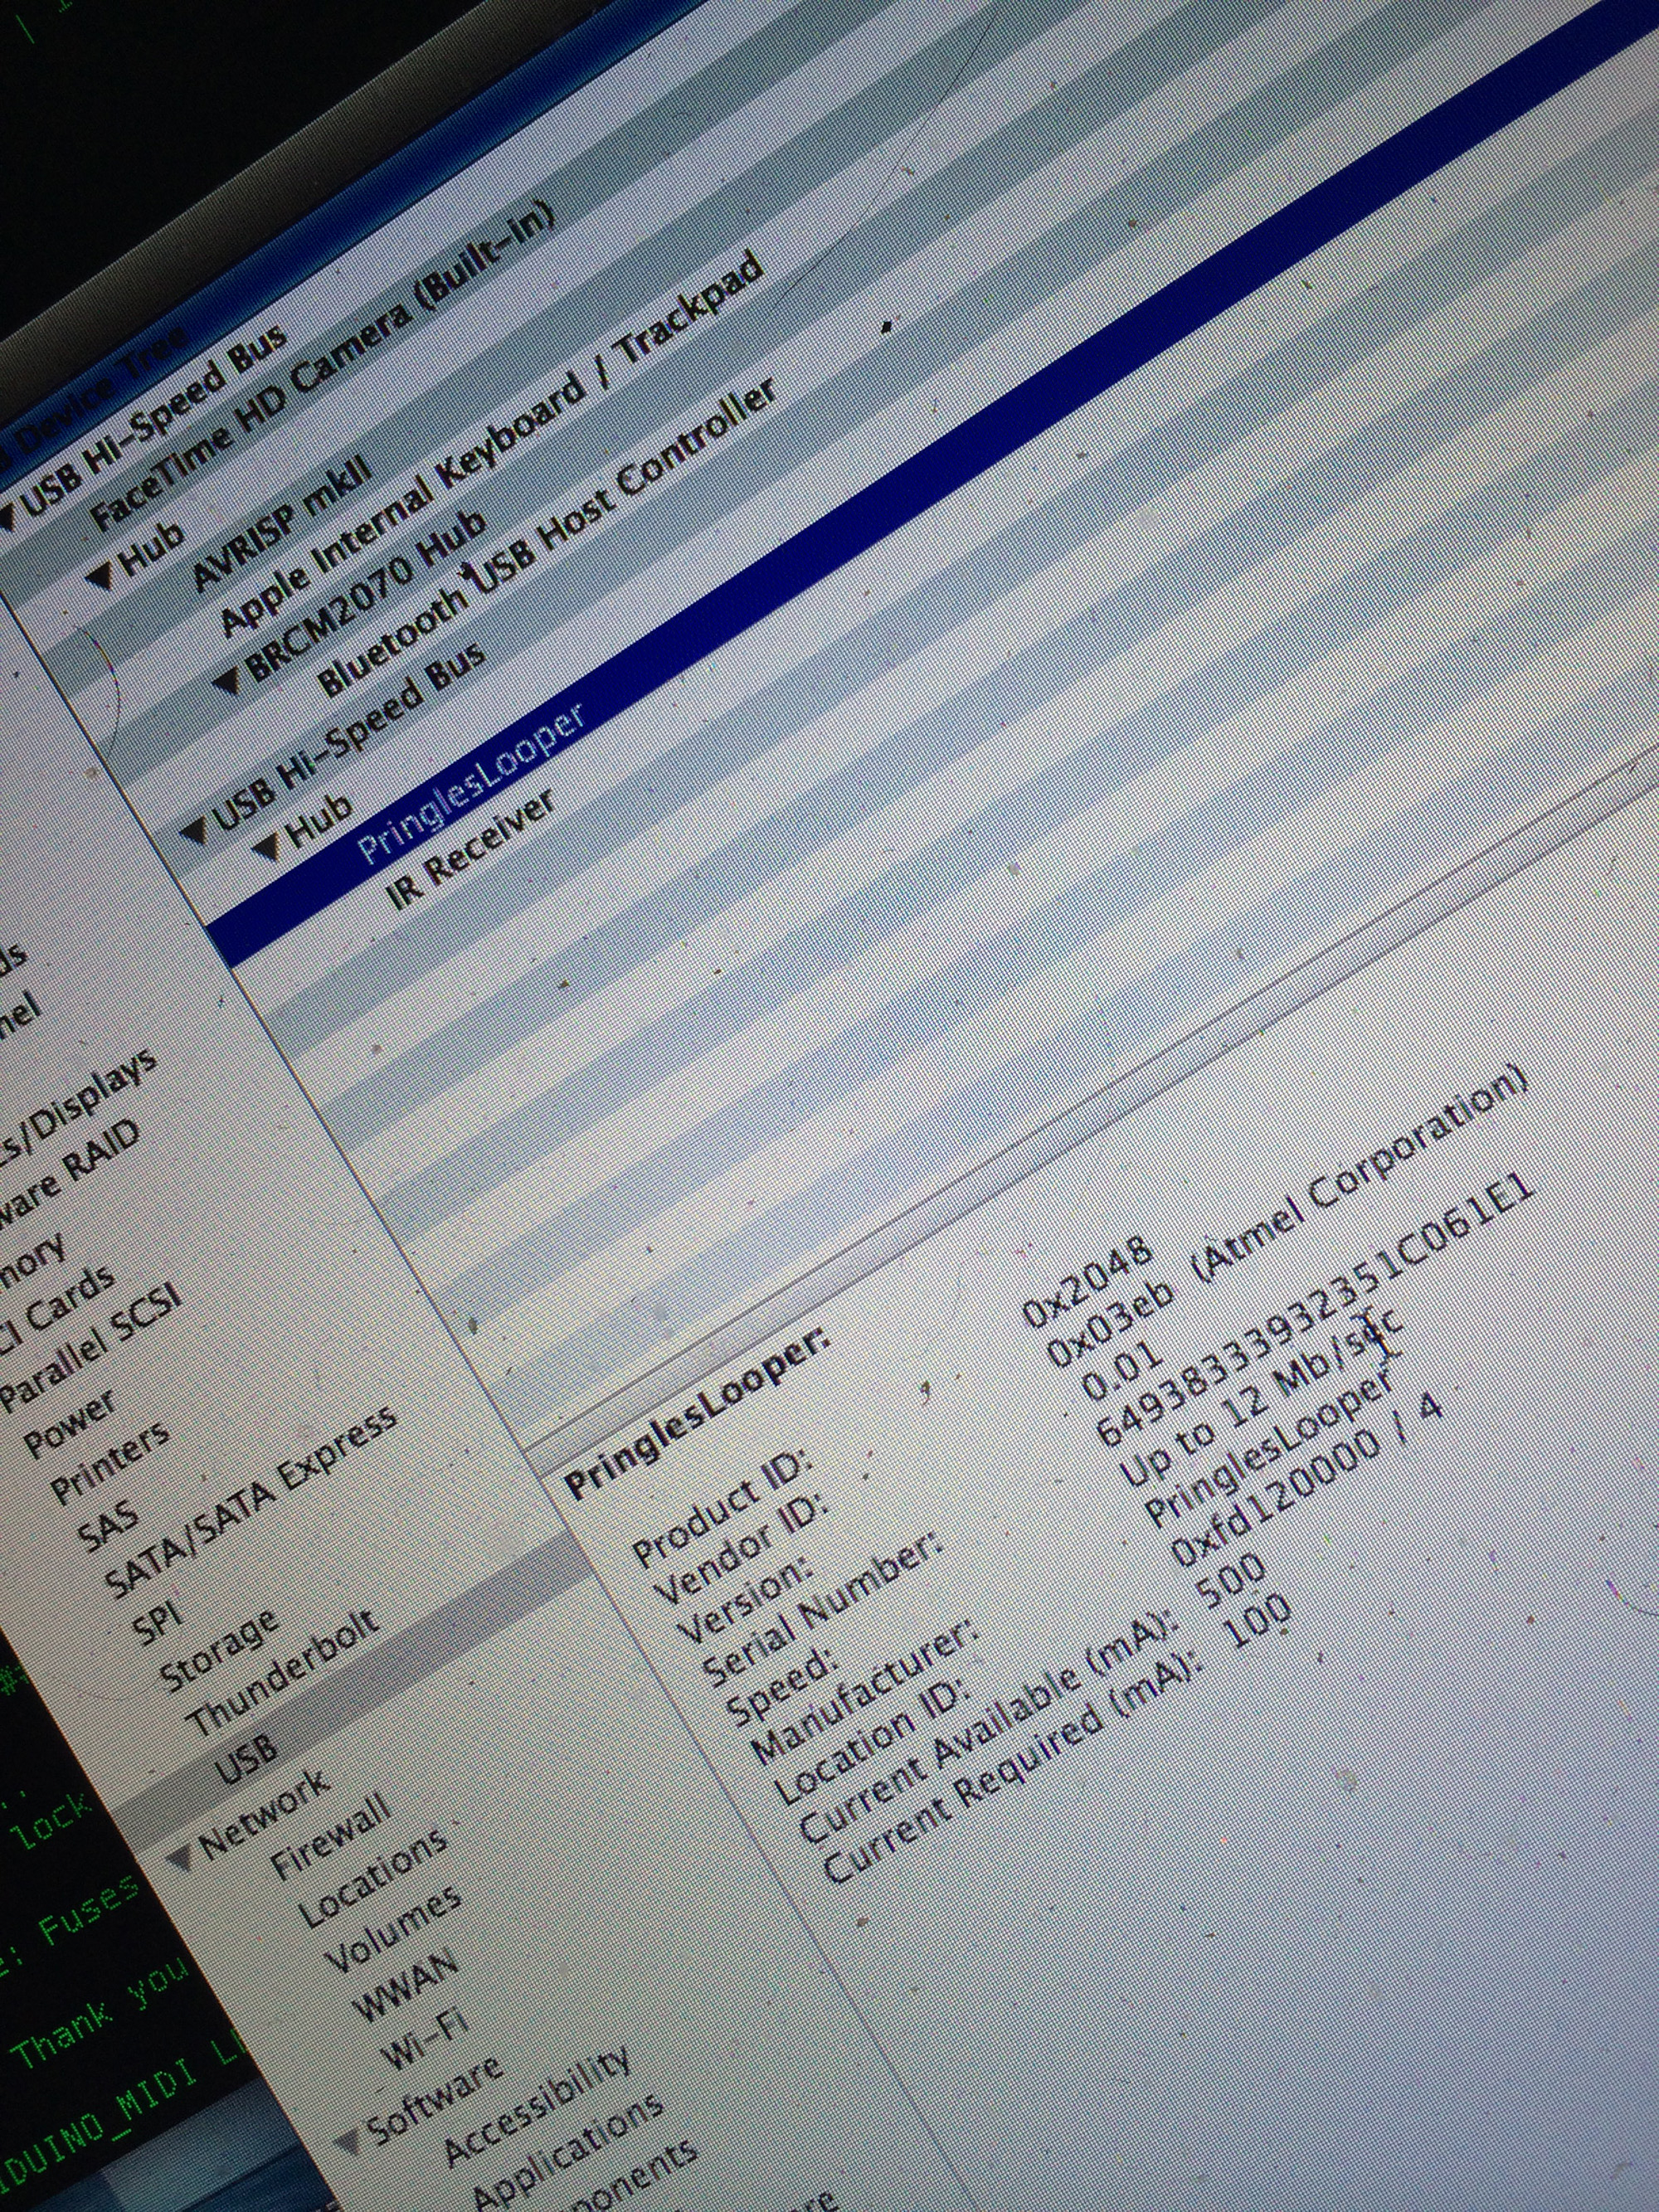
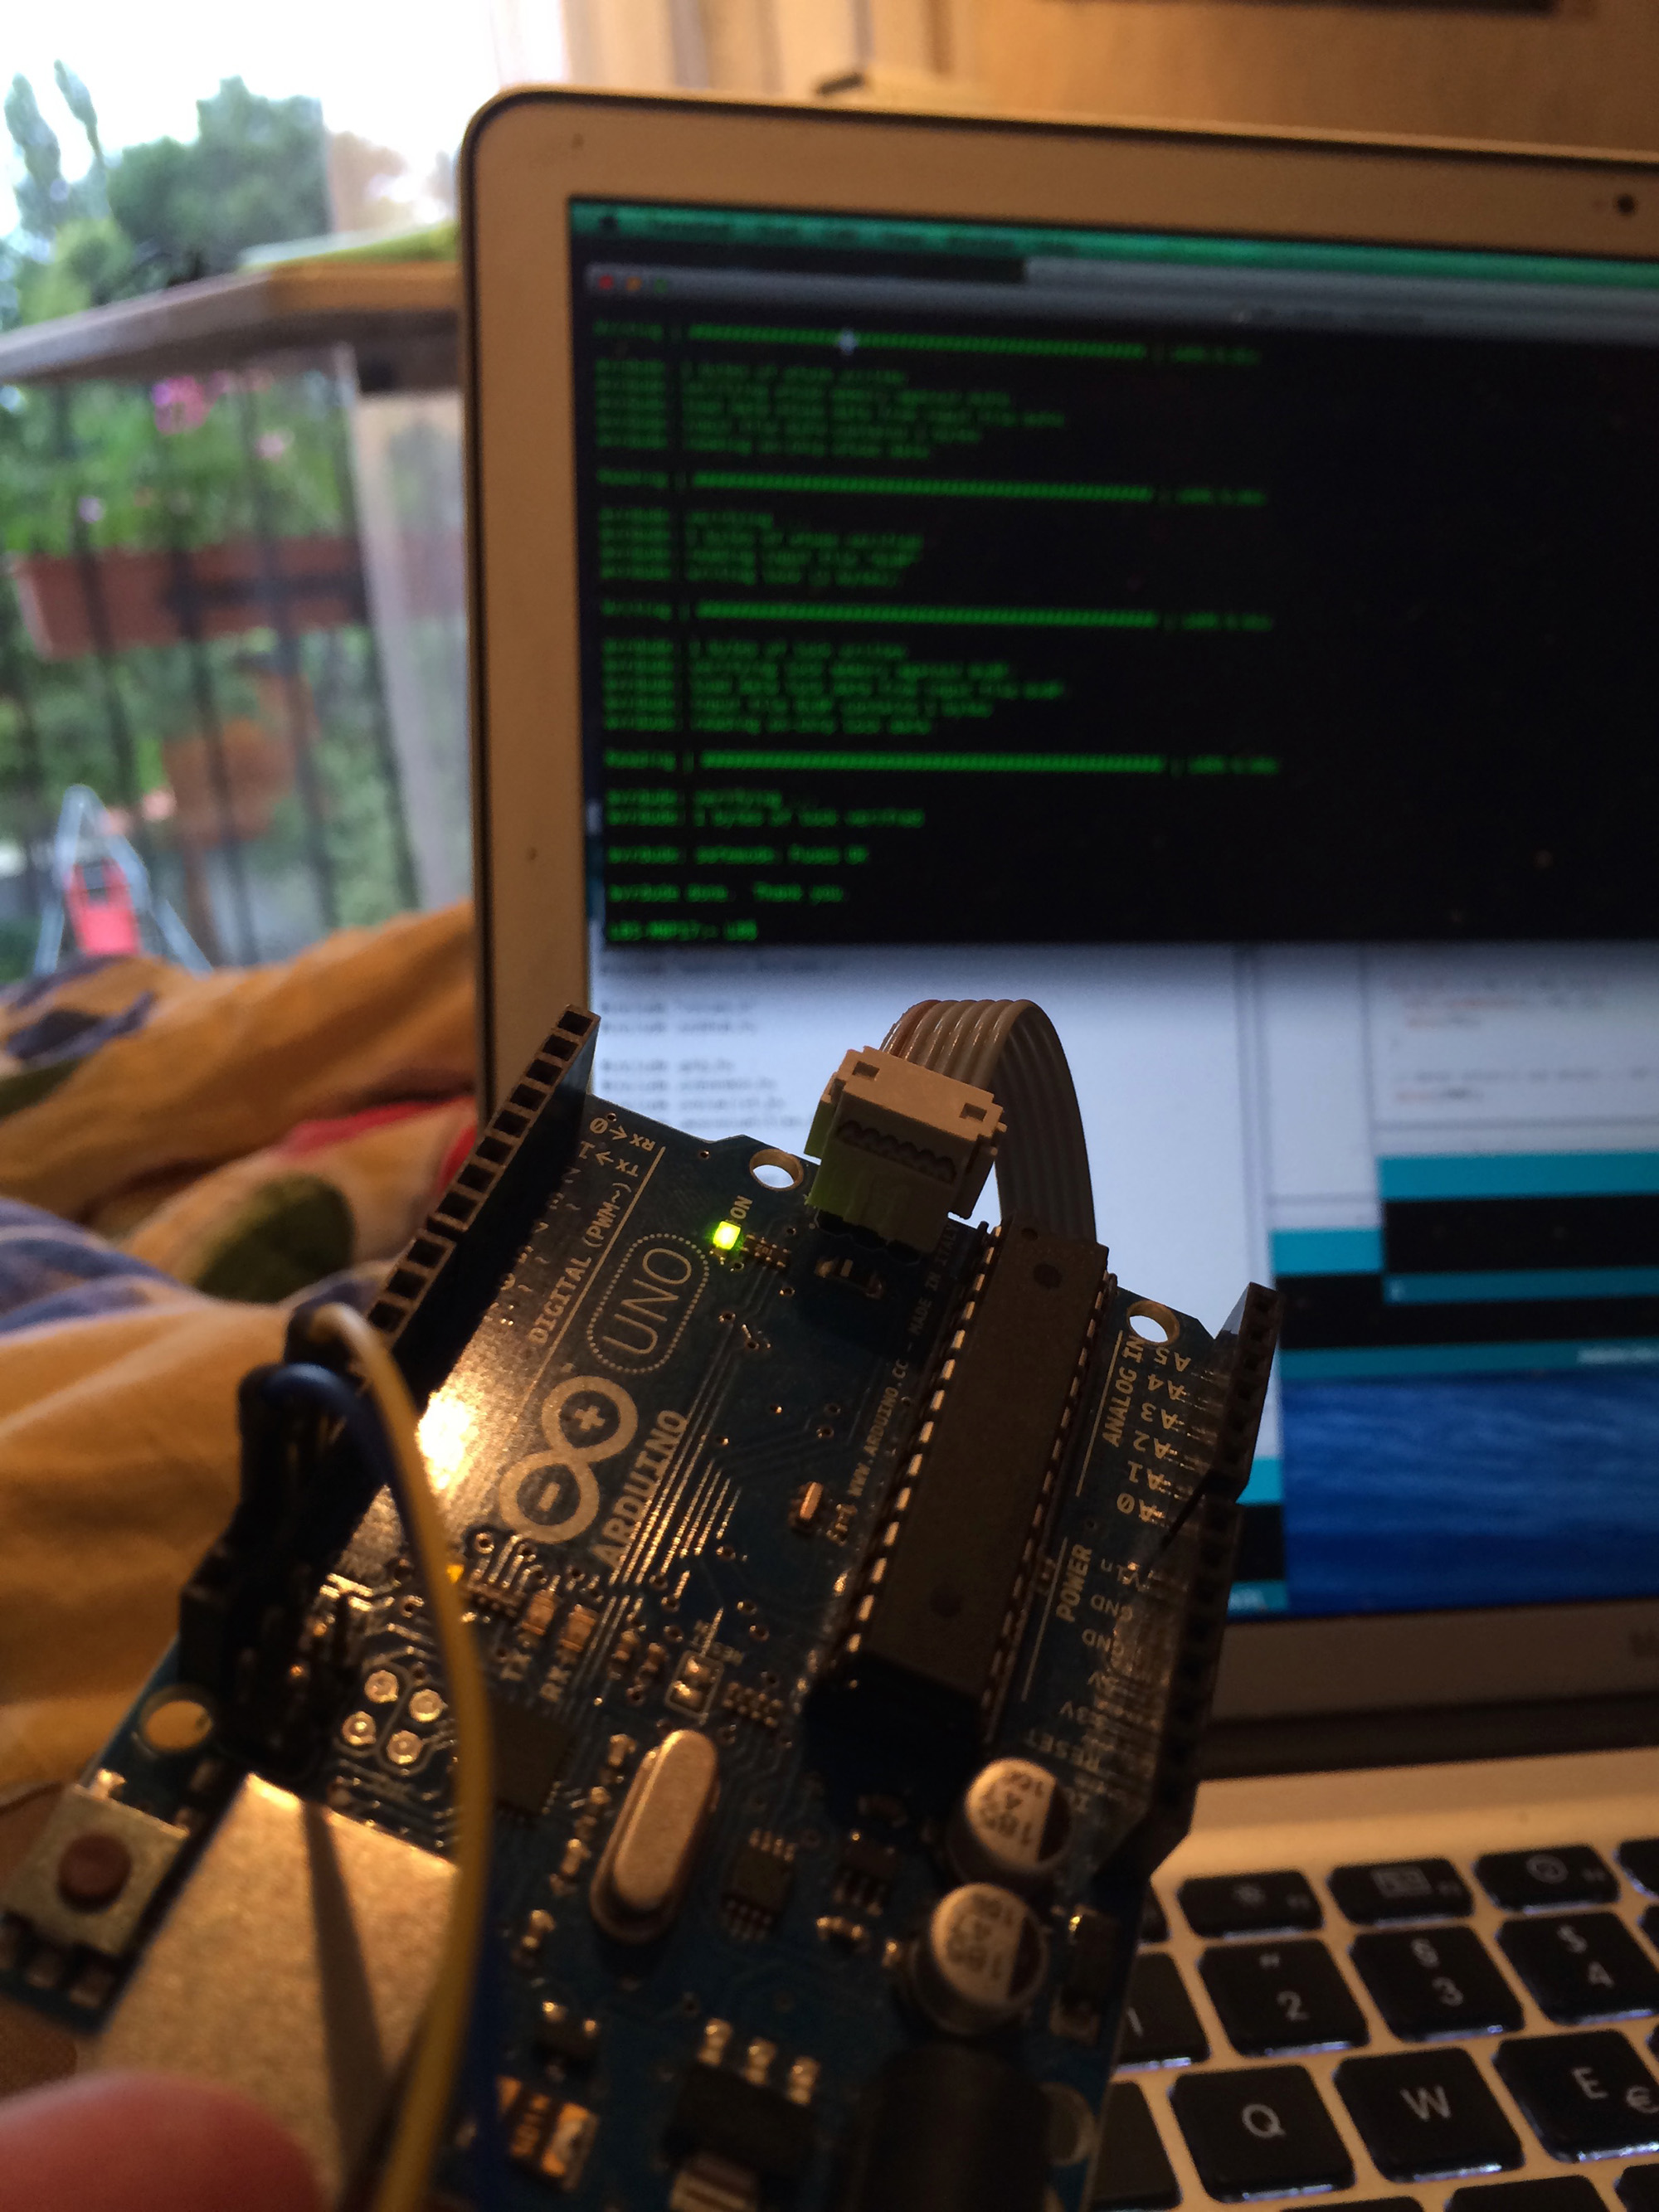
I started by finding me a pedal. Then I took an Arduino Uno, flashed the communication chip with the HIDDUINO, a firmware for USBMidi that I also used in my DJ Controller and then hooked it up to my iPhone. But one pedal is not really enought to control a loop station... I needed more input and also some better metronome.
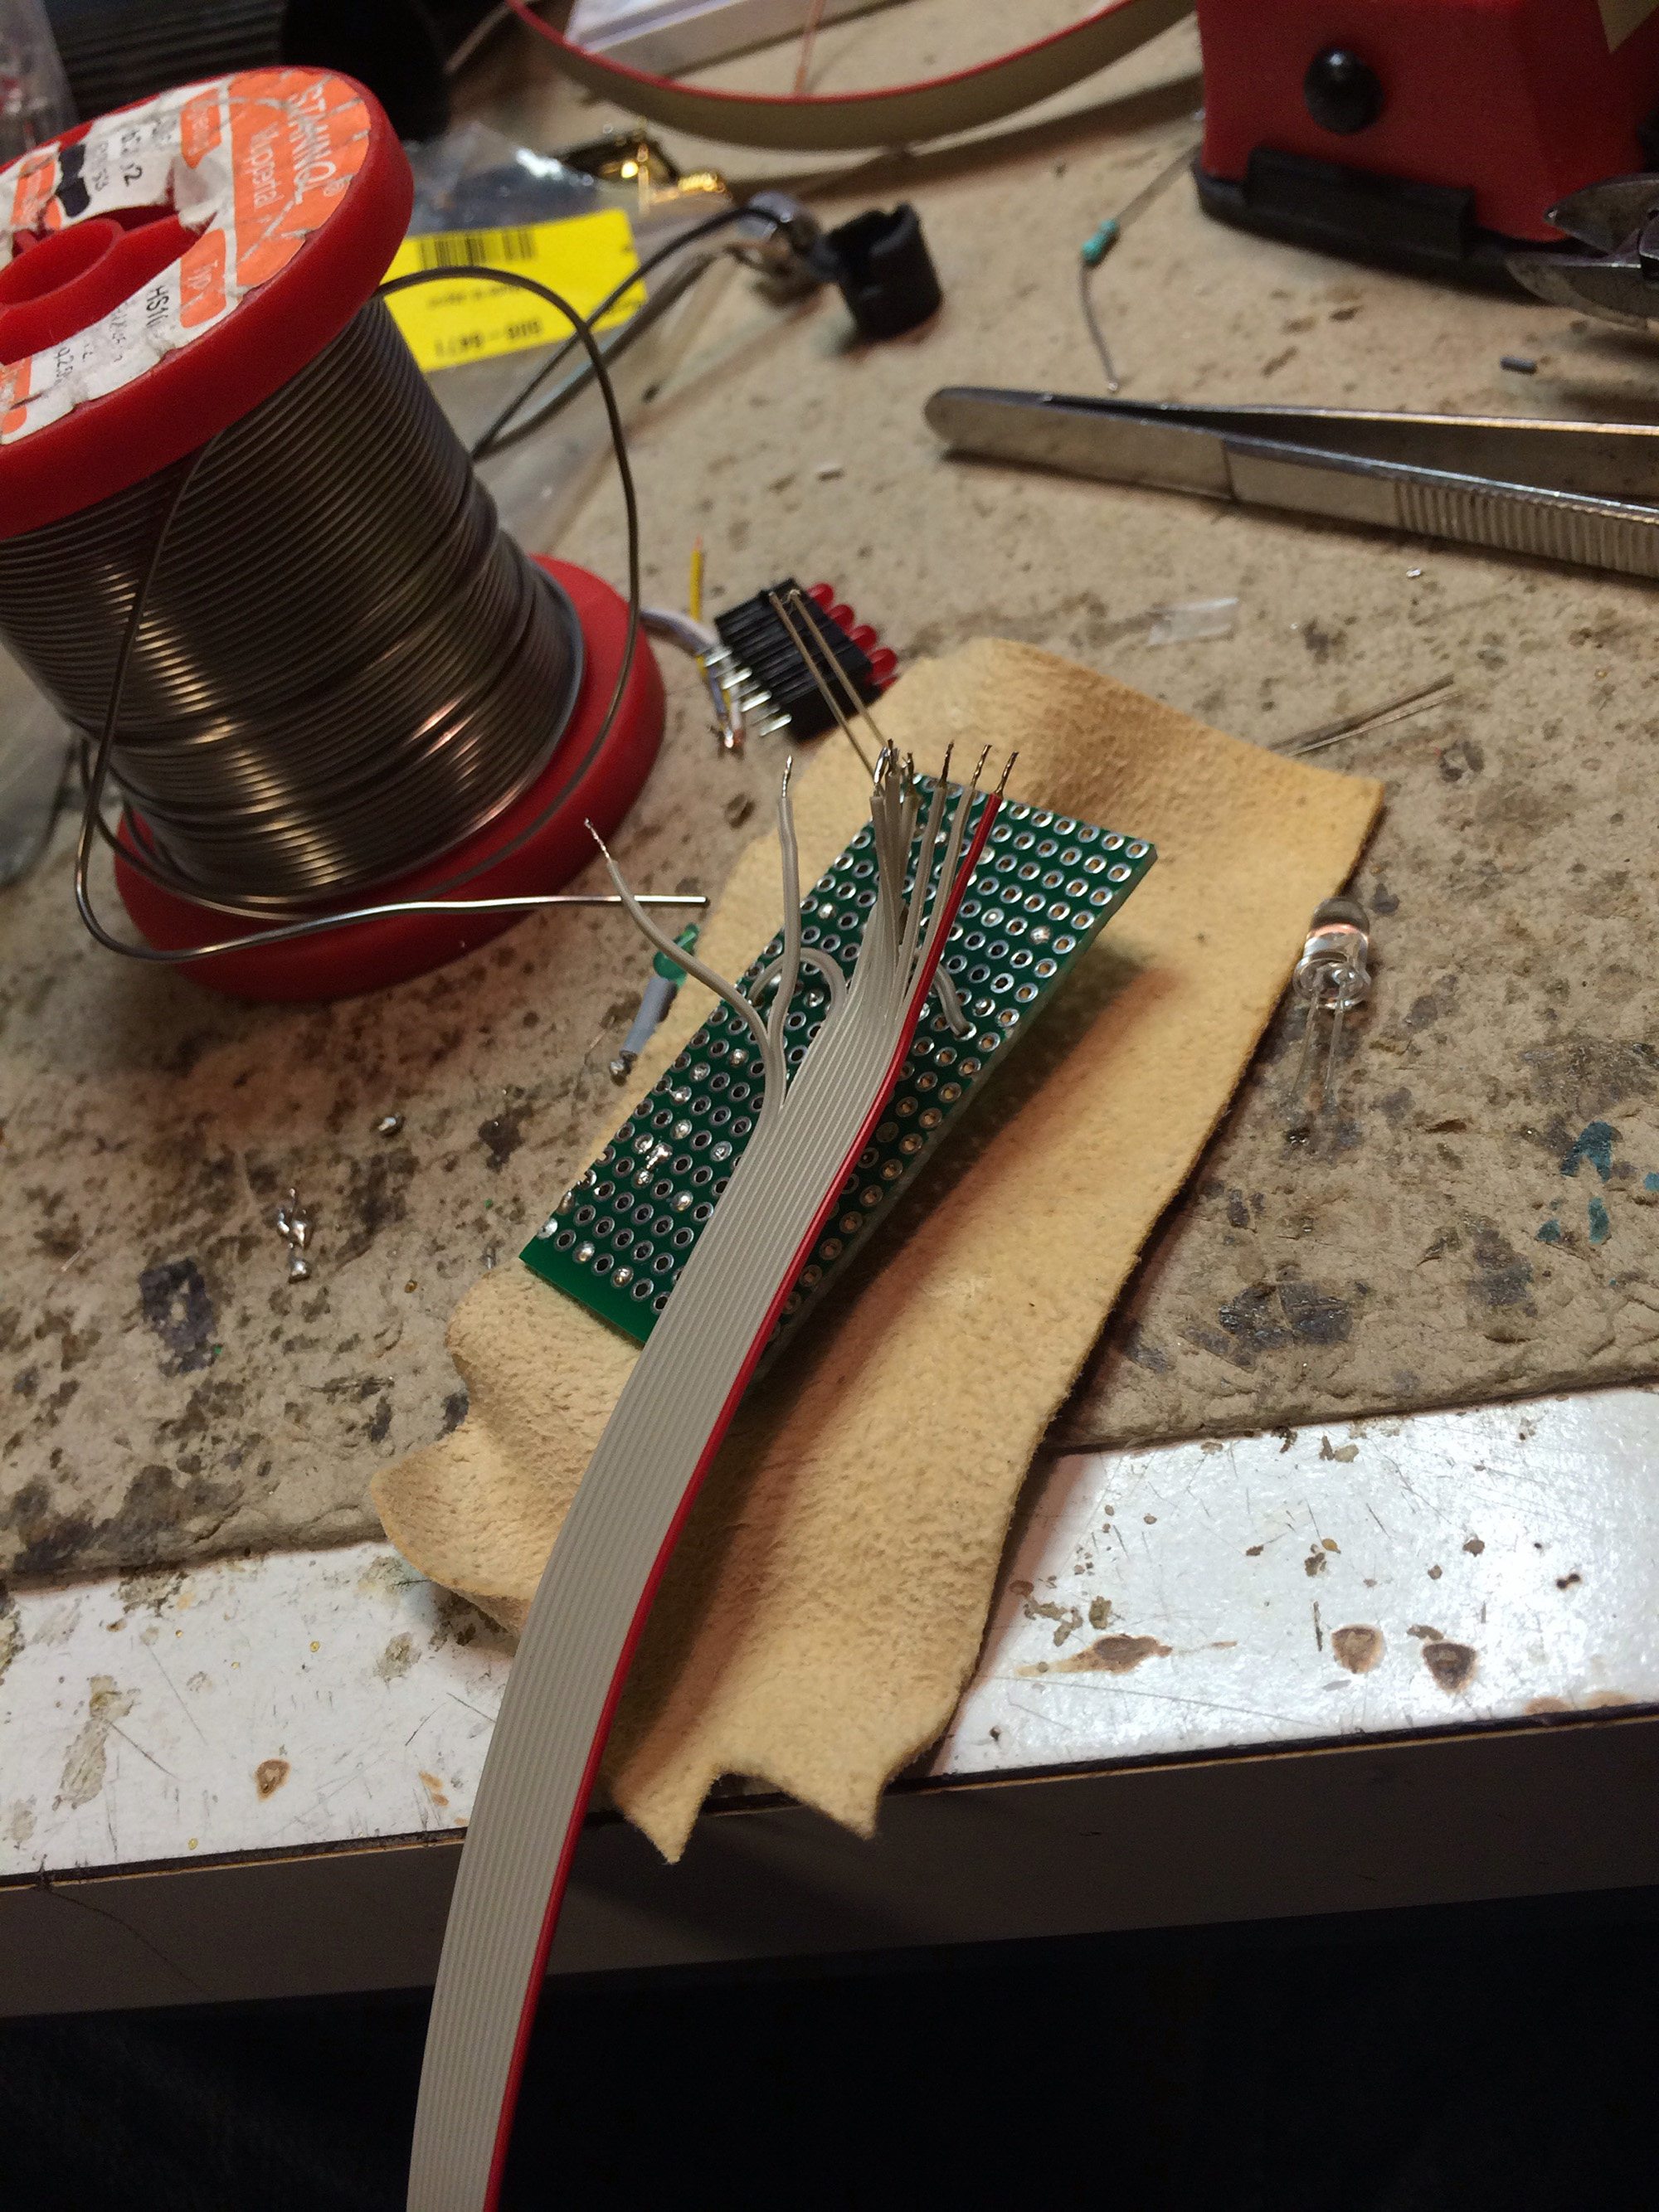
So to fix these problems I added a little PCB with 8 flat buttons and 3 LEDs that I could mount onto my Guitar. I was inspired a little bit by the ACPAD project on Kick-starter. The board was then wrapped into some very soft leather and could be attached using a rubber string to a guitar. All the components could fit into a Pringles can. I added a little microphone that could be clipped into a guitar and a little adapter cable to connect the mic and the Pringles speaker that was also the cap of the can for transport.

After testing this setup at several occasions I decided that It was pretty bulky and also not that great to use. The reason was the pad on the guitar..... It would be so much better to have several pedals on the floor and not use the hands at all to control the looper...
I left the project sitting in the shelf for probably 1-2 years till I got back at it with a new plan. I needed to get more pedals into the Pringles Can... I started with the idea of using soft foam and aluminum foil to create a pedal. I even went as far as building a set of 8 pedals.
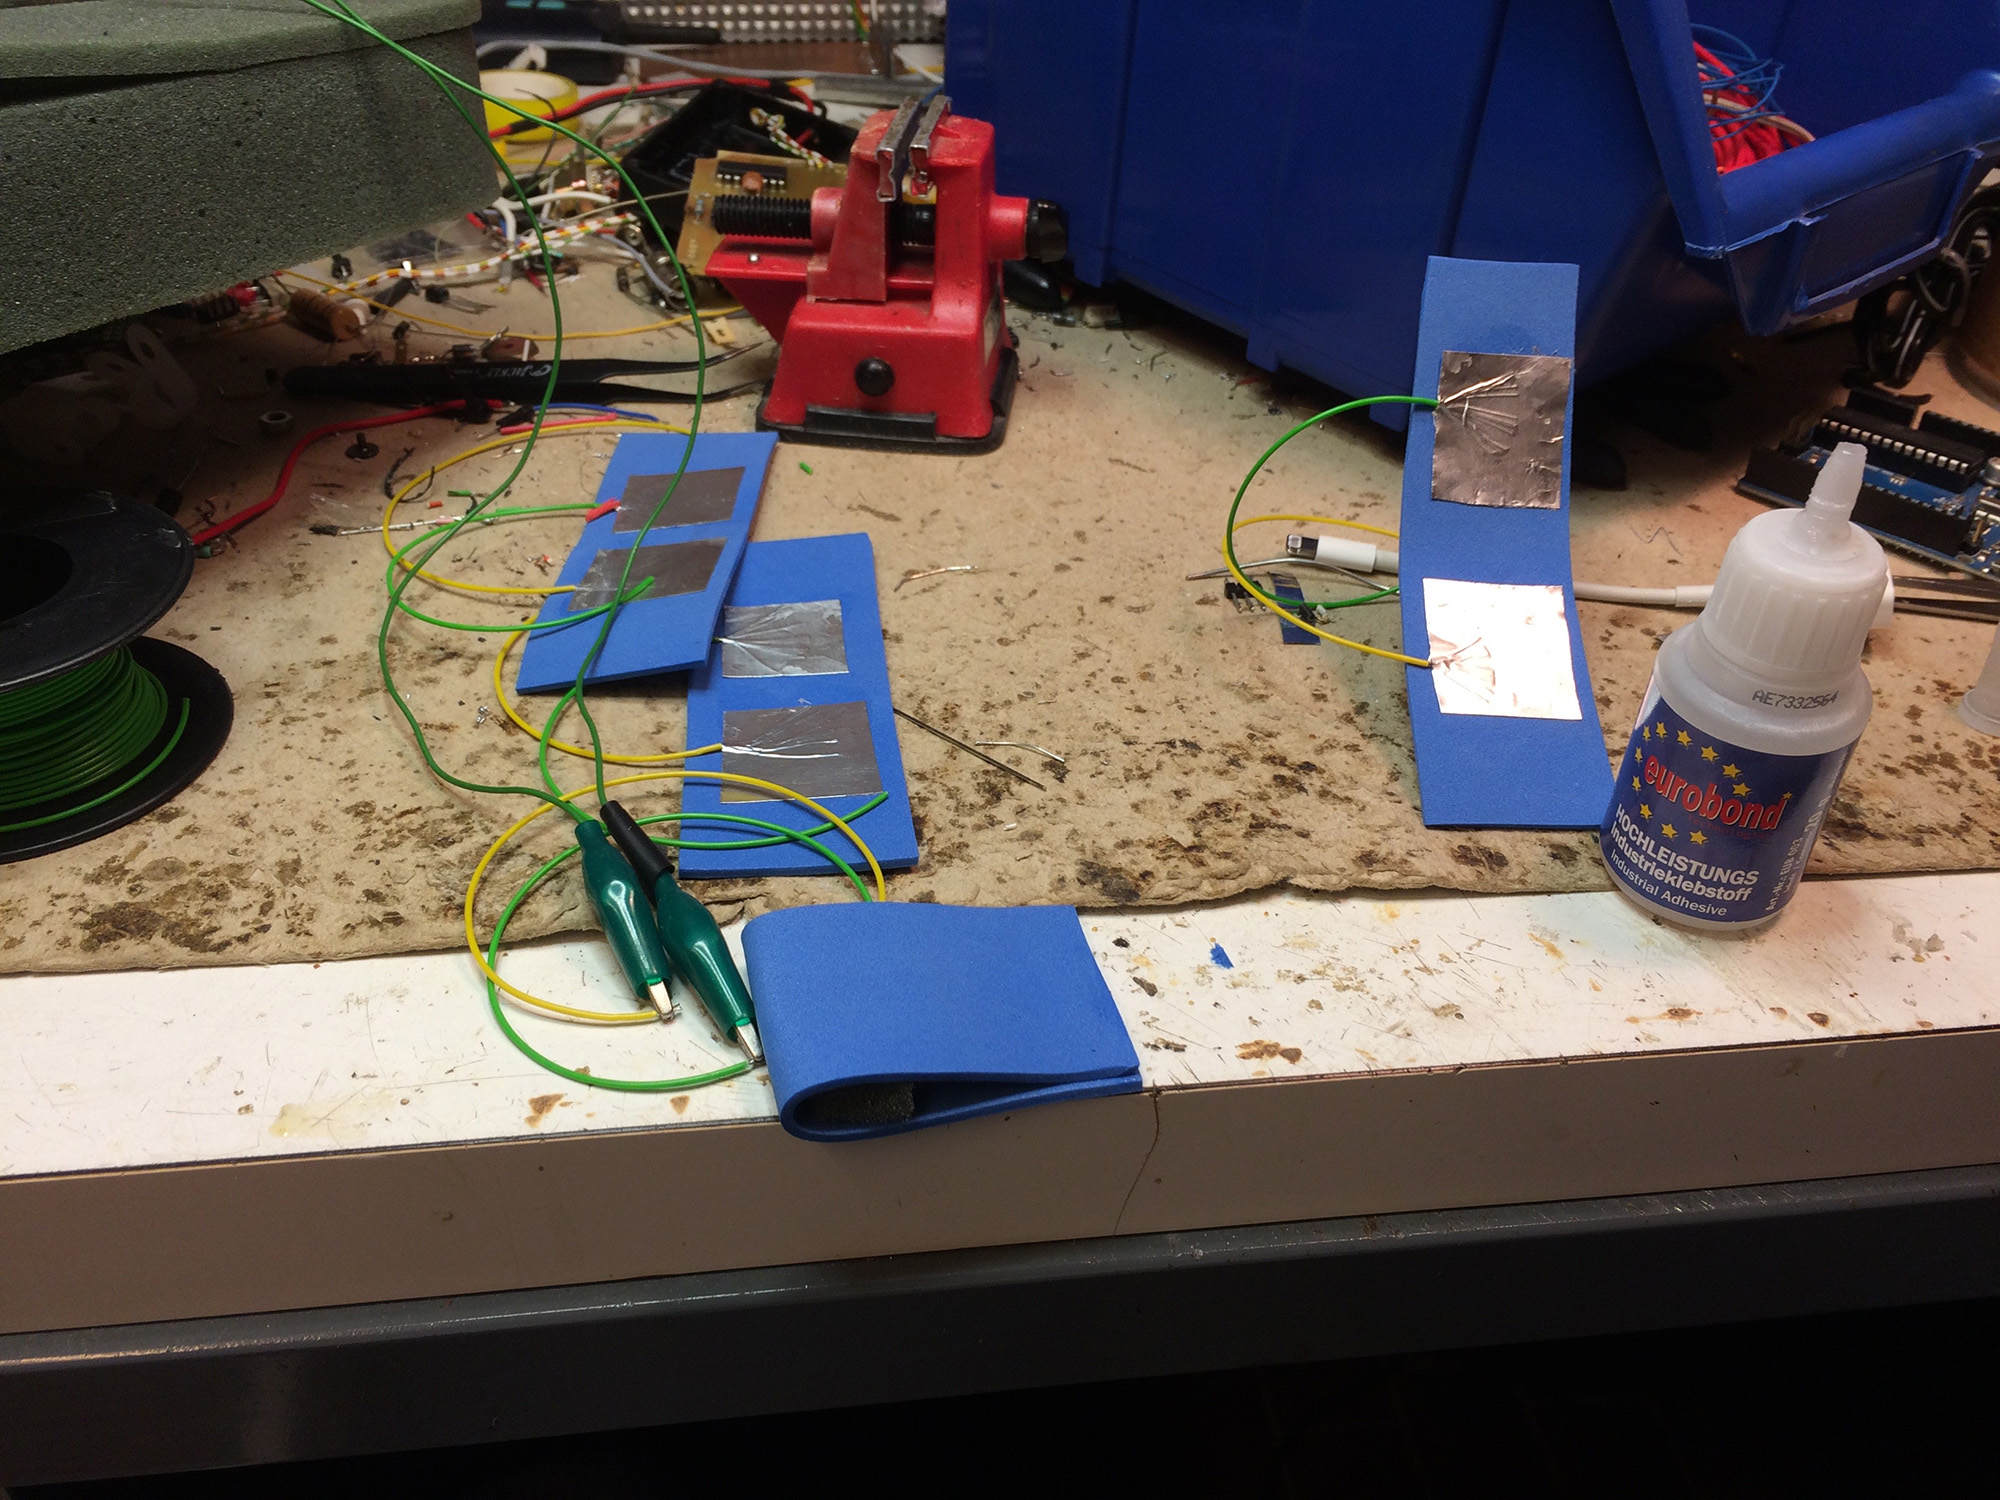
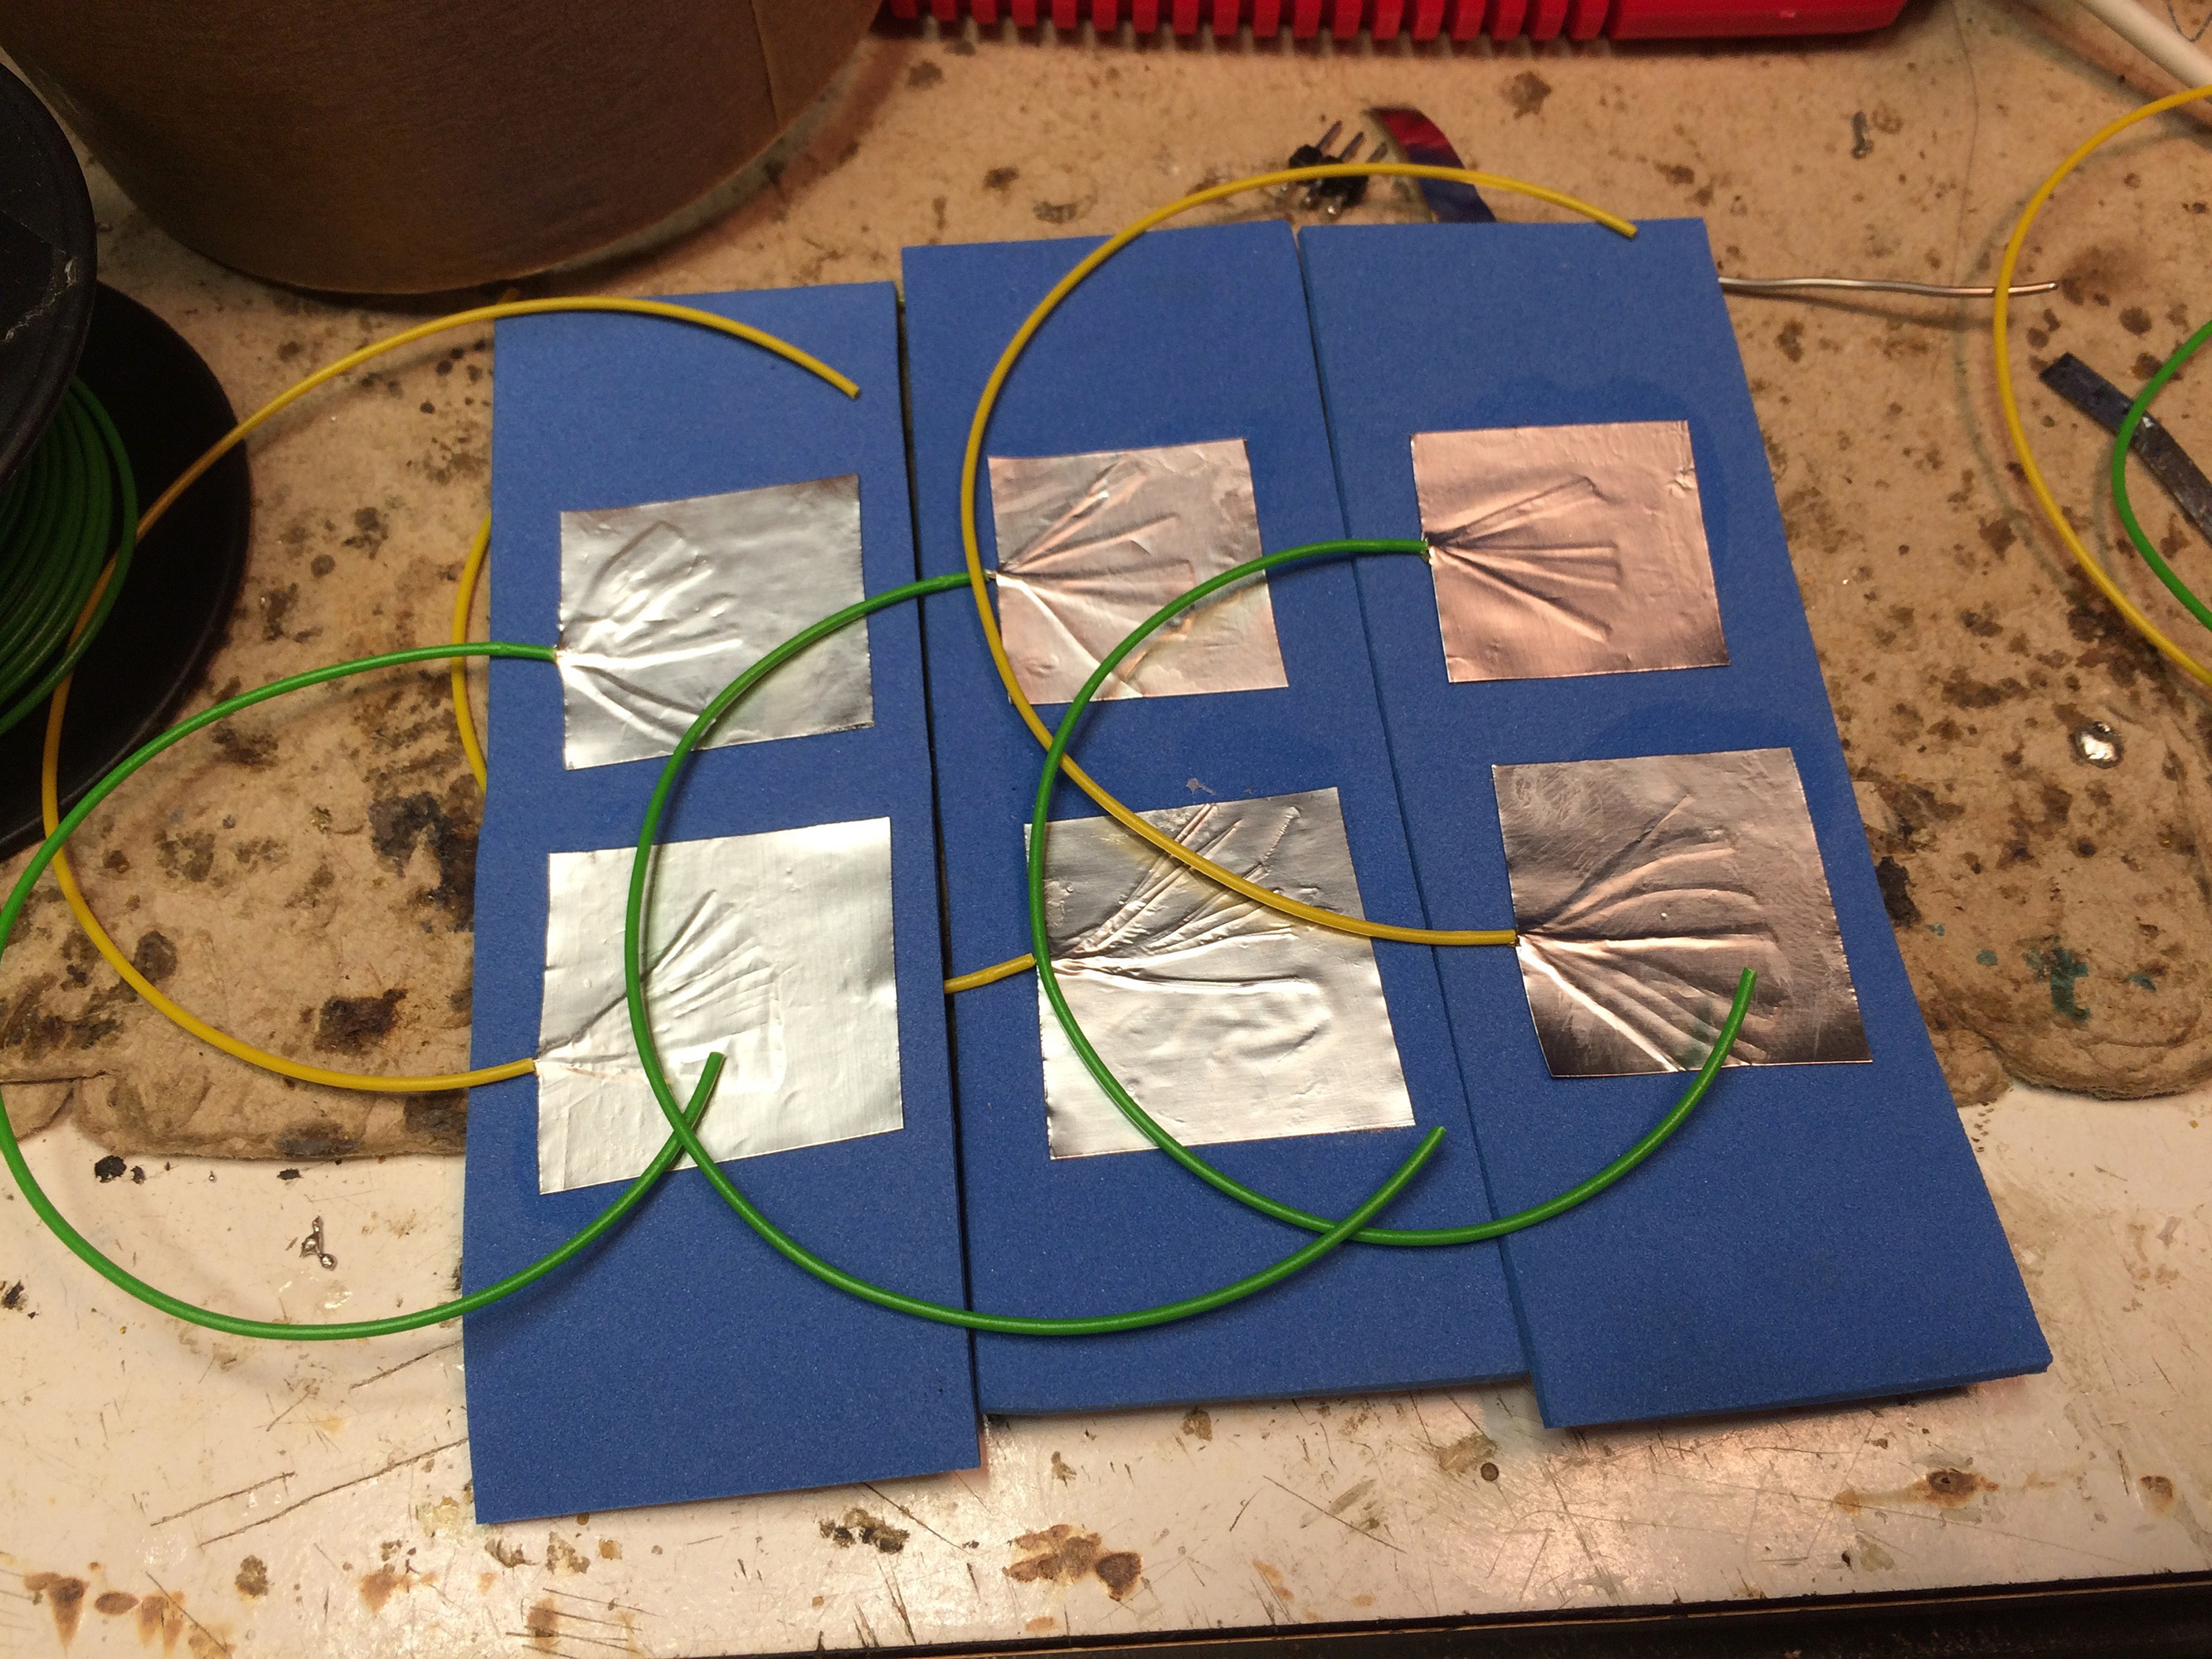
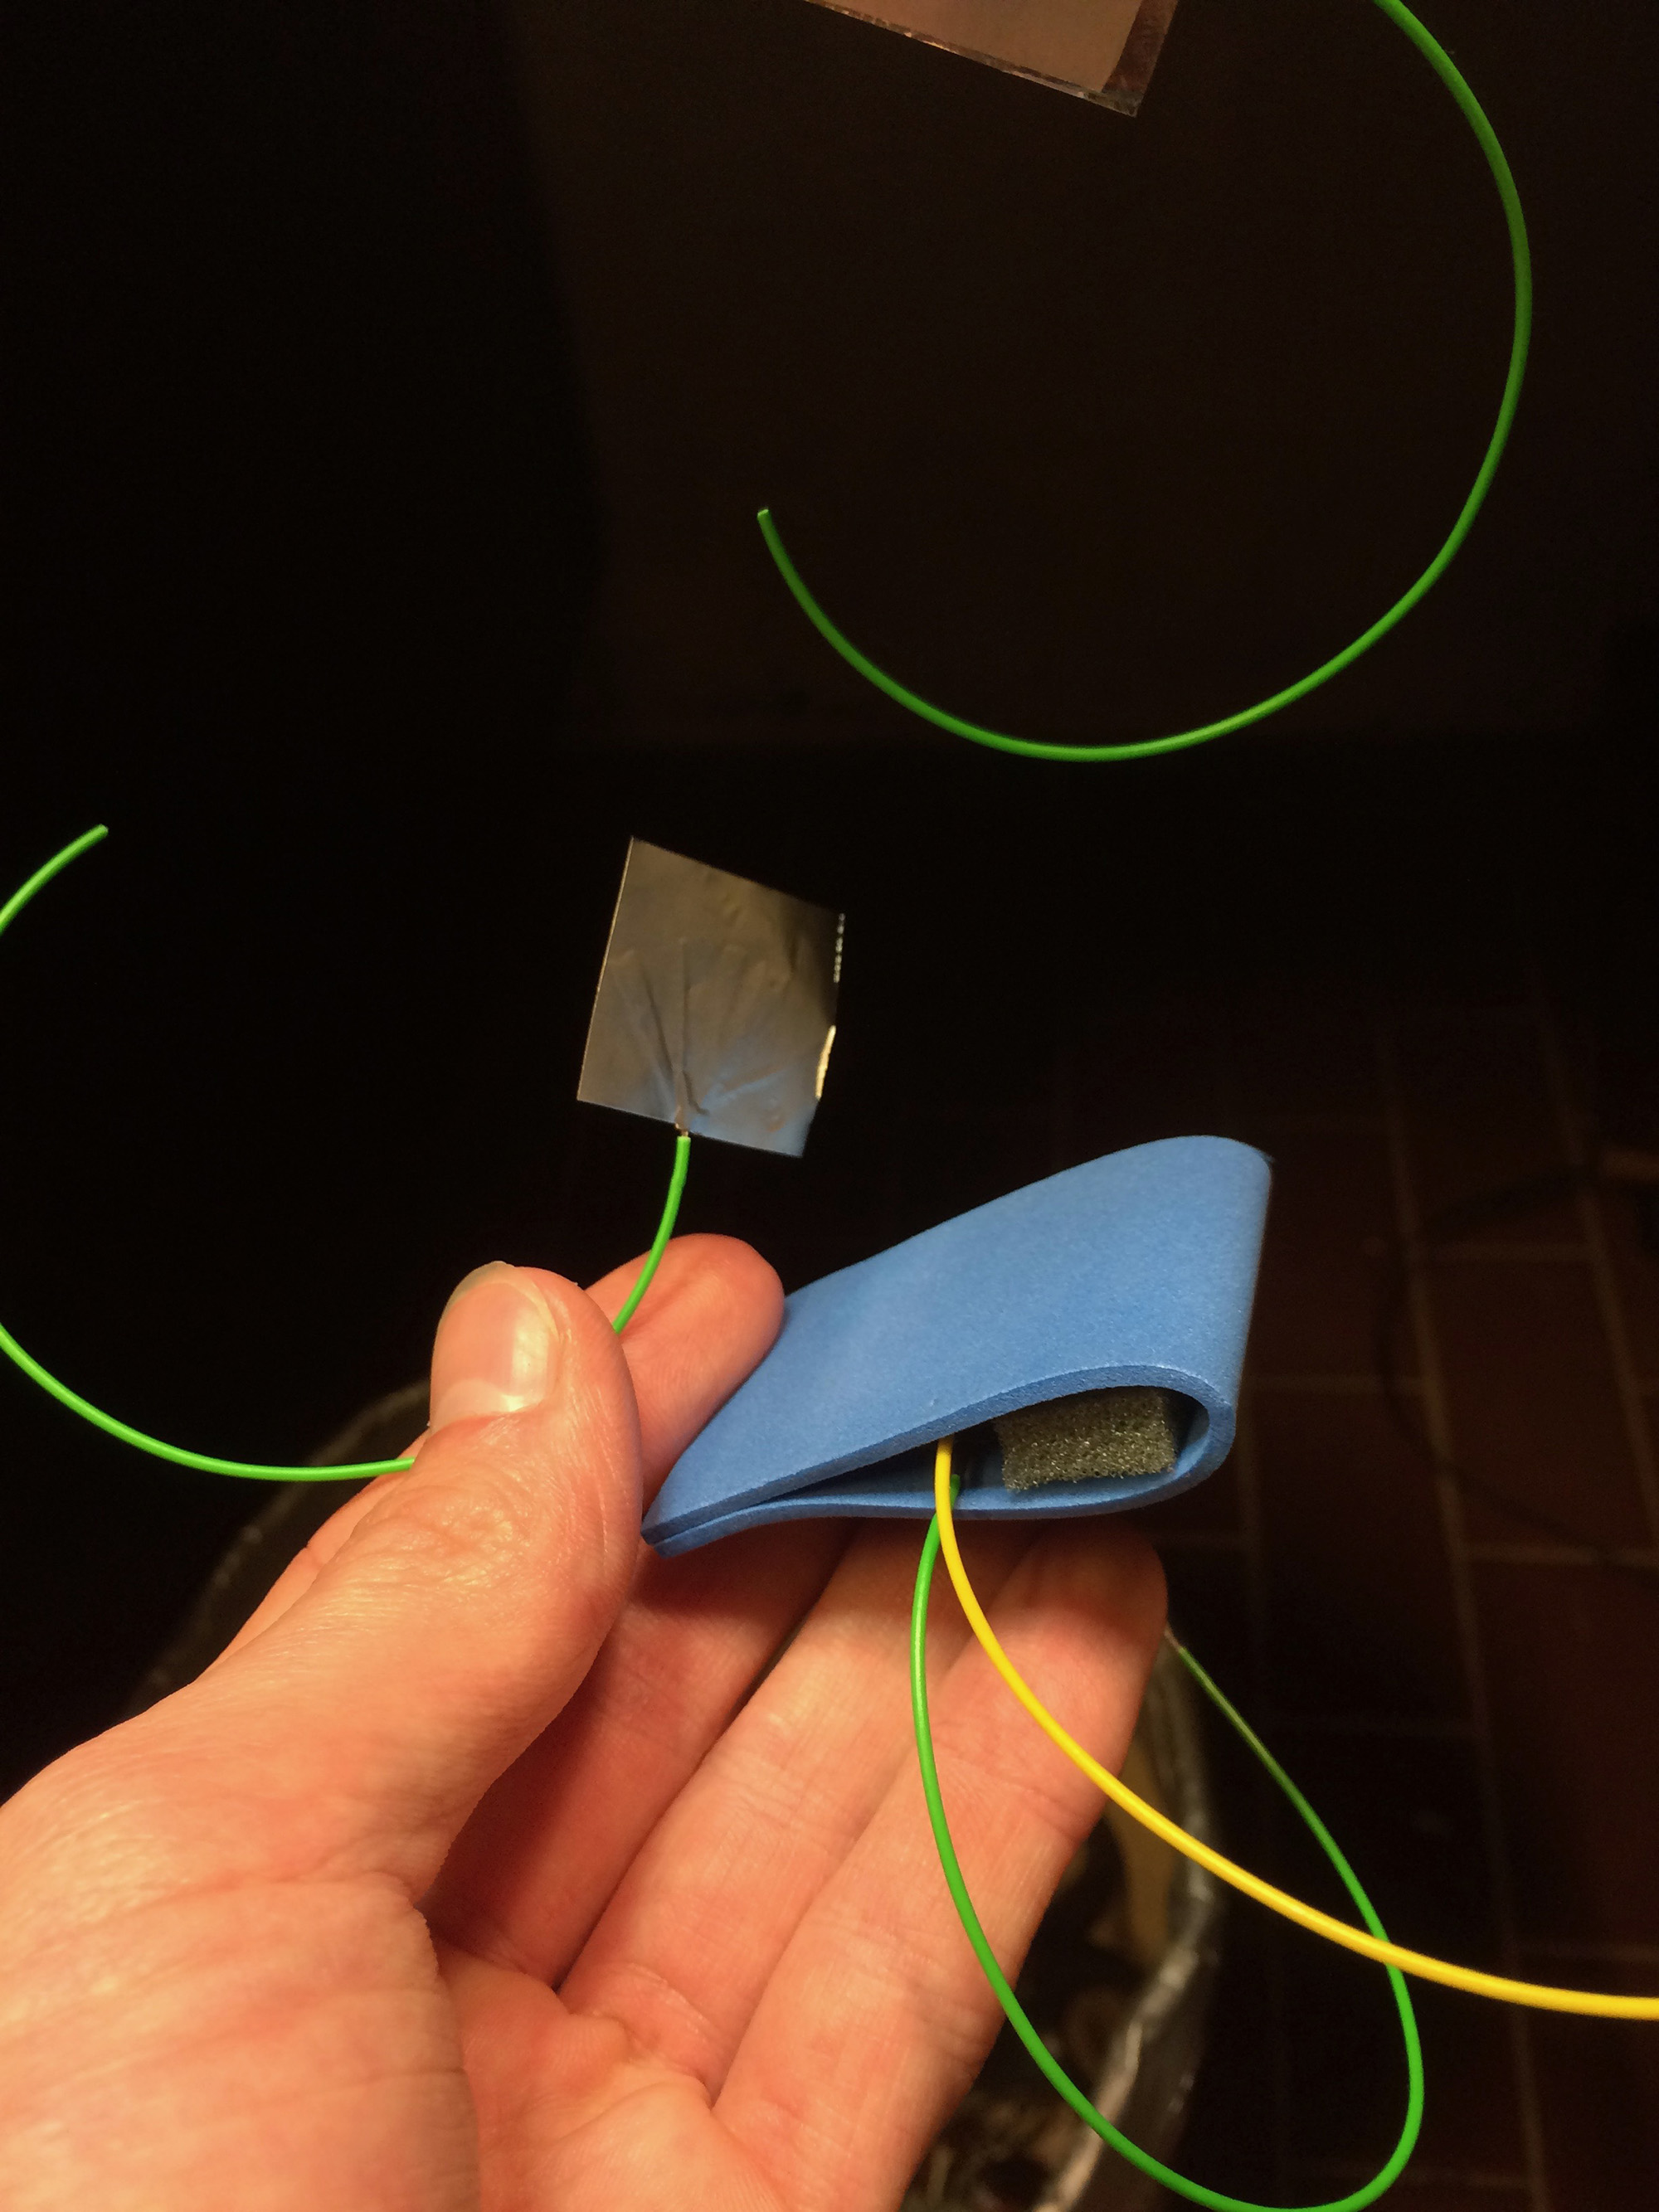
But that was even worse than the pad since these pedals have no feedback on your toes, so you do not always figure out when you managed to press them. I had to completly rethink my design...
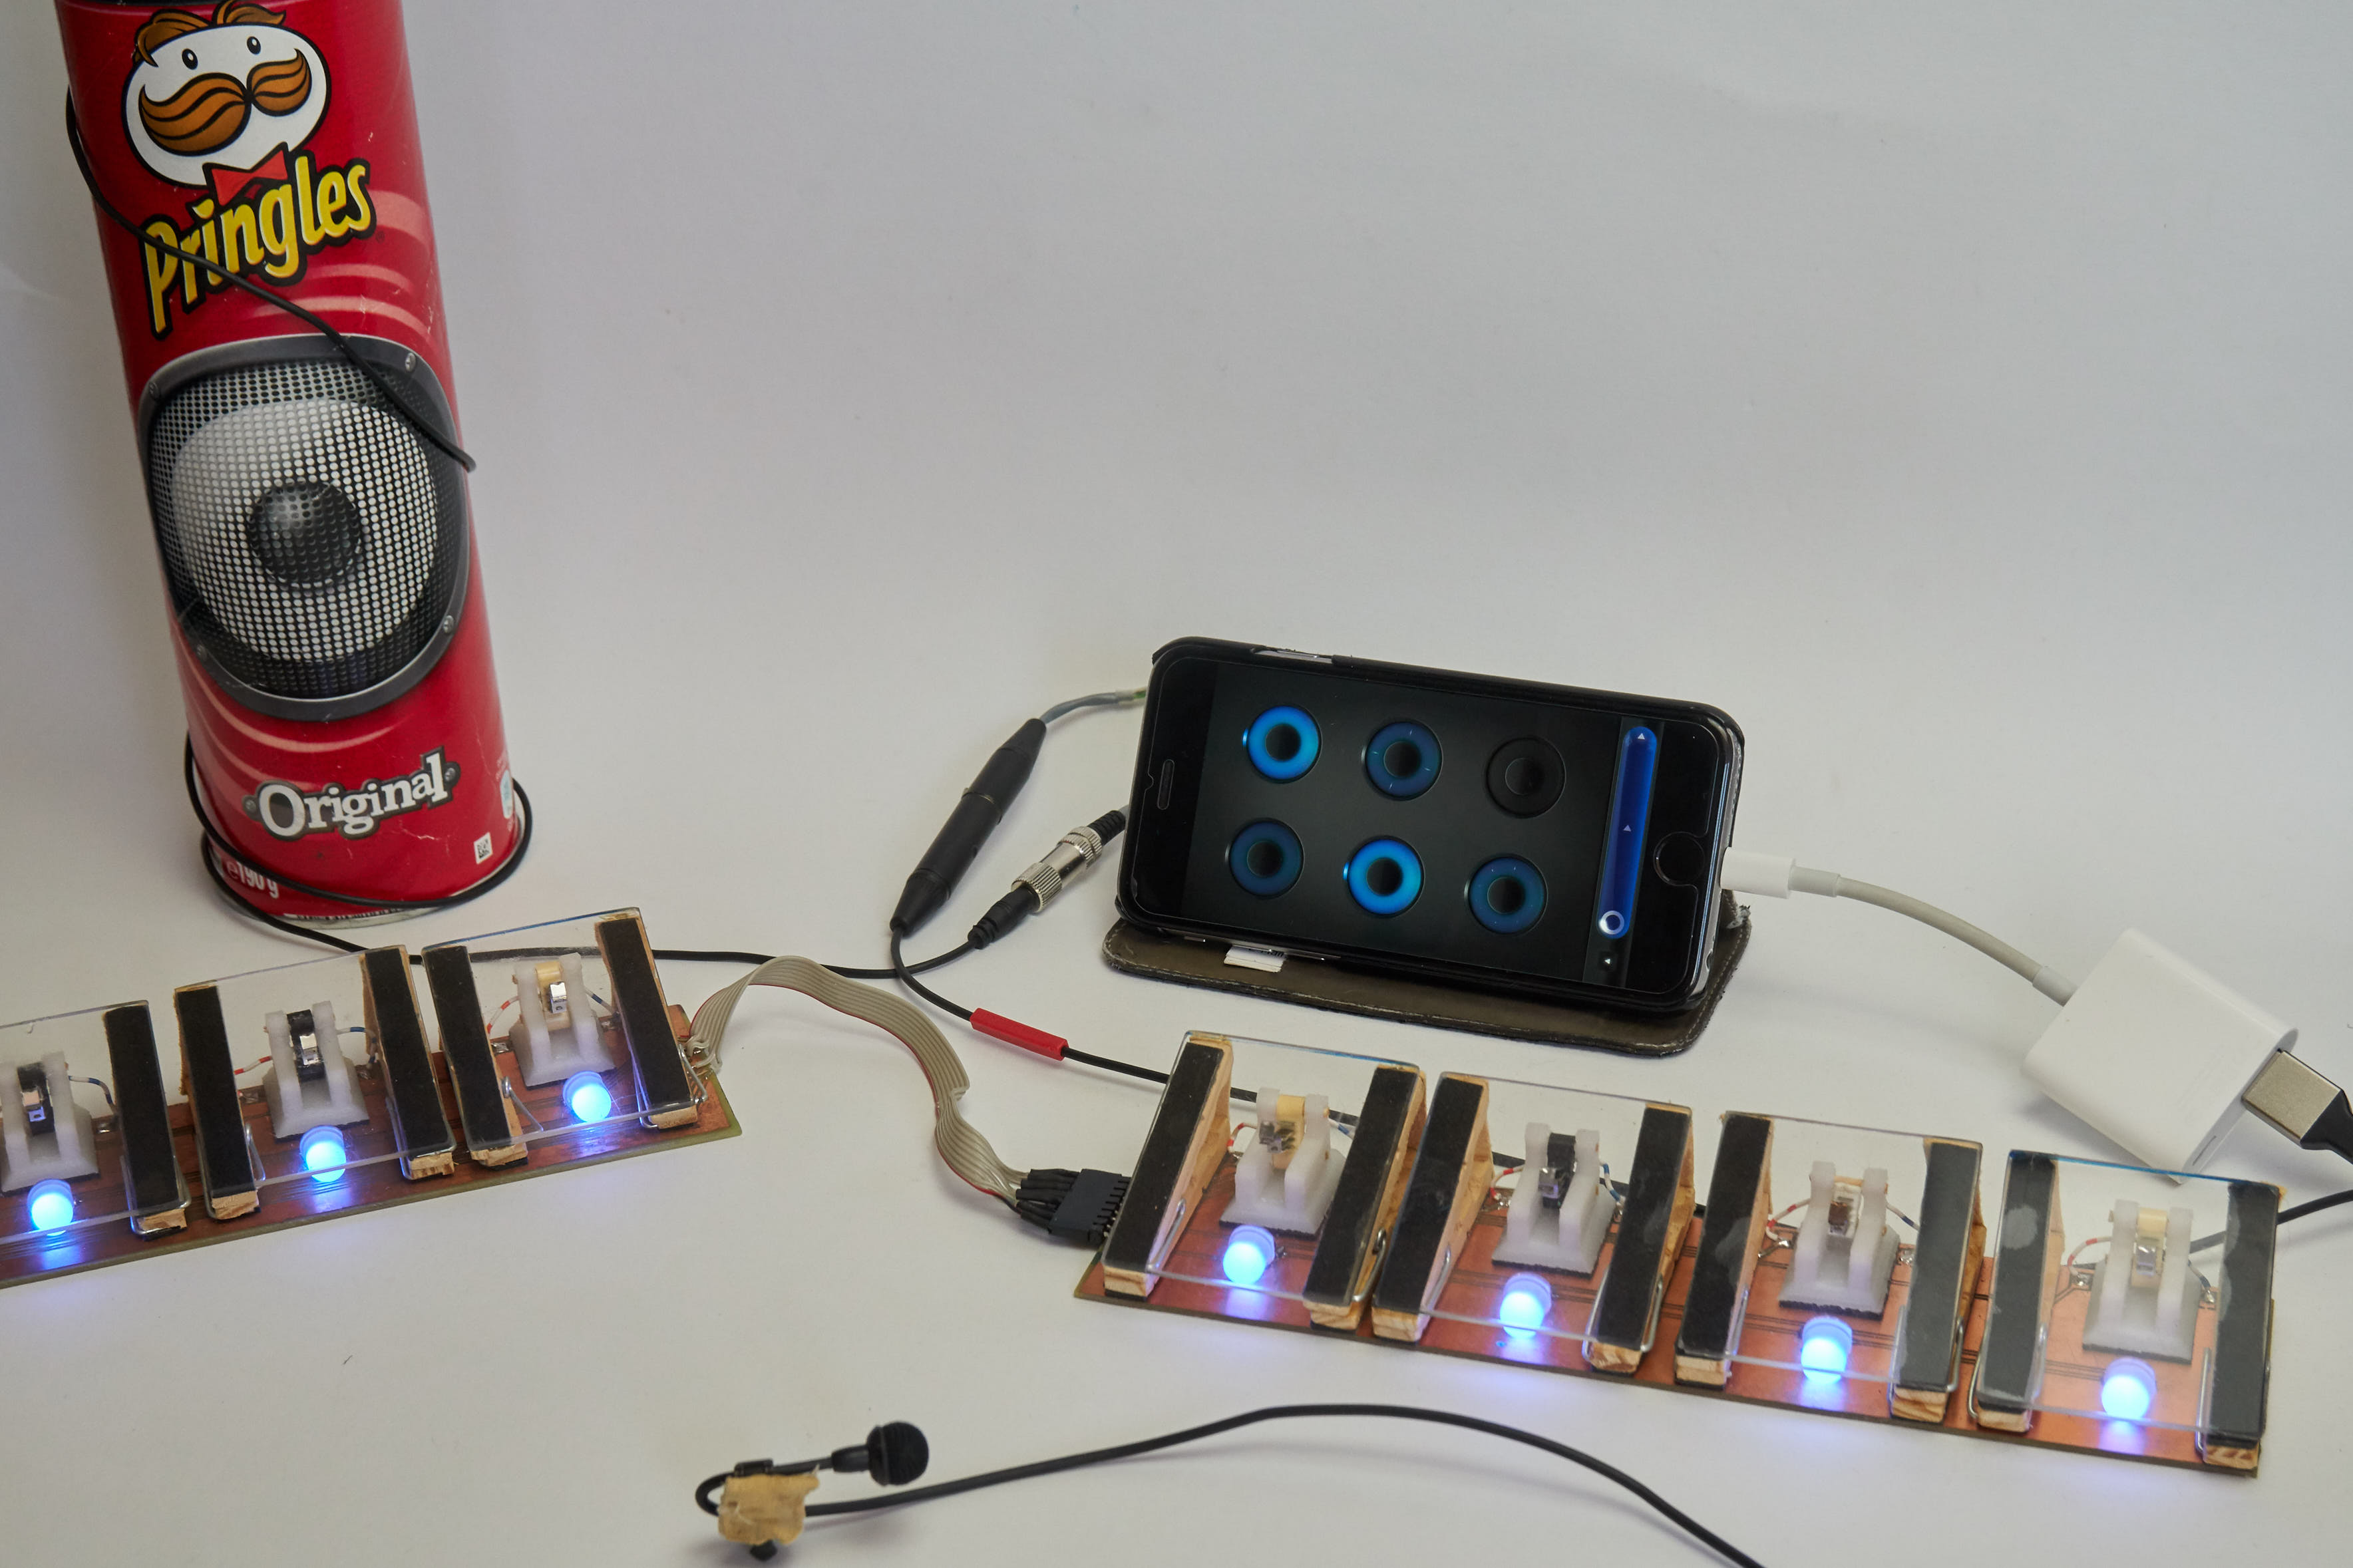
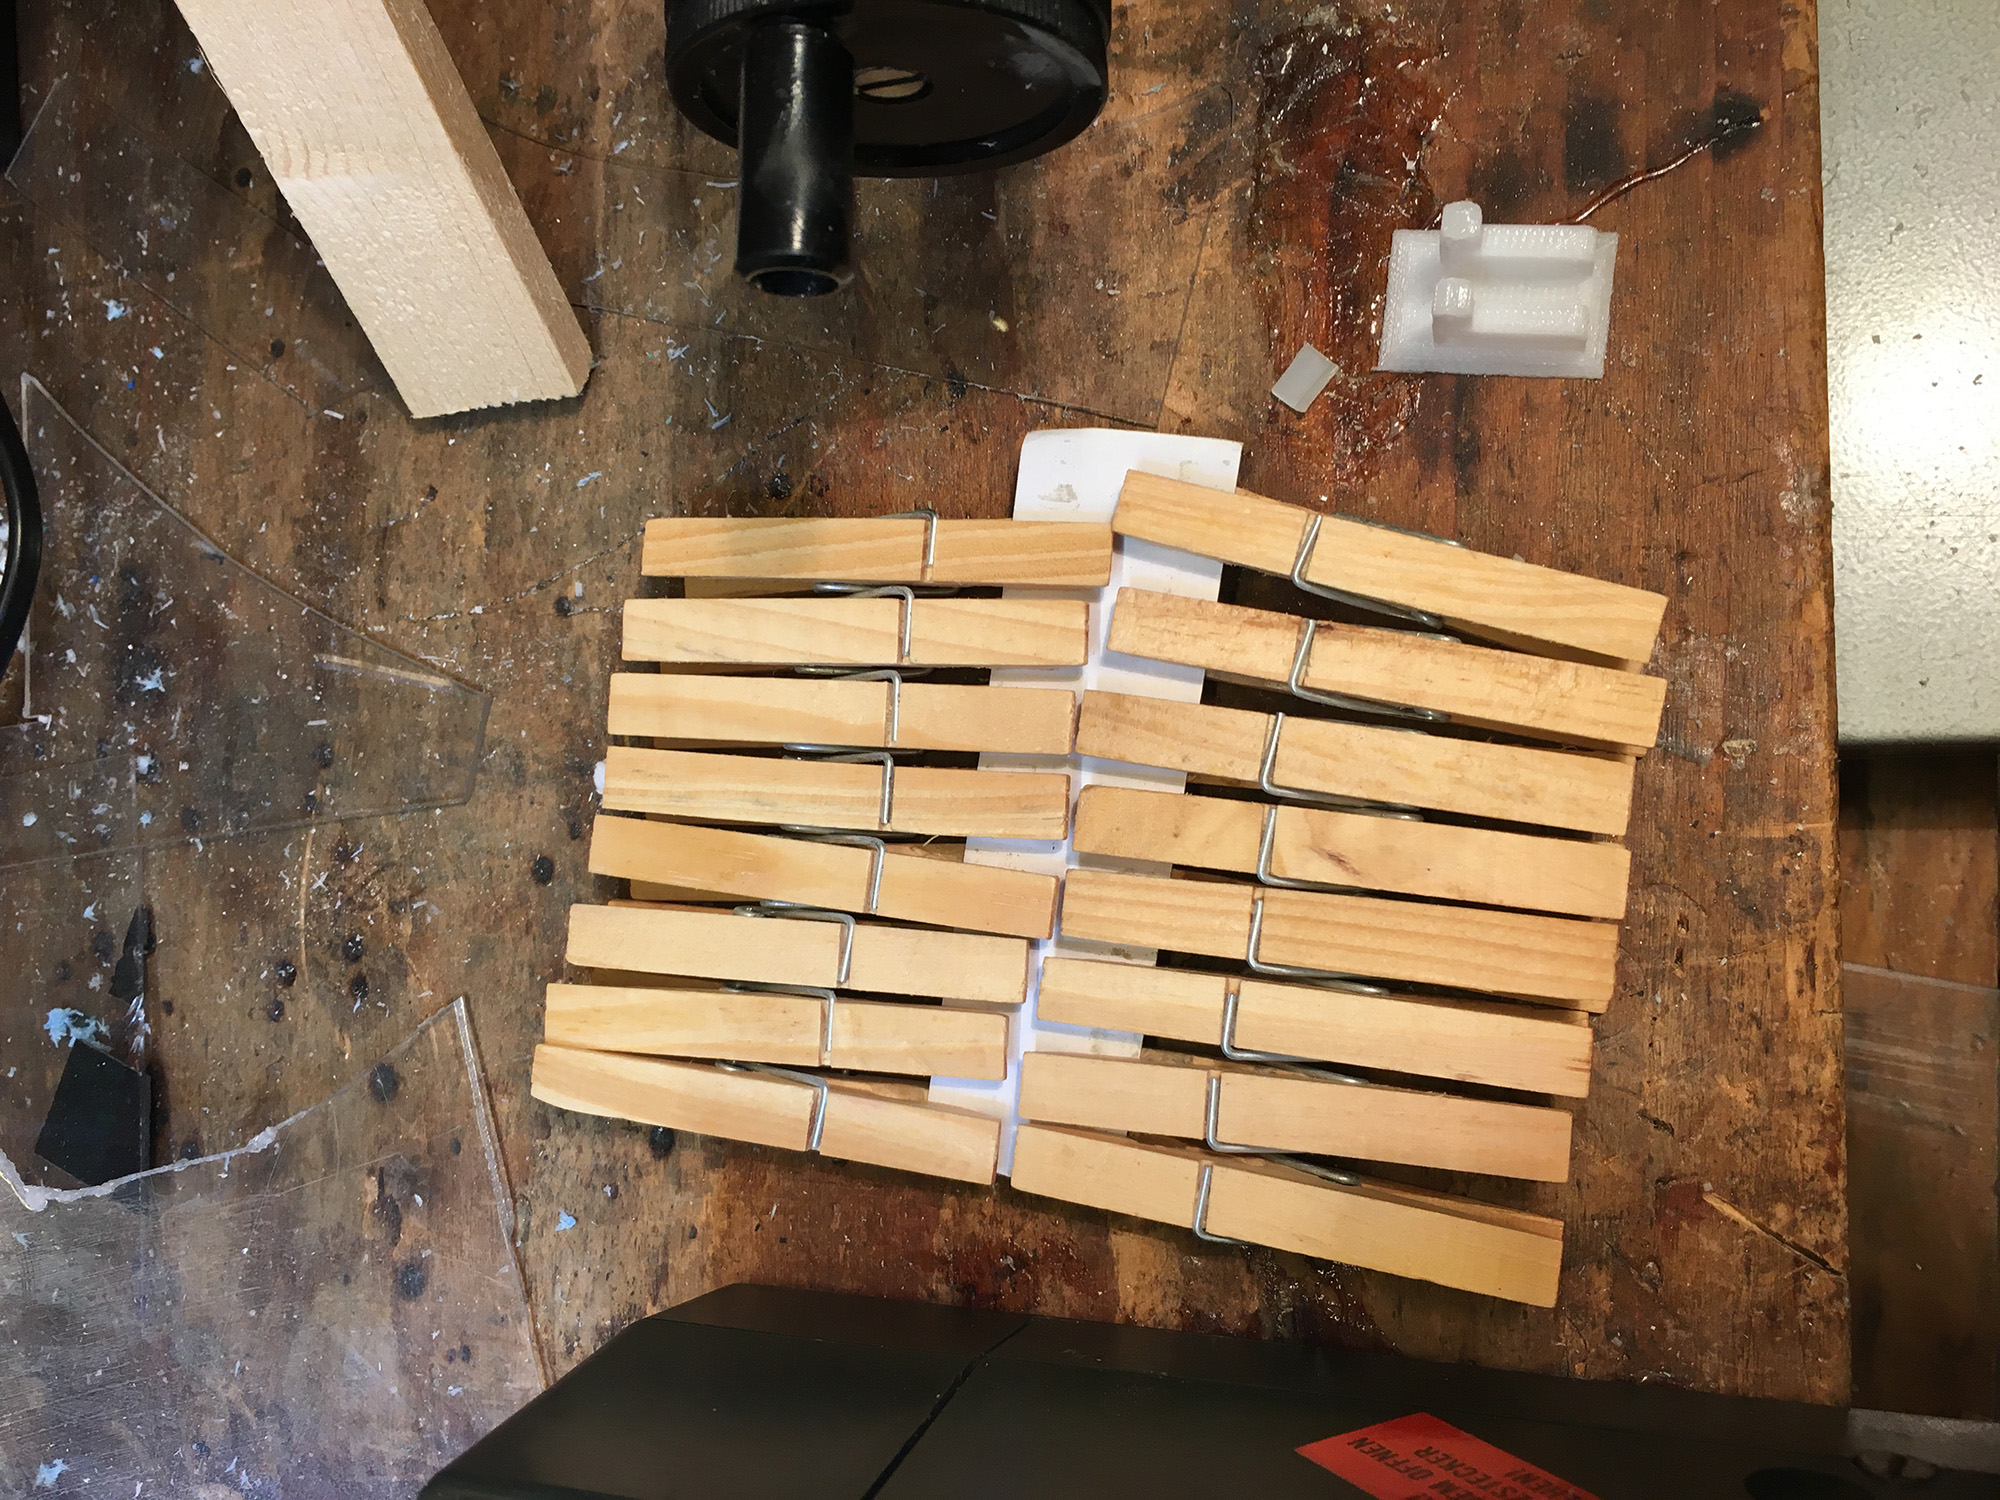
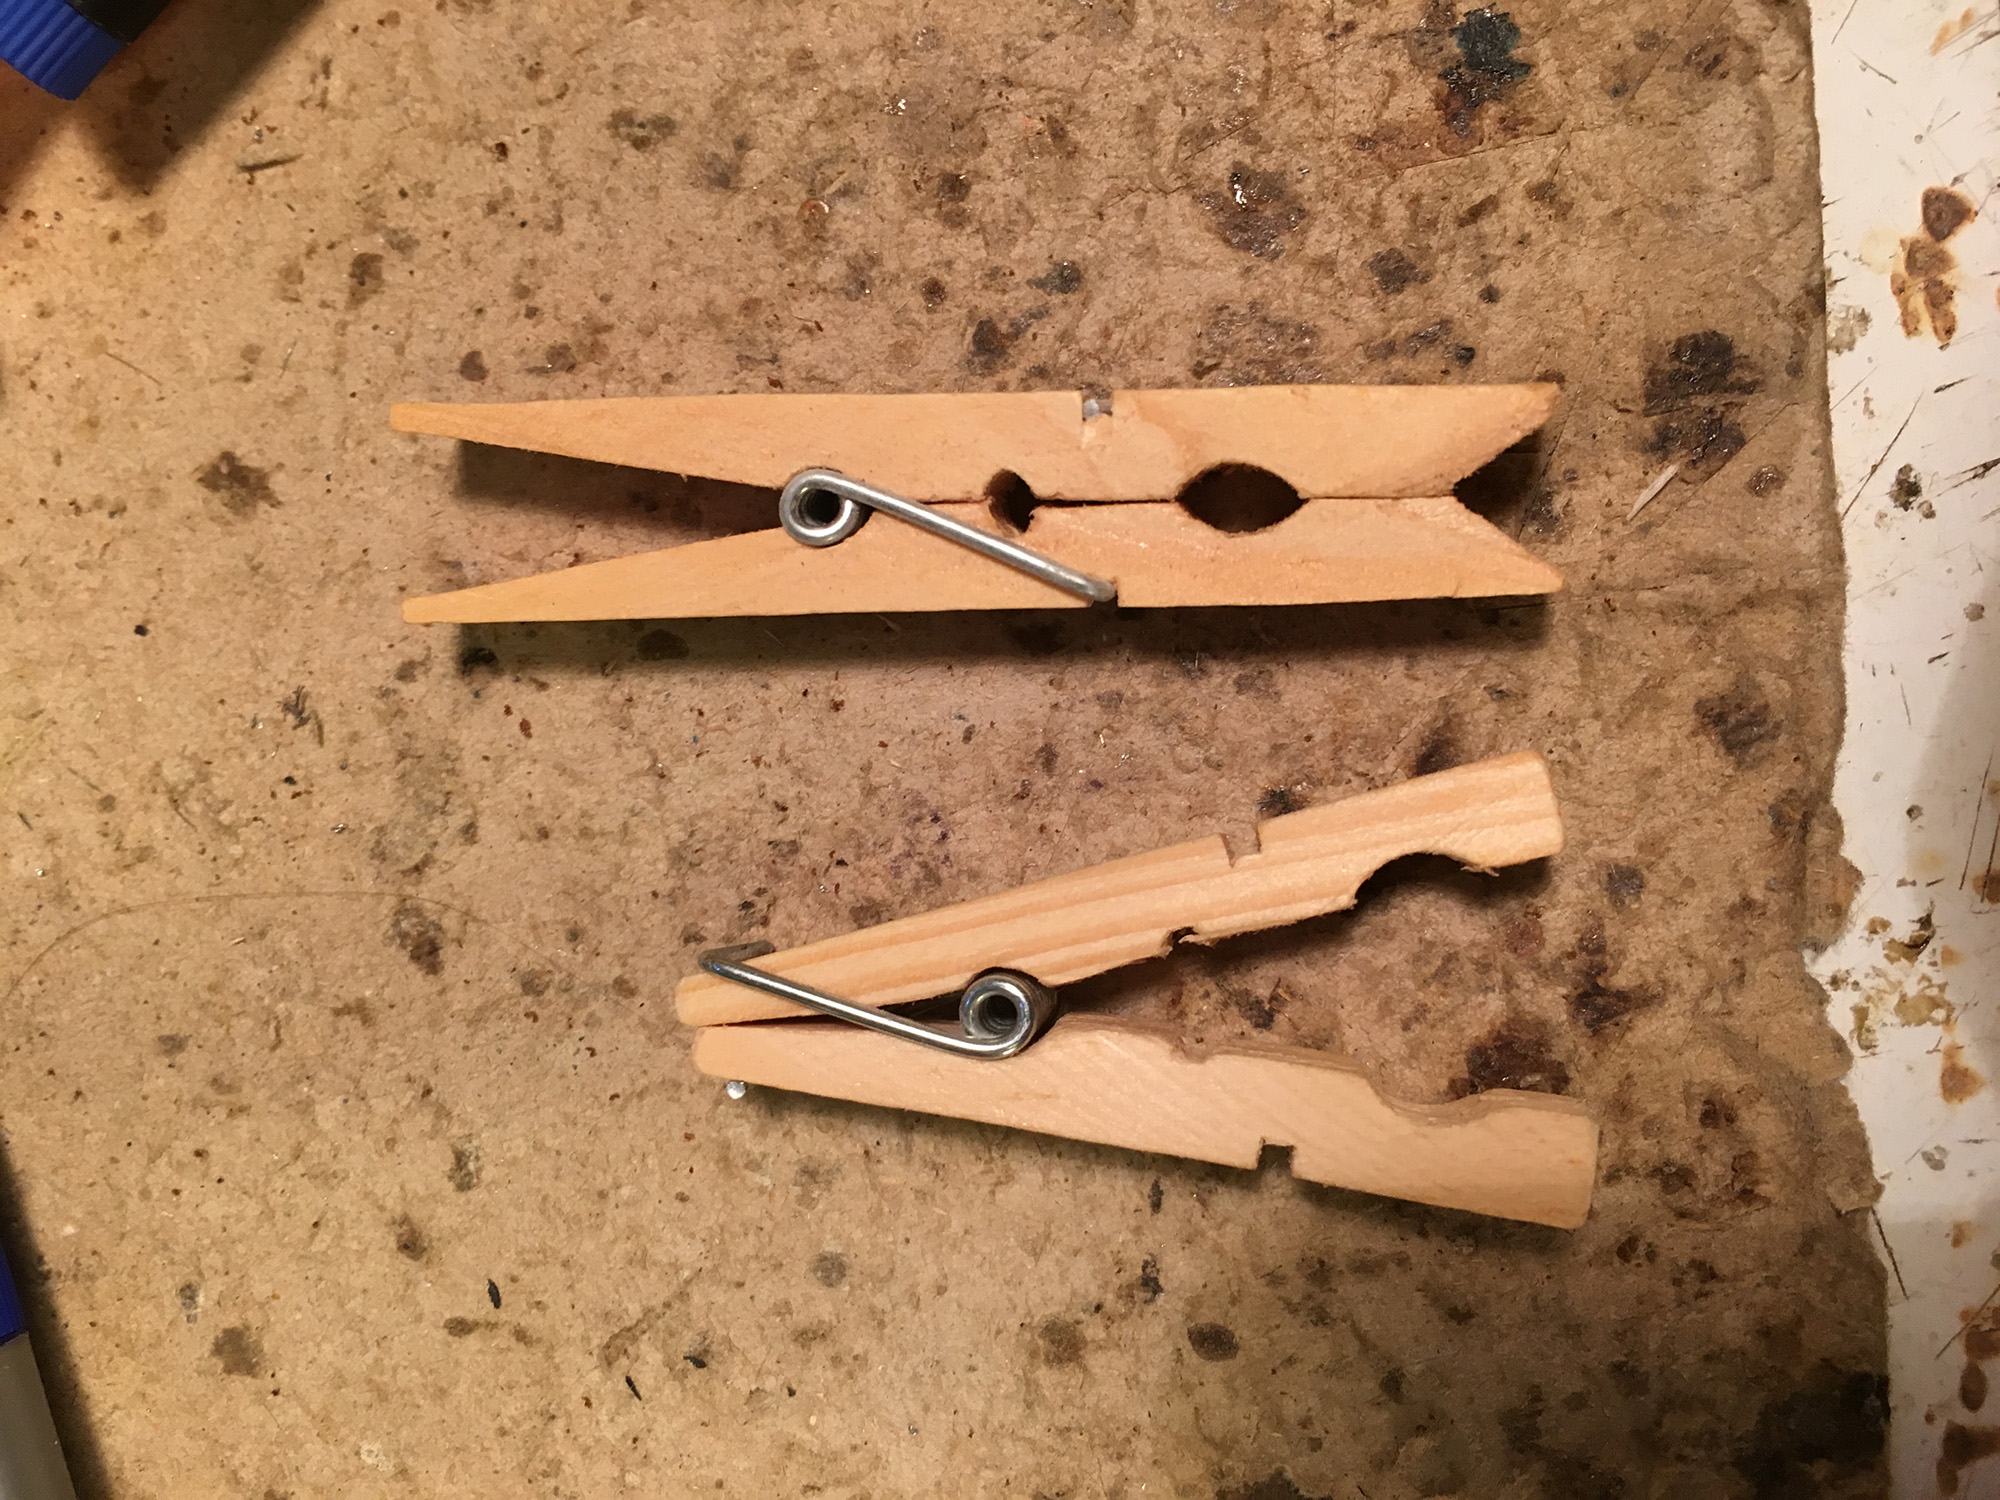
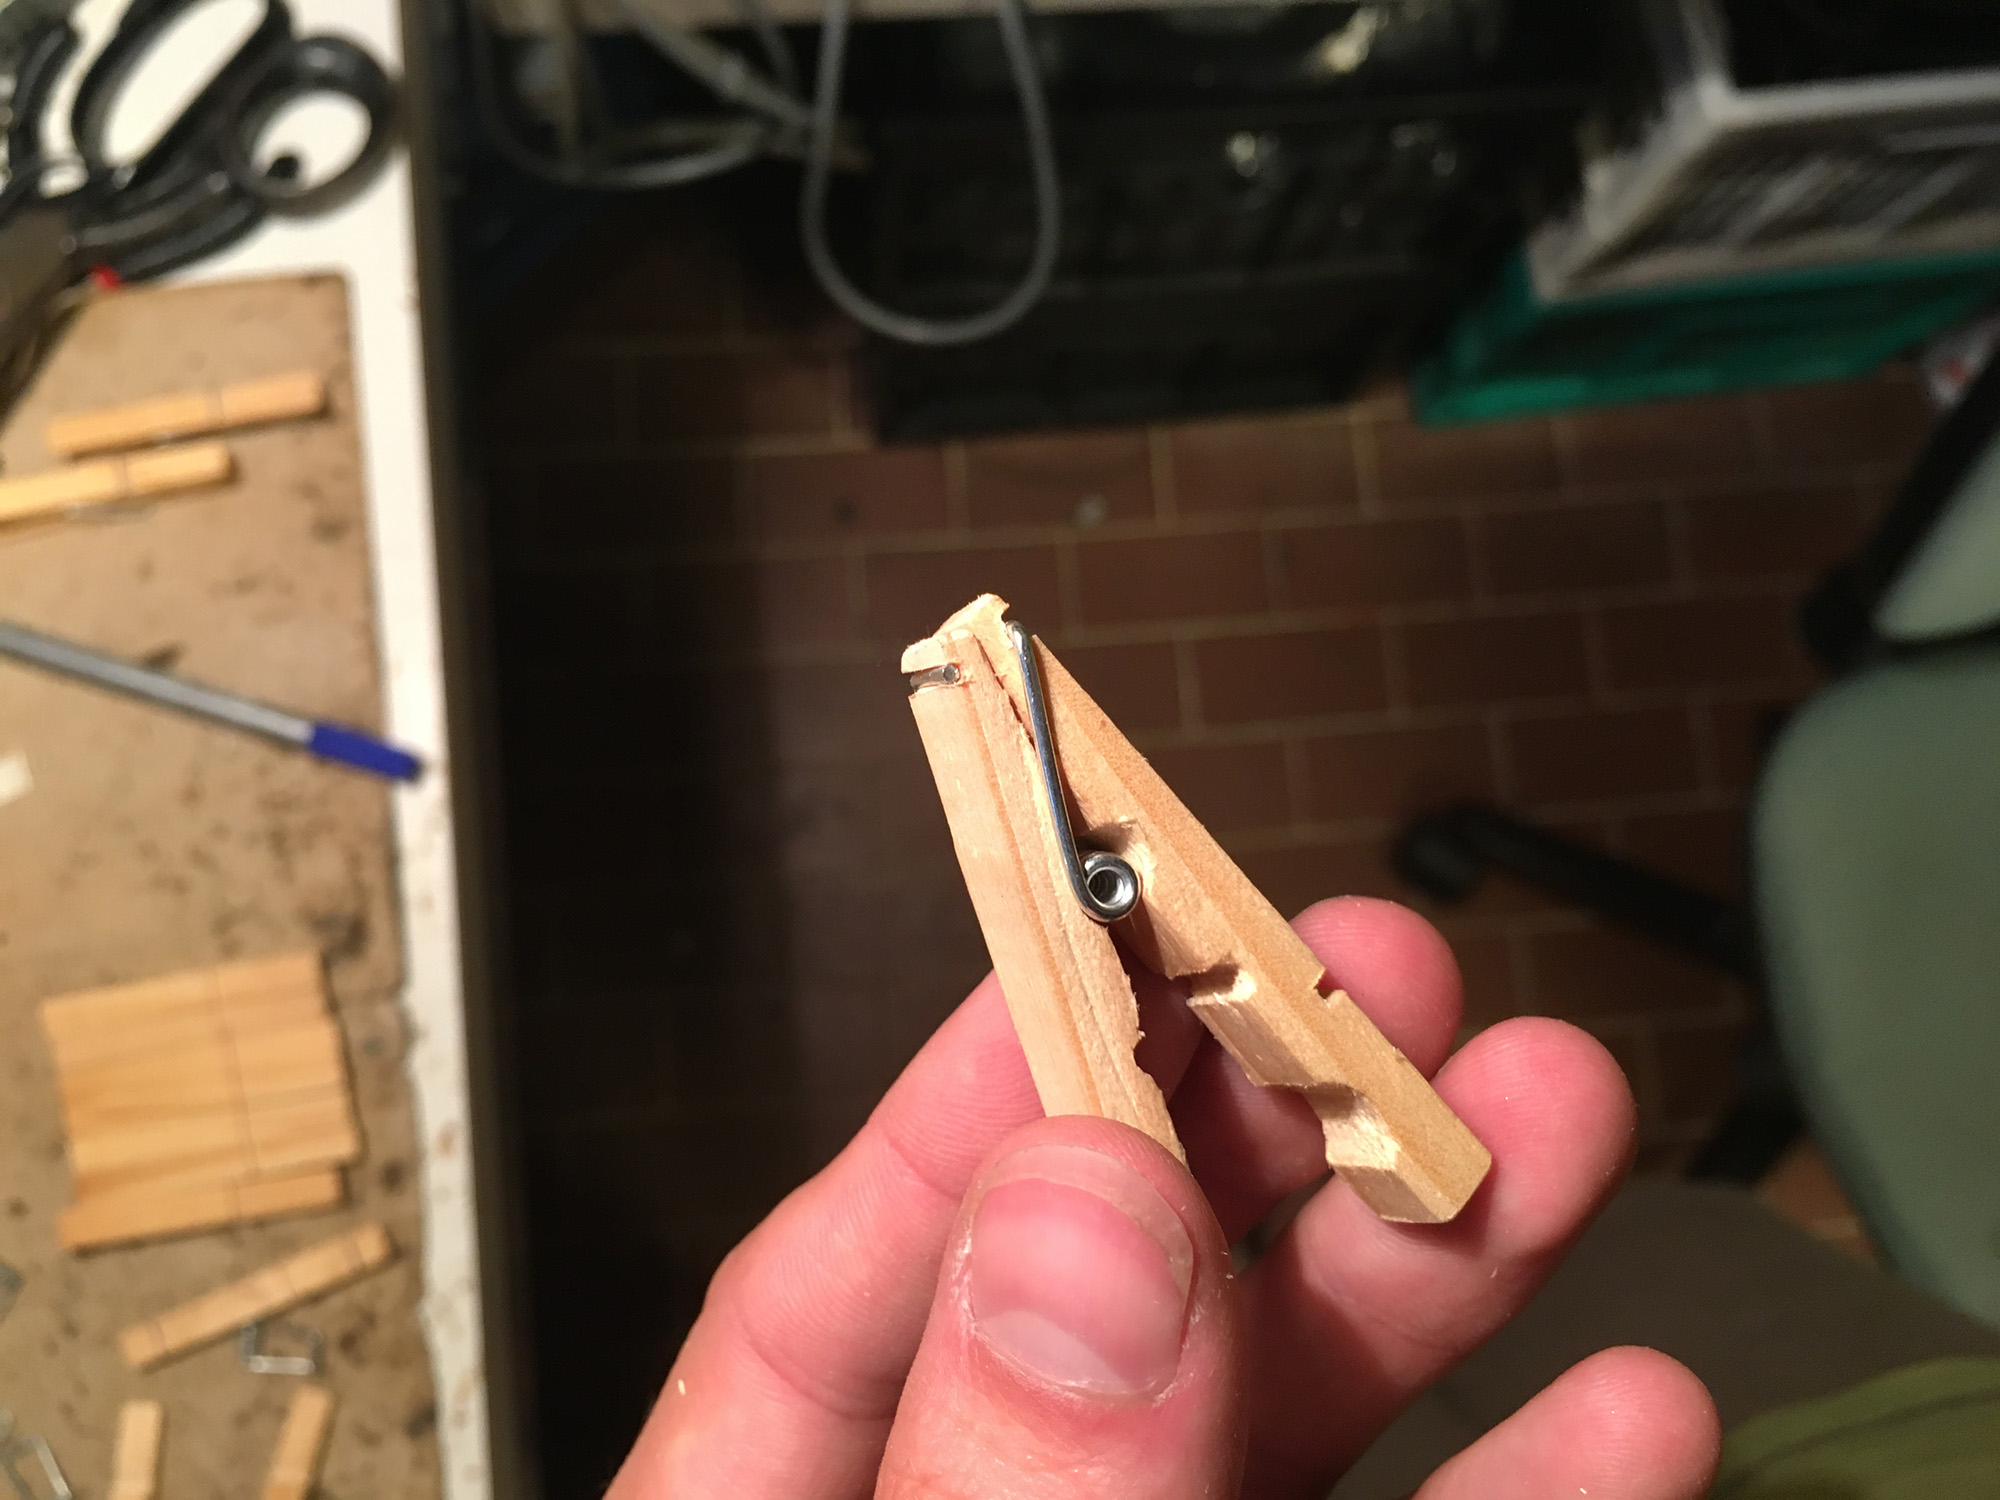
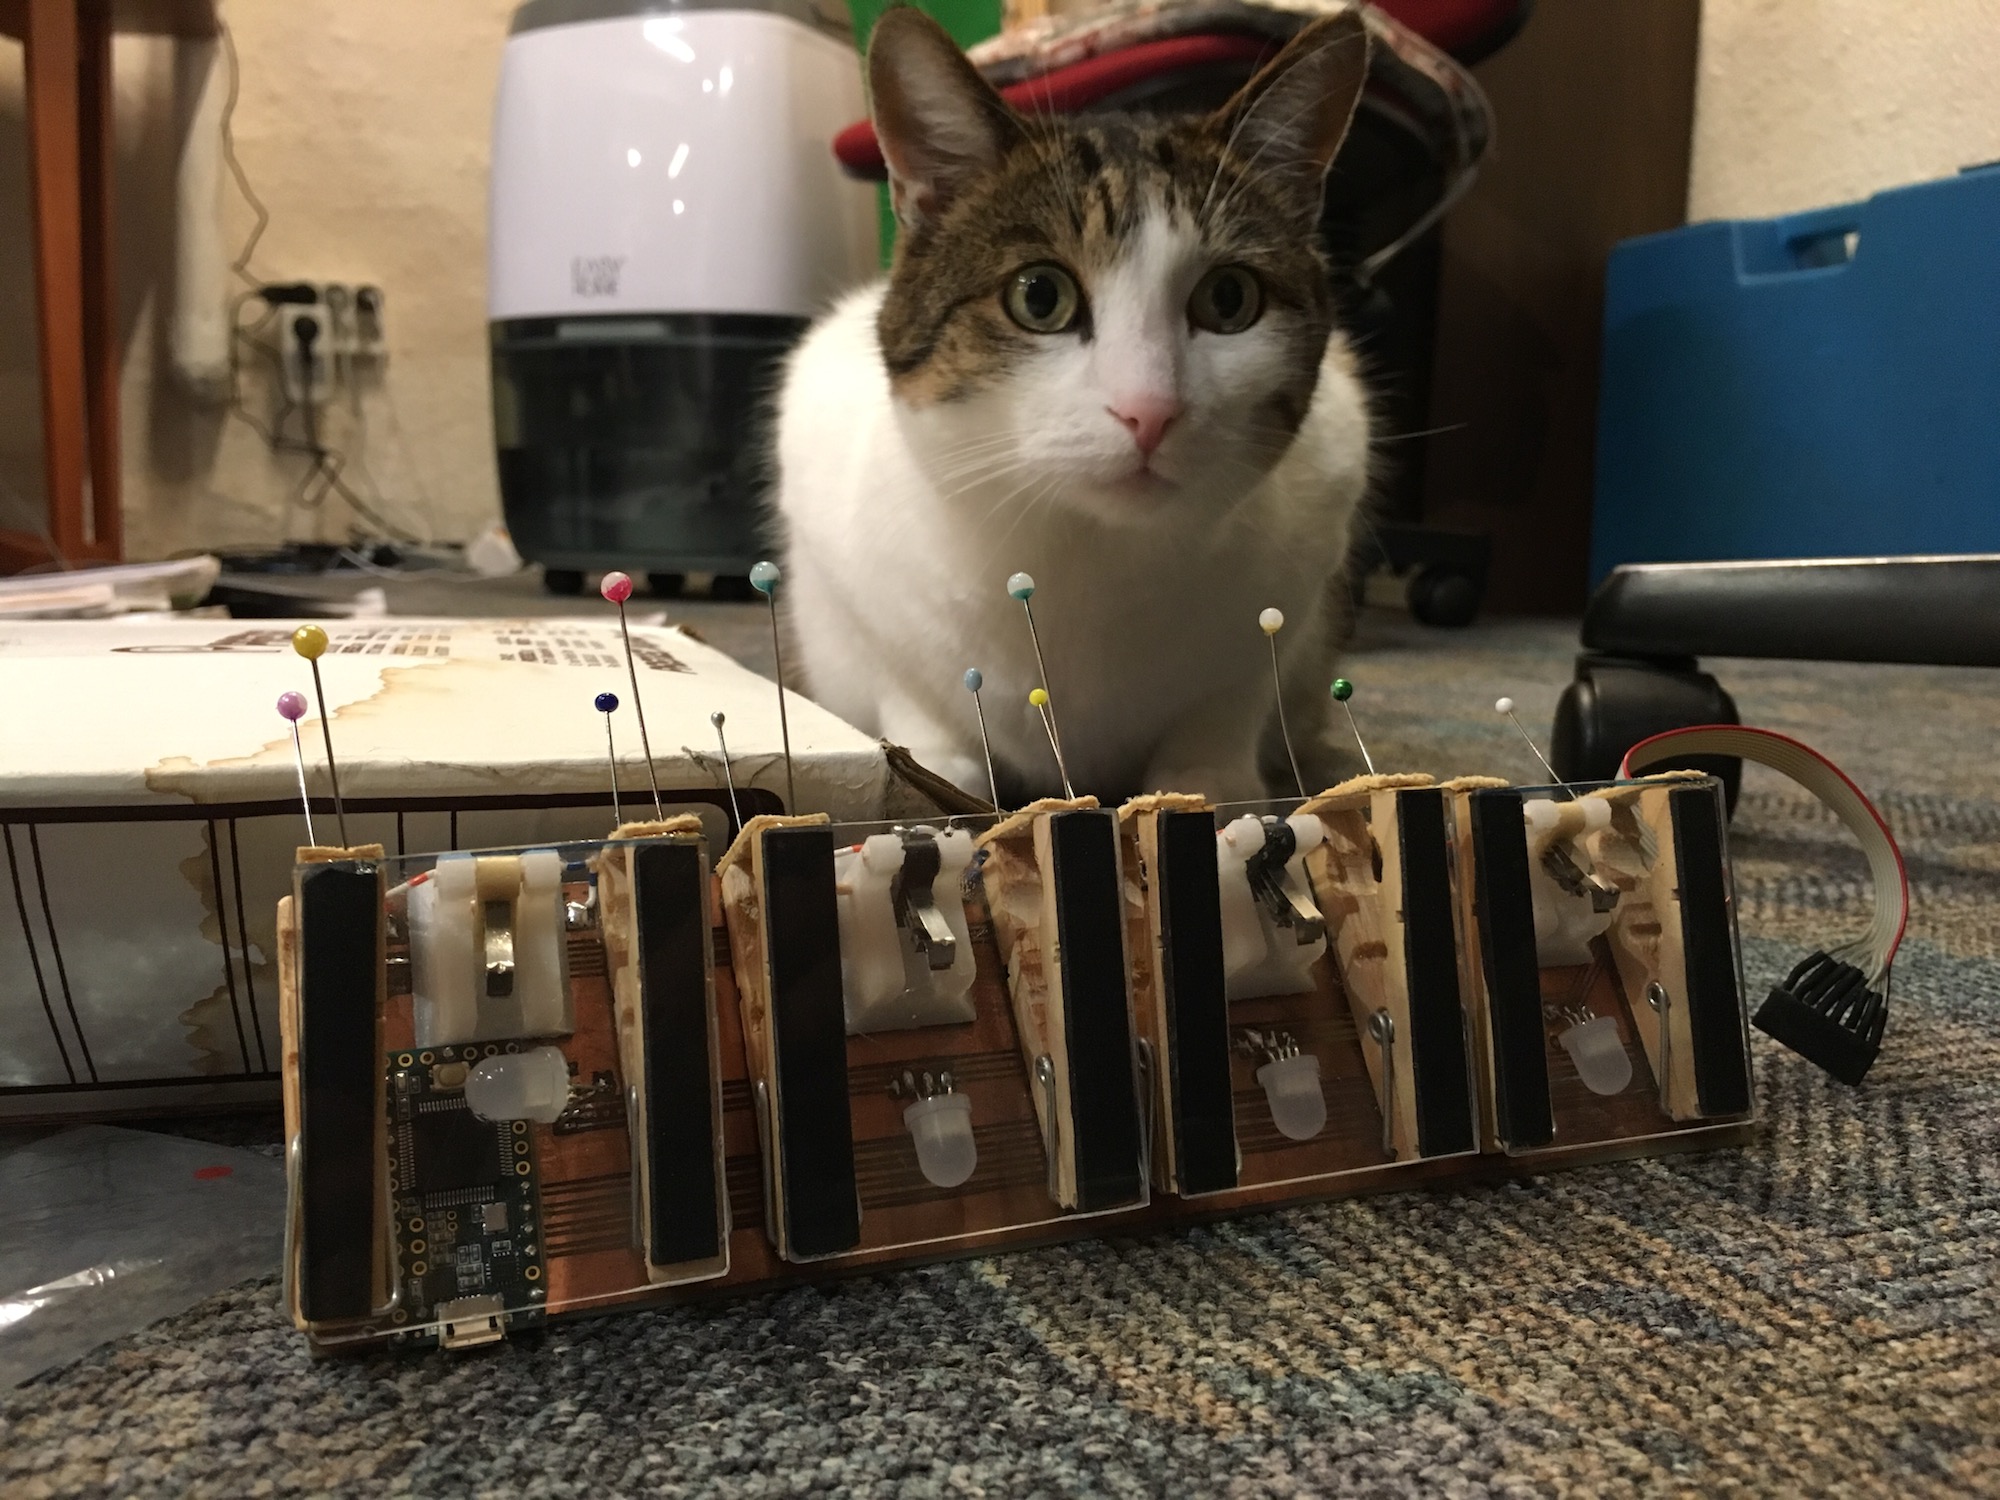
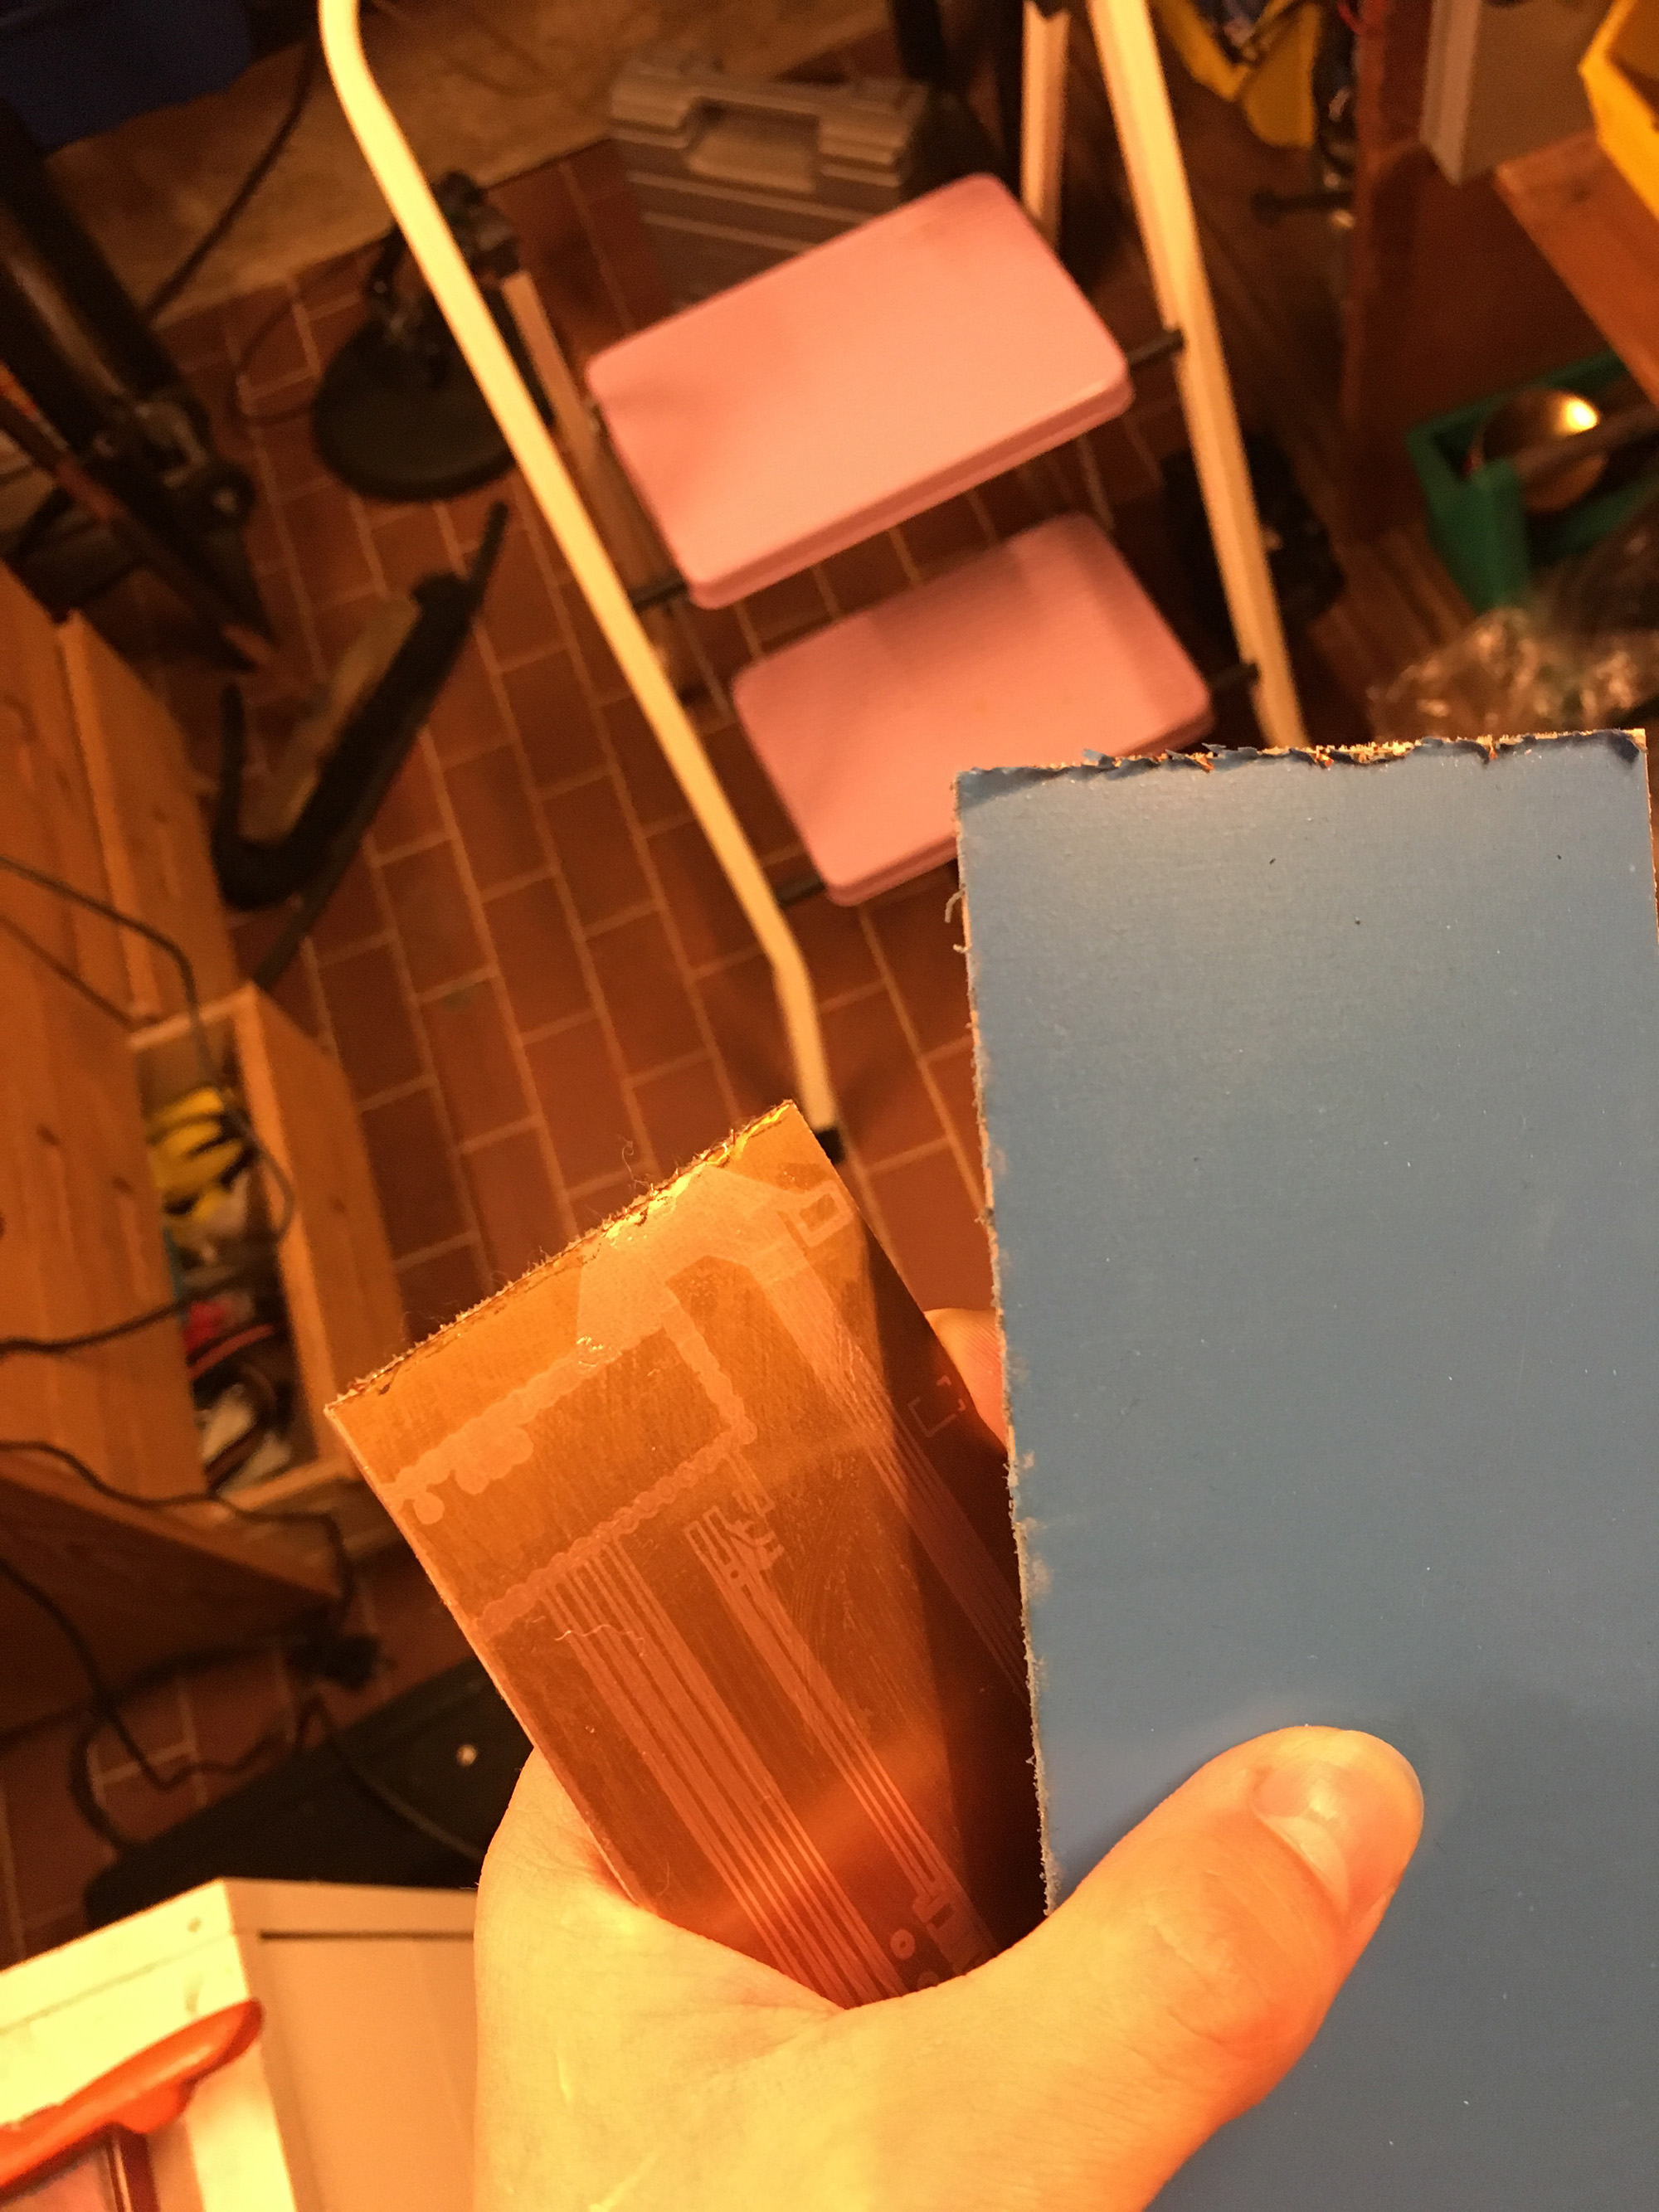
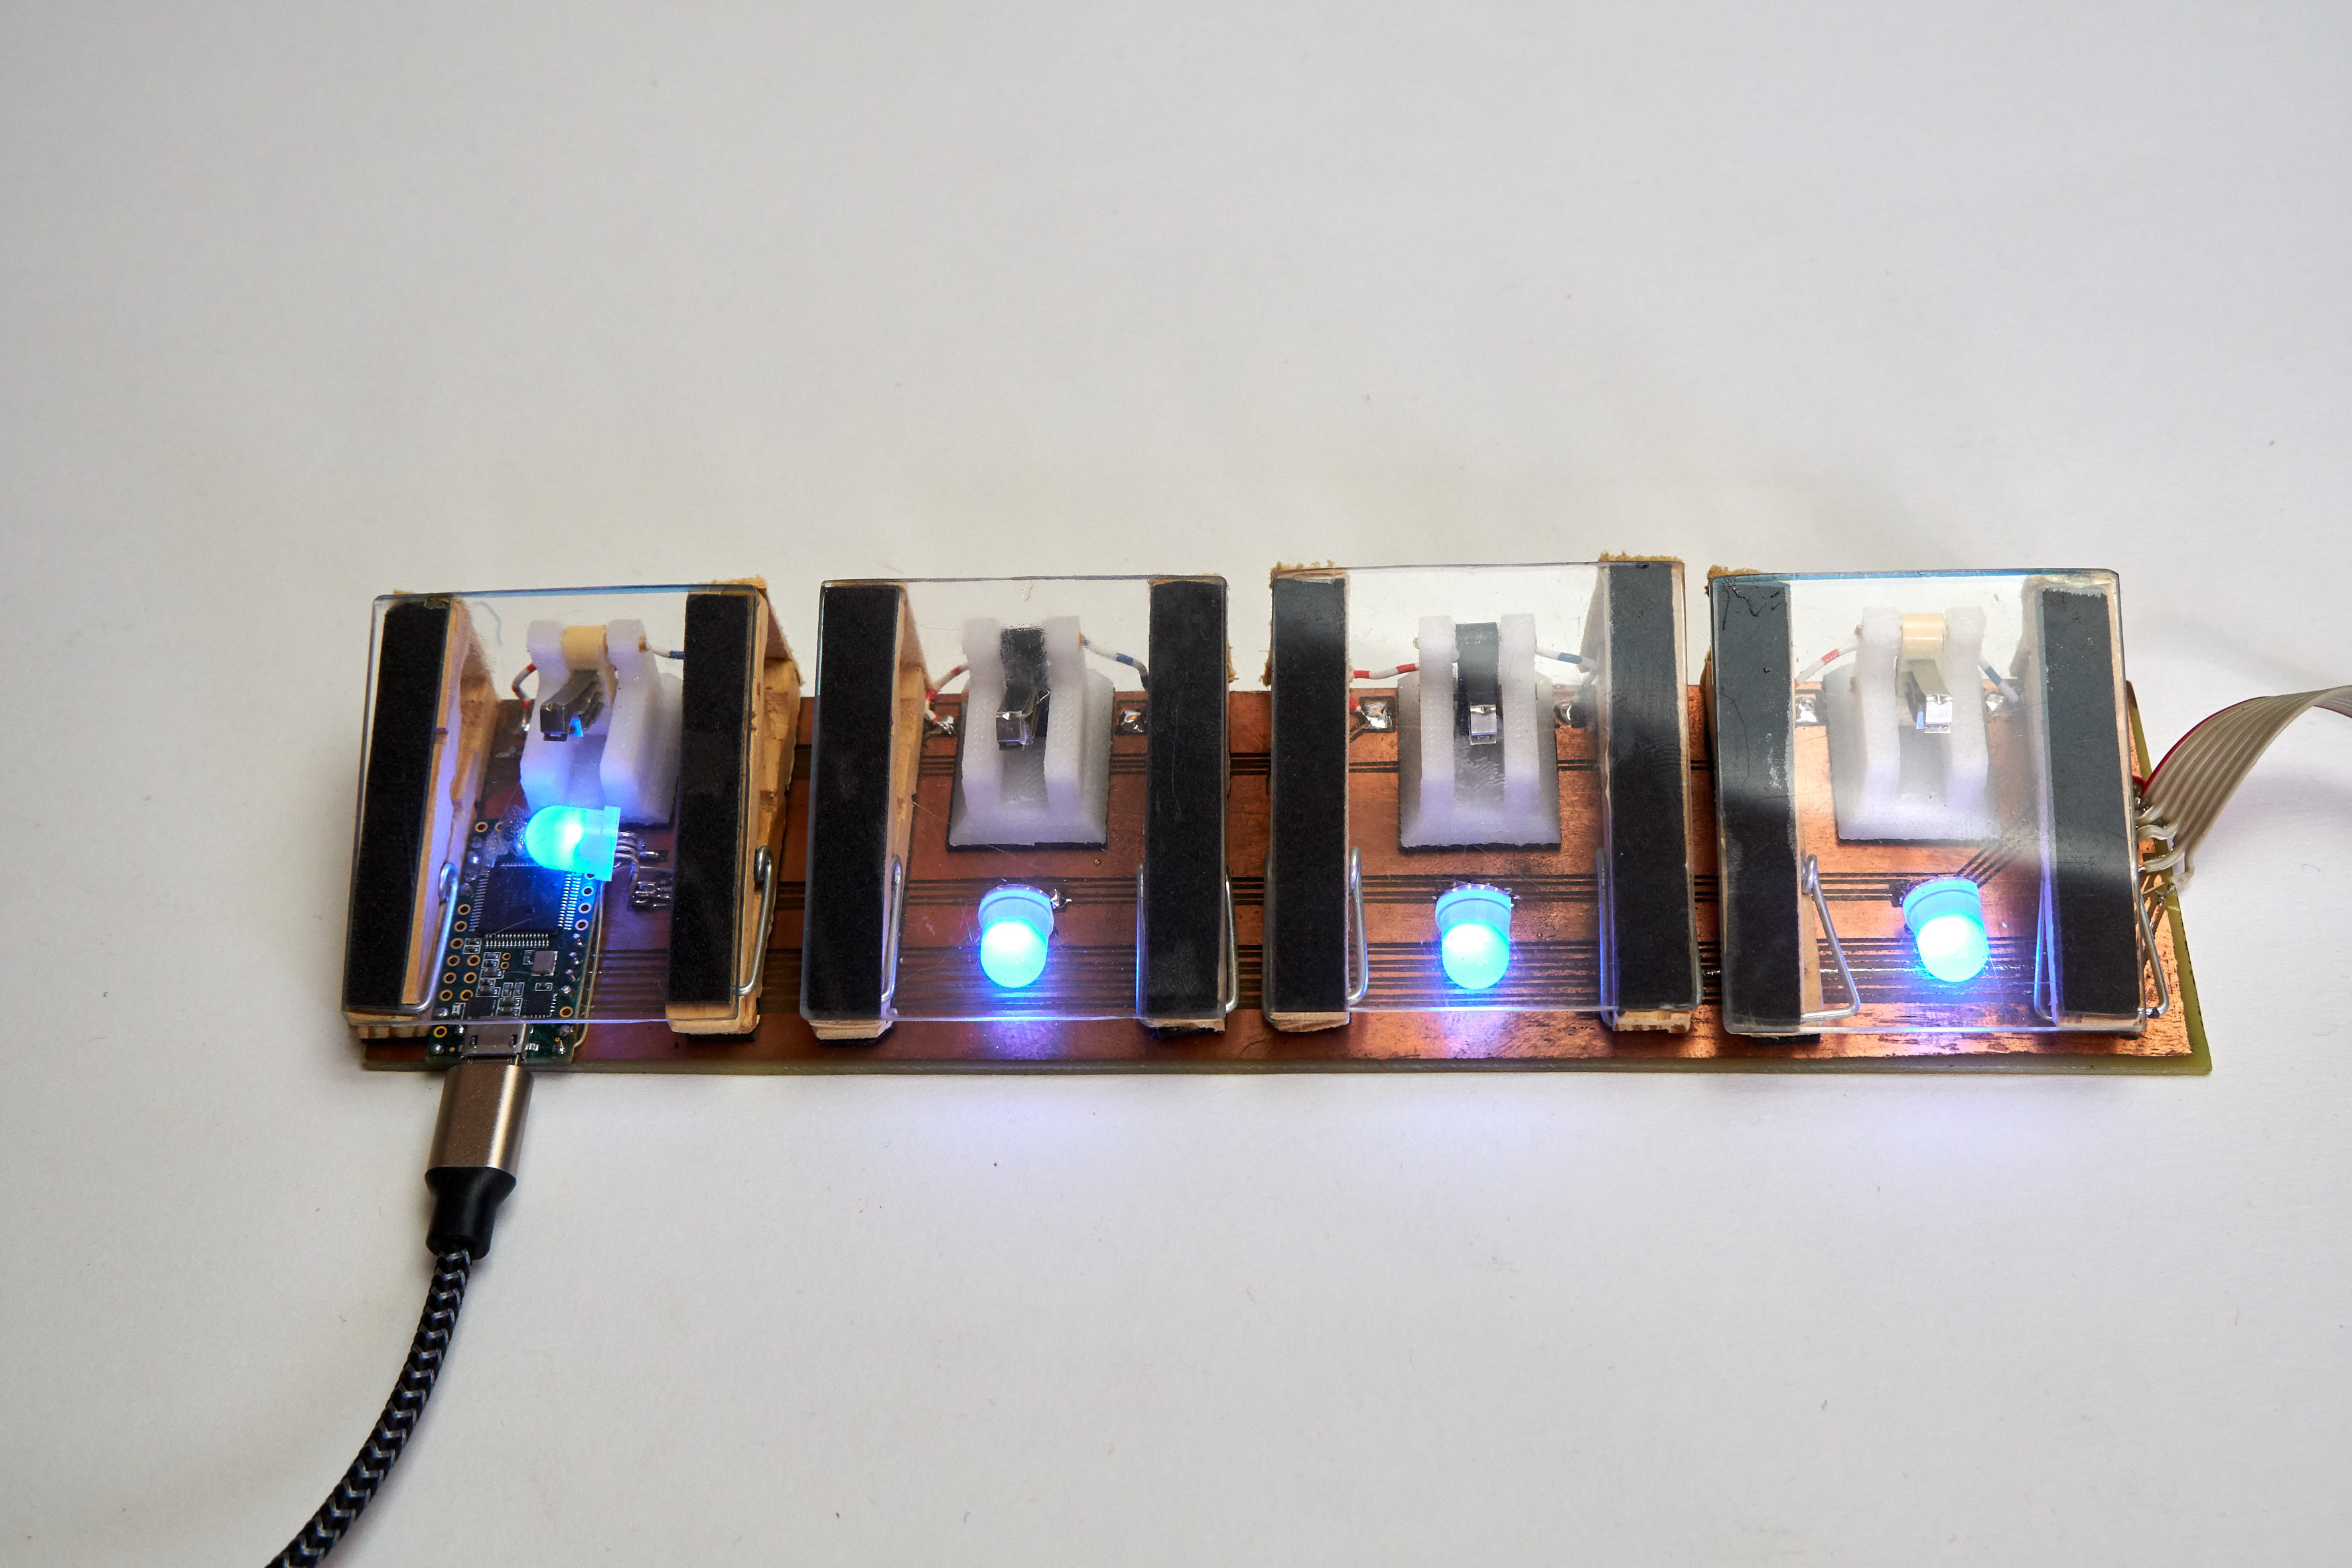
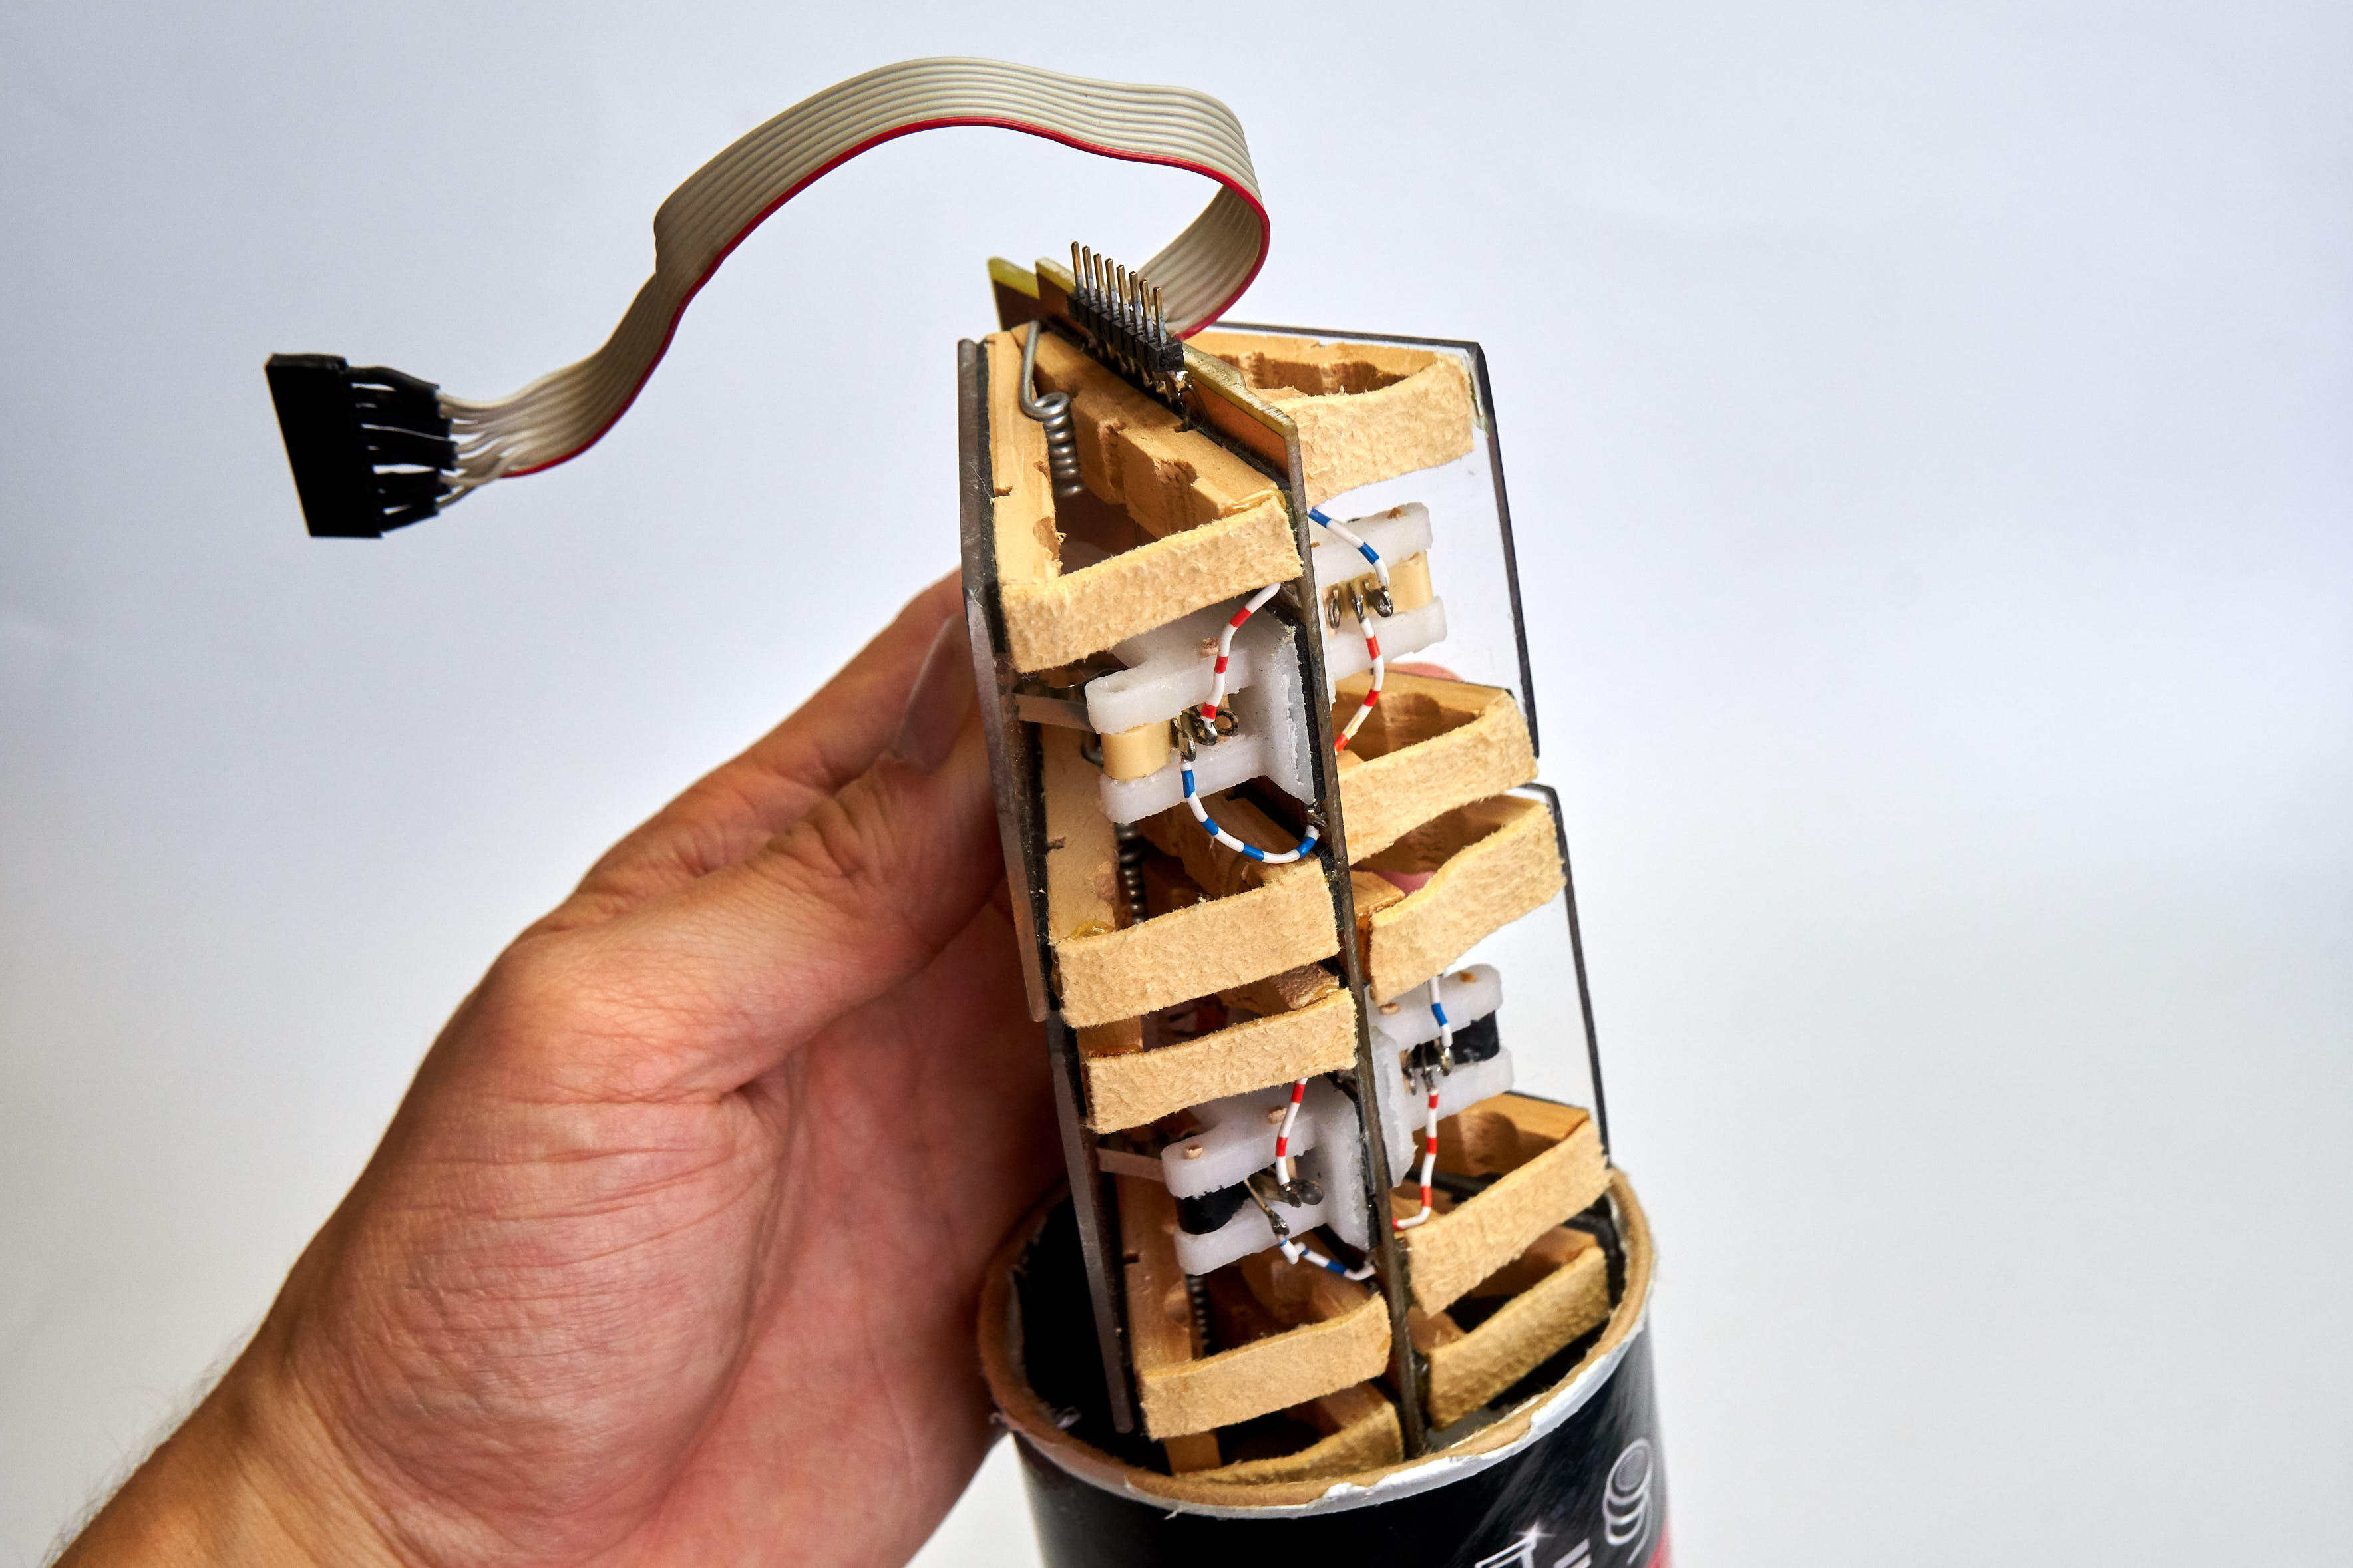
So back to the drawing table it was around 2016 when I got the idea to use clothes pins. I made a quick demo pedal to figure out how small I could build them and a few hours later I had a plan. I designed (crappy) PCBs to hold all pedals together in 2 rows, then I glued 2 clothes pins per pedal on the PCBs and a acrylic plate on top. on the backside I added strips of the leather to avoid the clips from snapping apart when moved in the wrong direction.
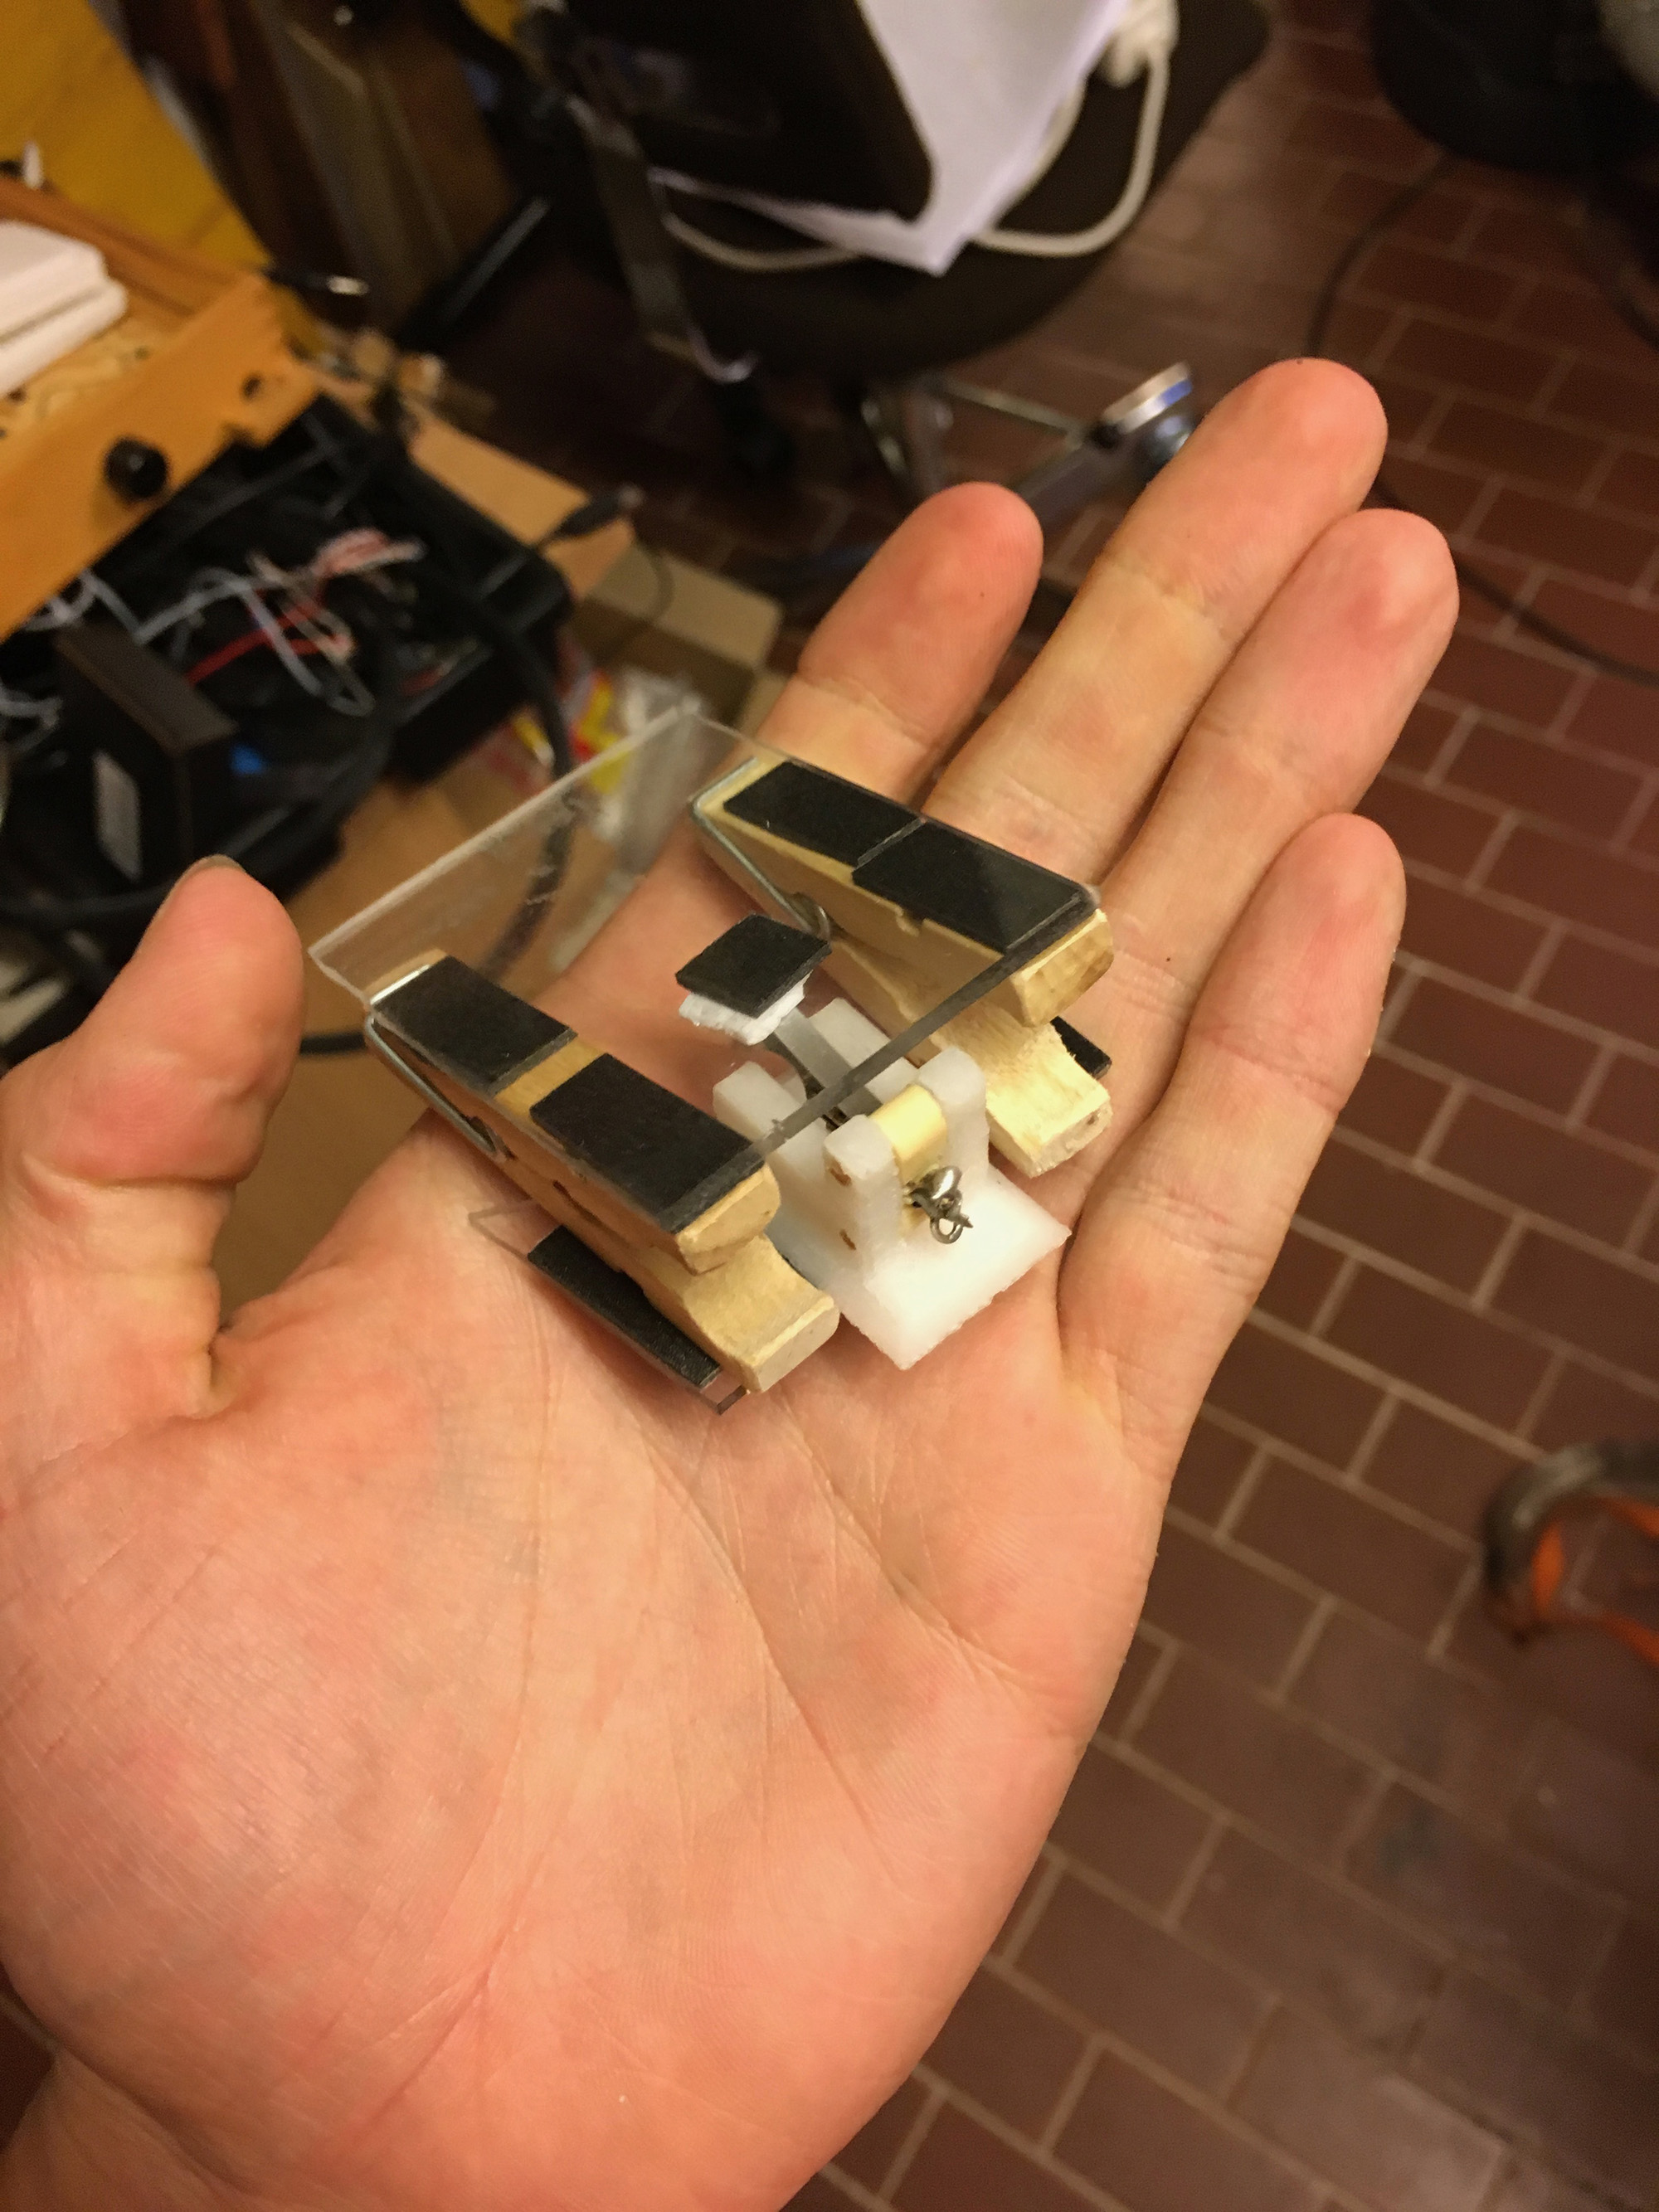

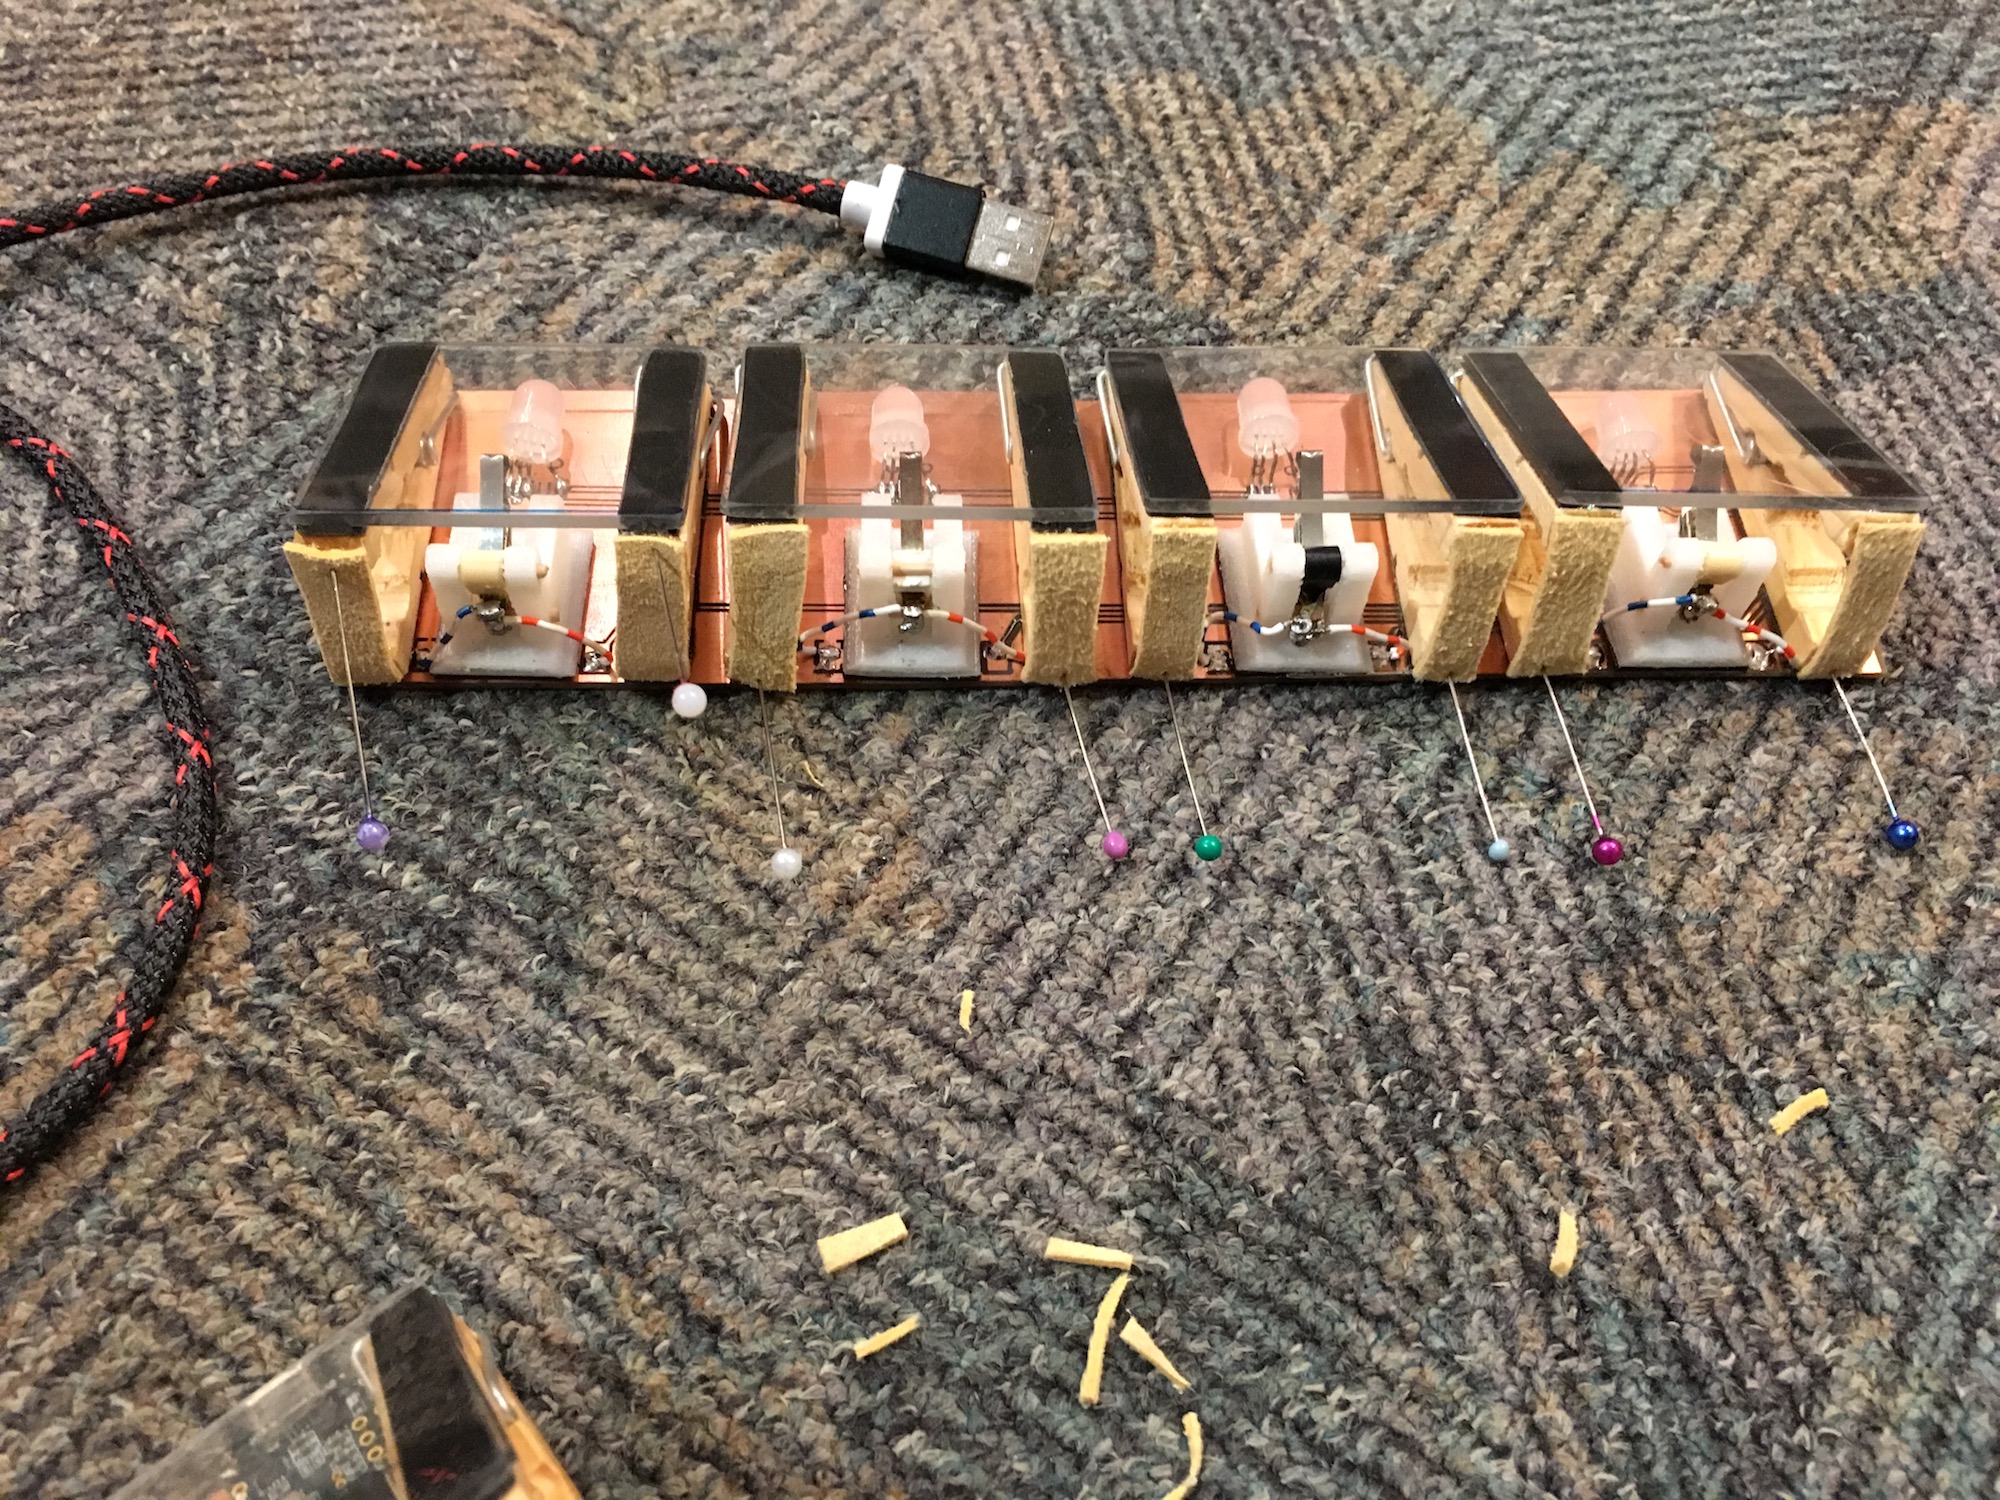
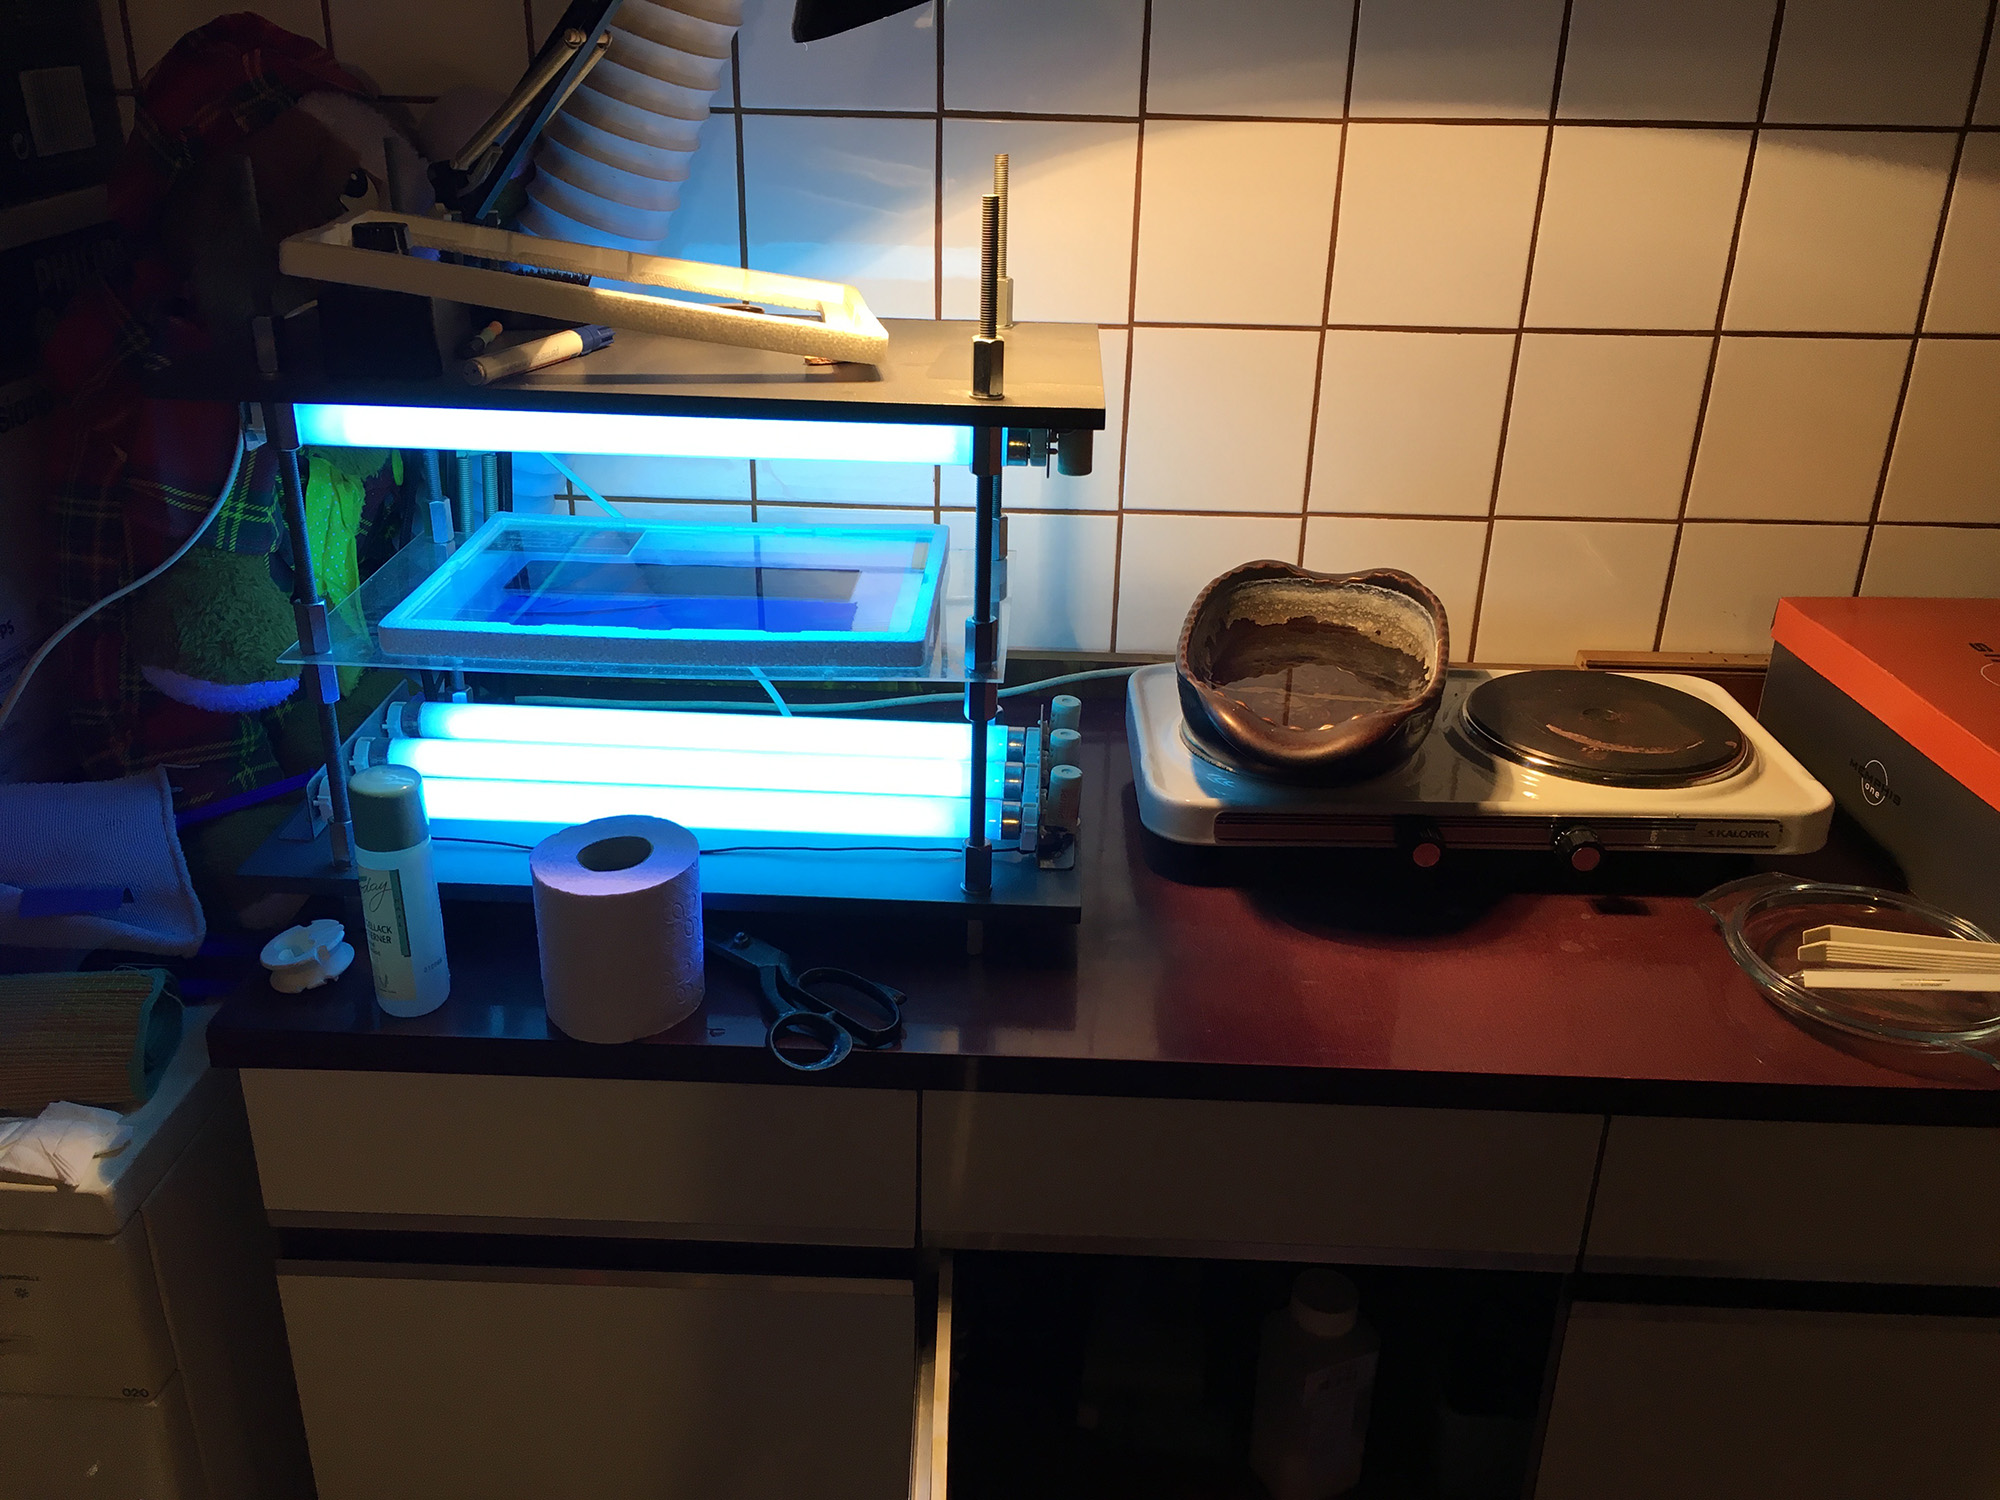
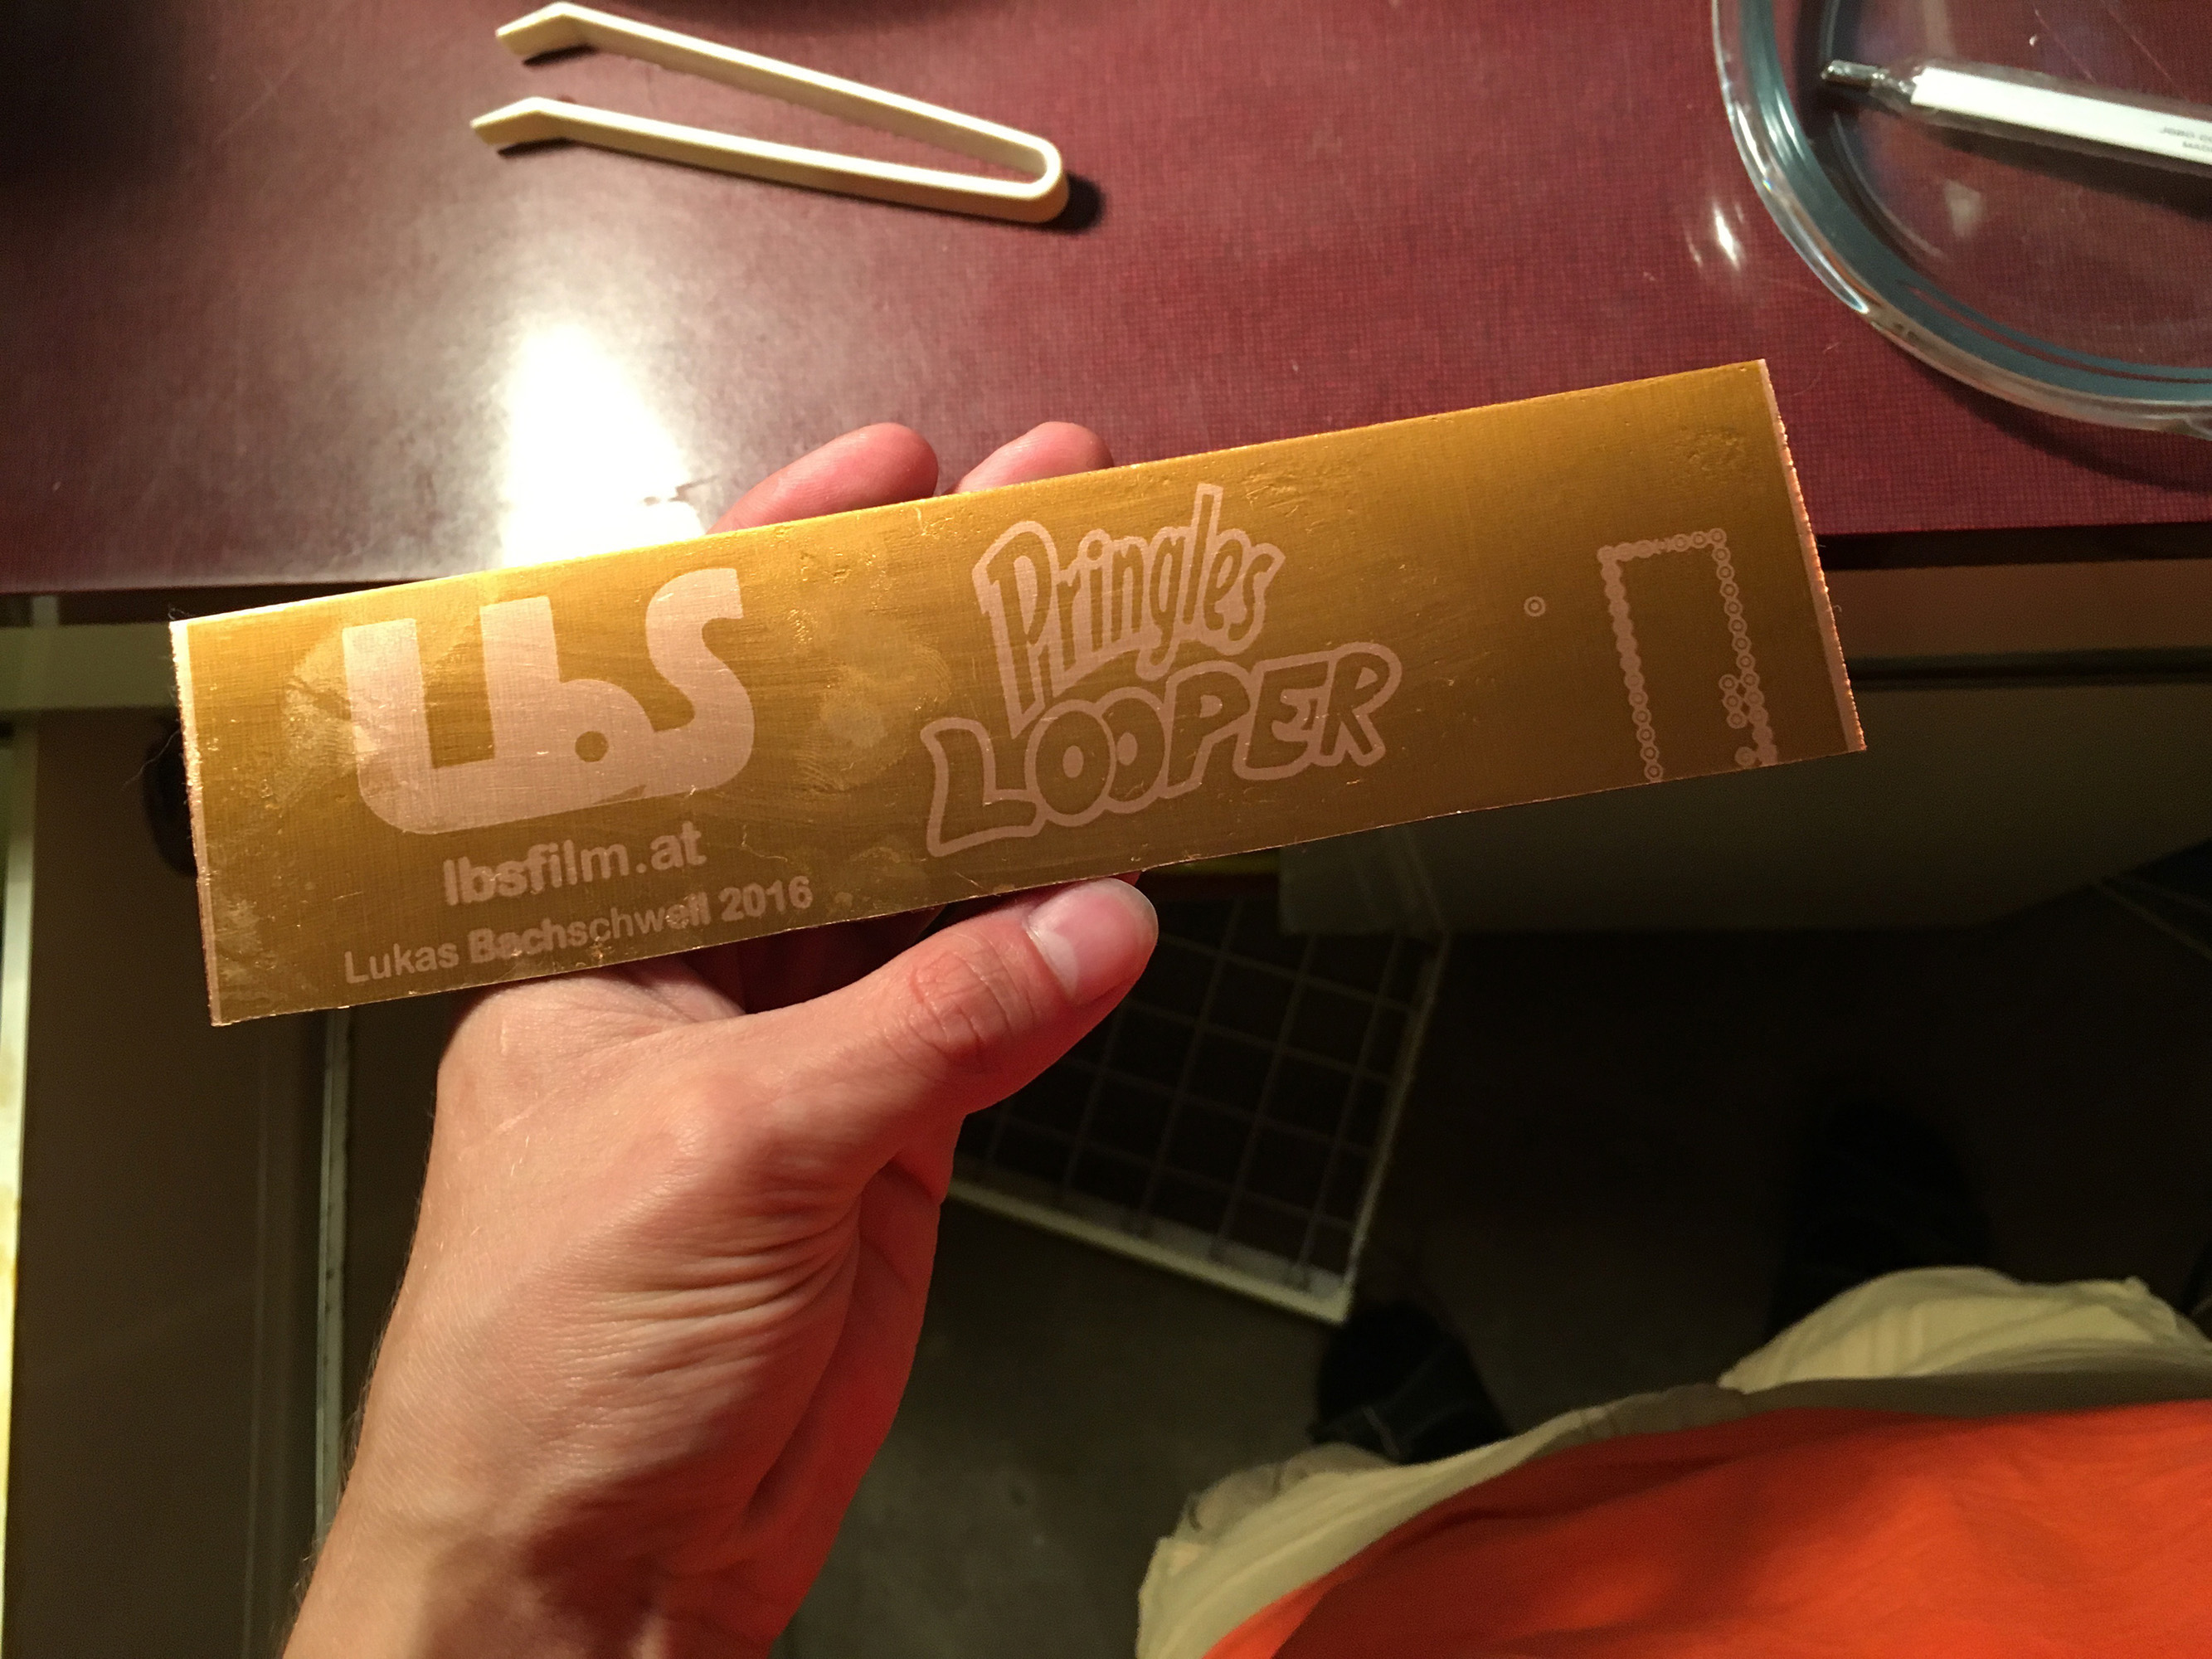
Additionally I added a little graphic on the backside of the board because I wanted to test my double side etching process (that was still not perfect).
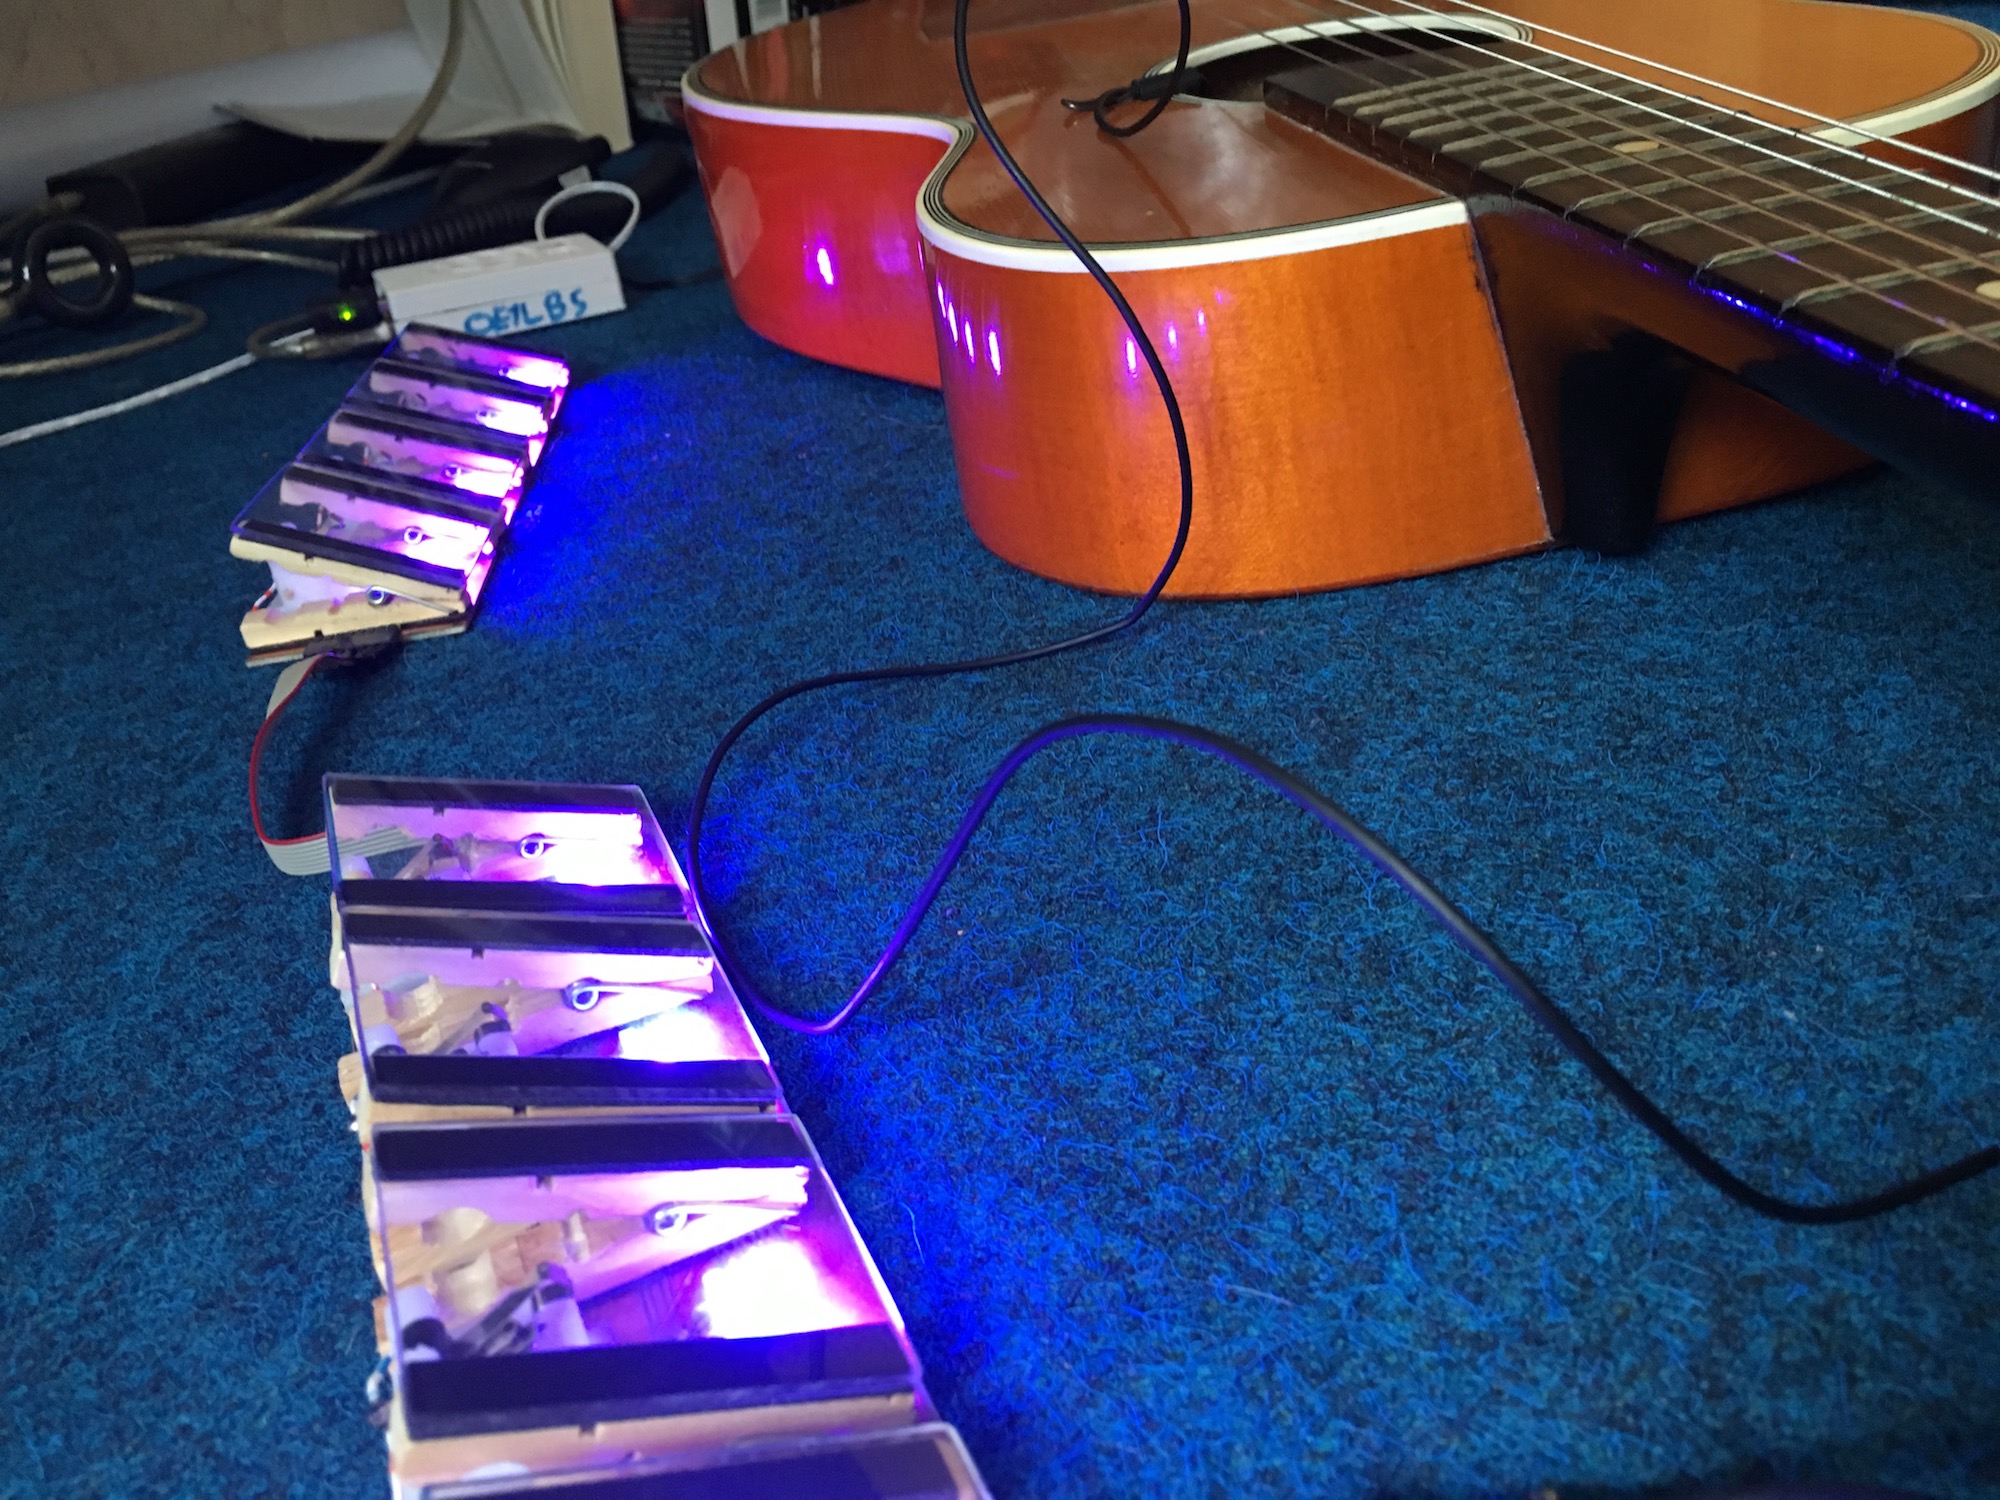
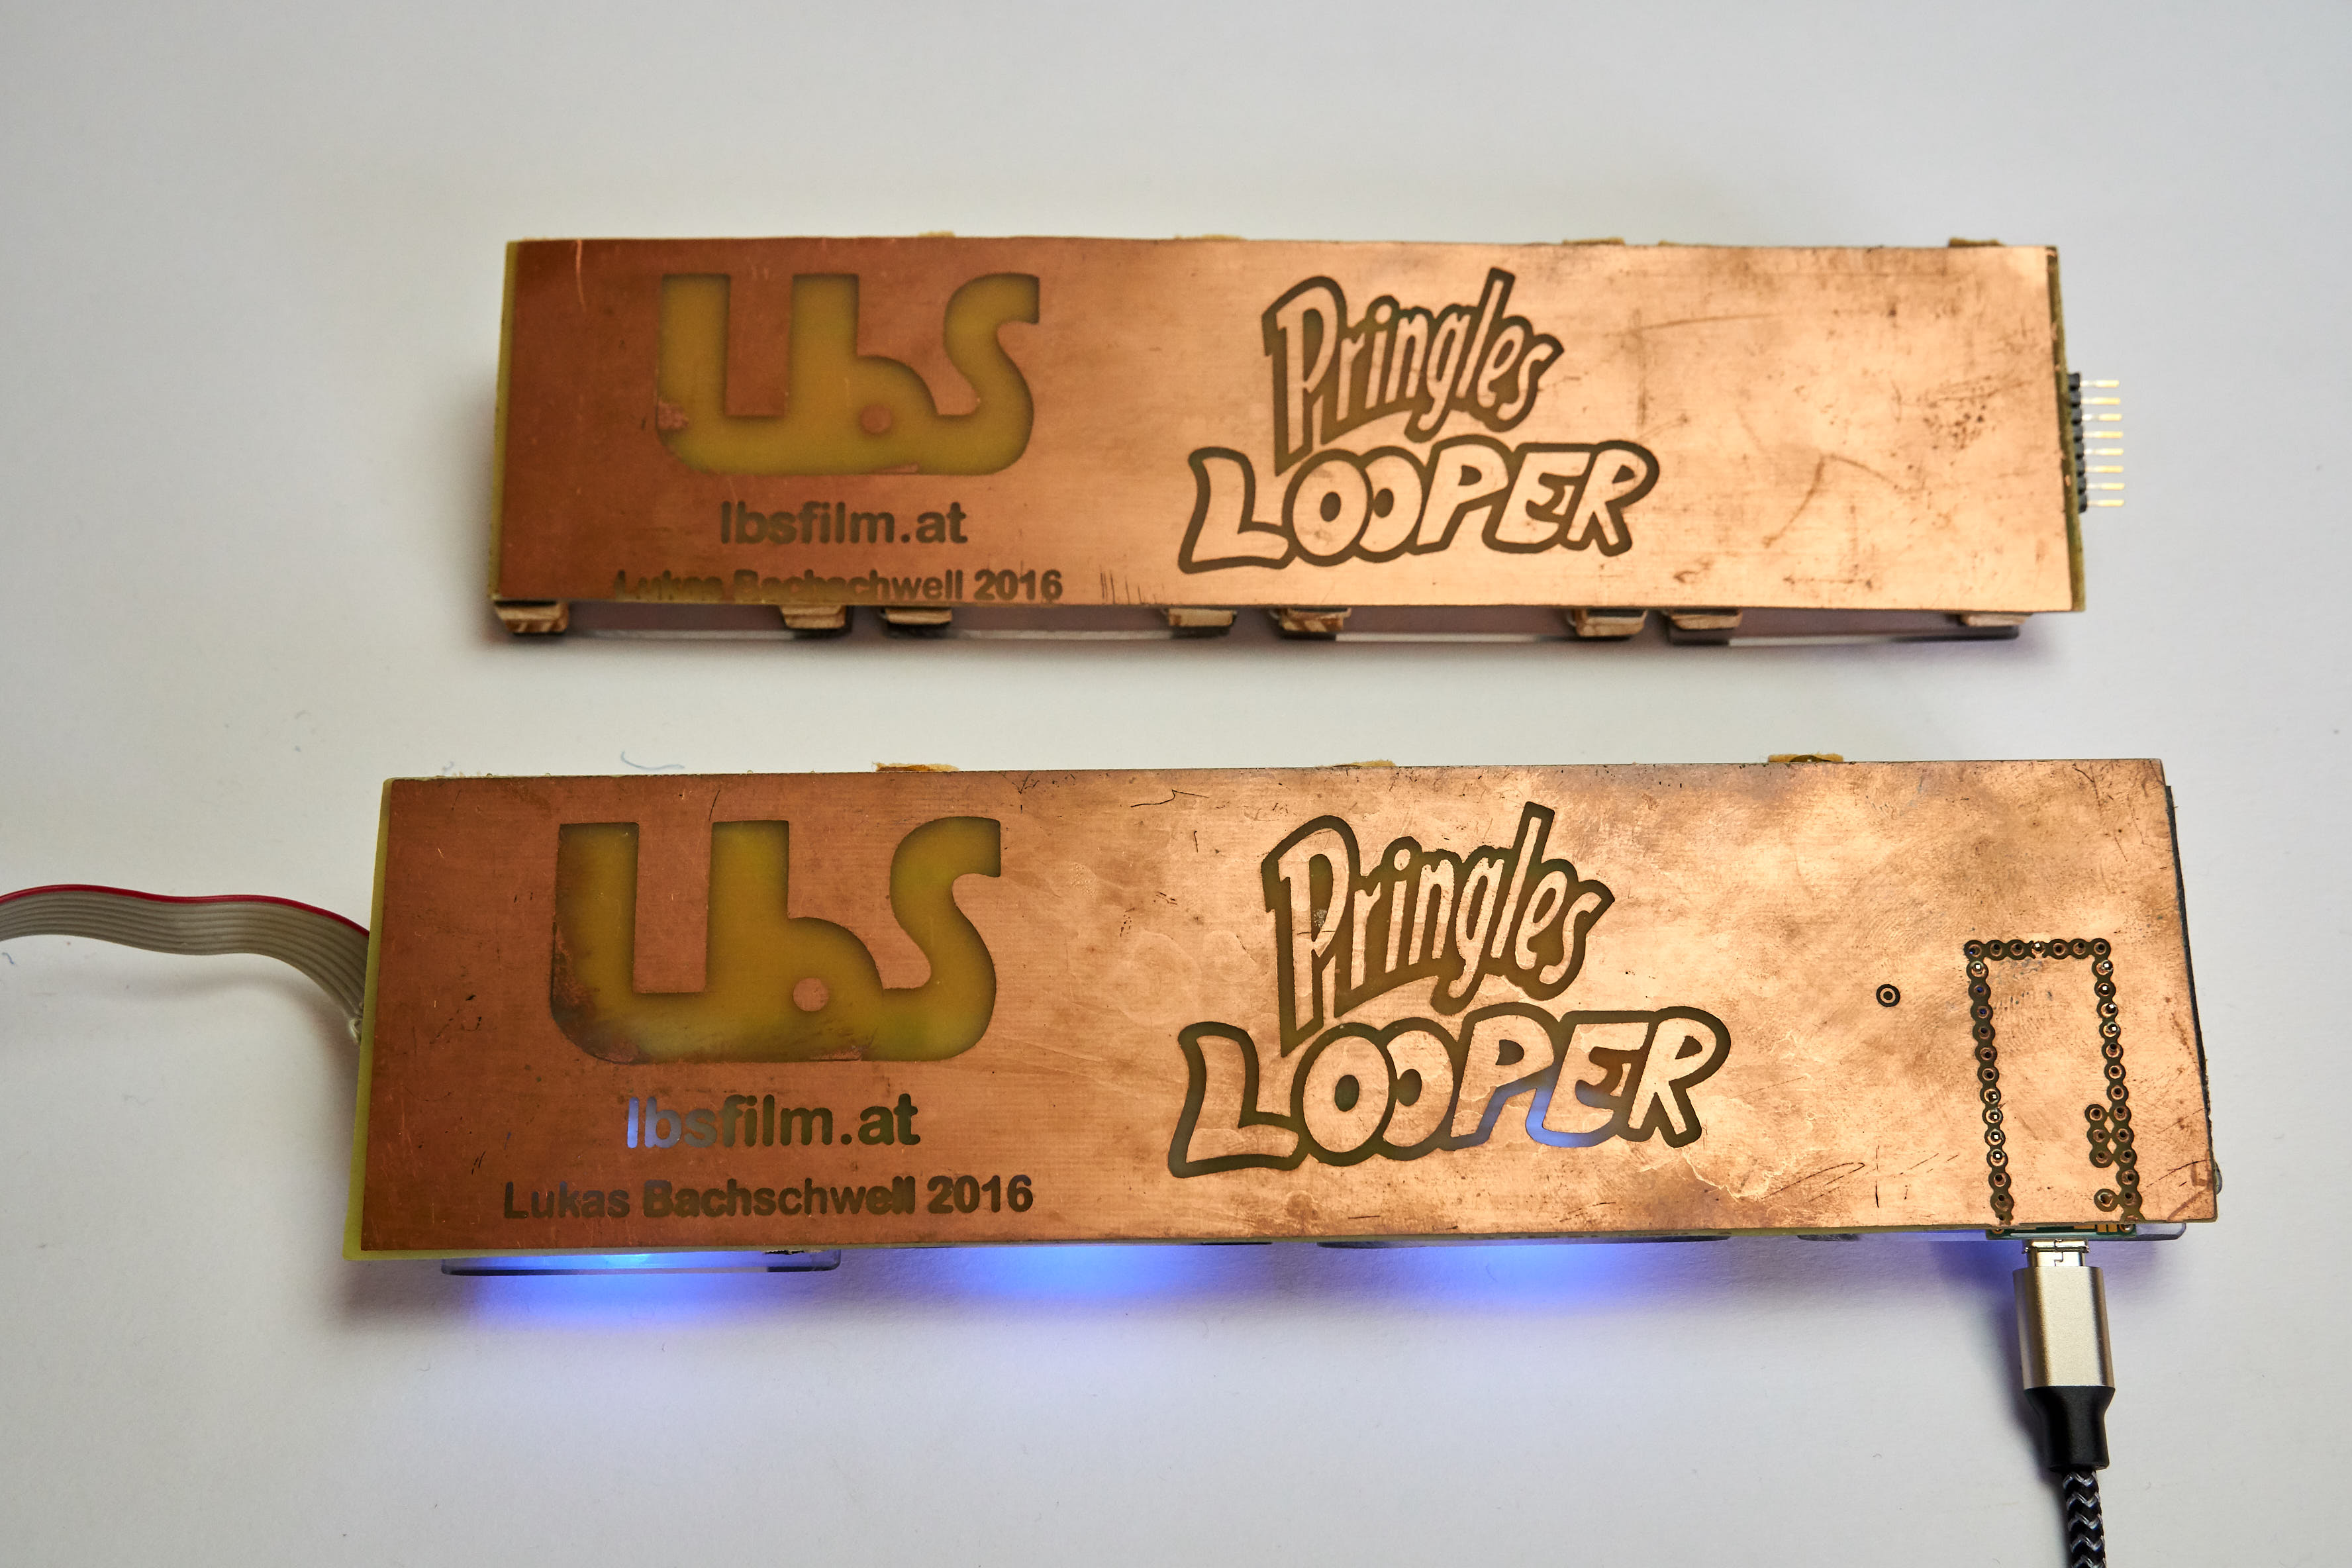
This design turned out to be great and also still fit into the can. I added programmable LEDs under each Panel to be used as a metronome. The entire pedal is now driven by a Teensy 3.2 because this board is great for all kinds of USBMidi usages. (The communication mode can be selected from the upload tool).


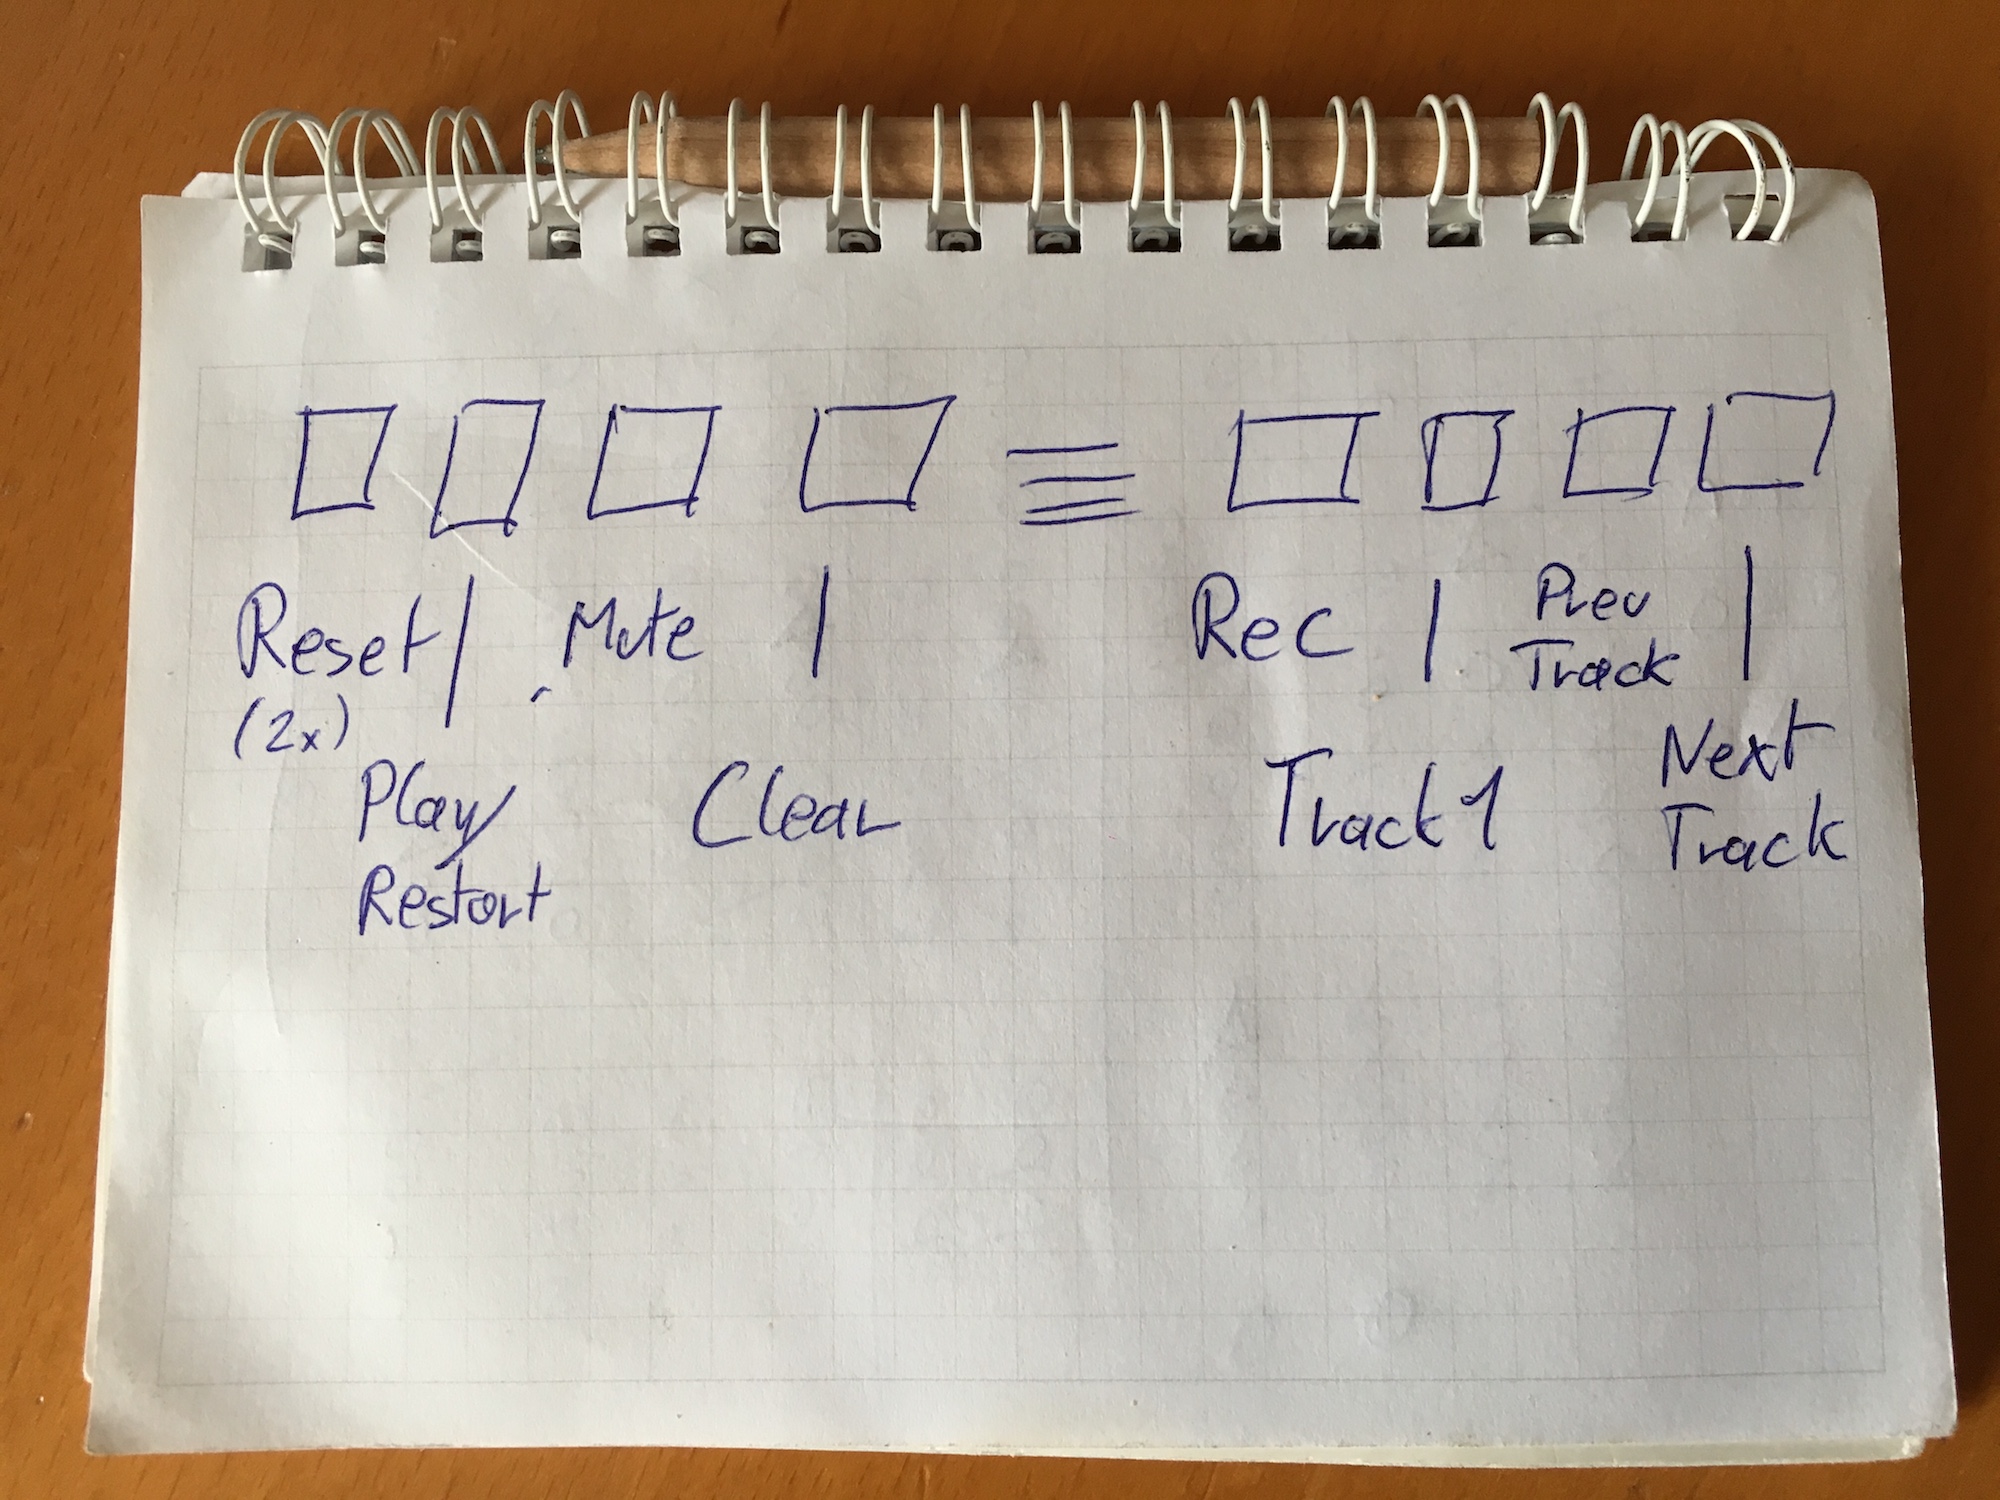
Finally this is my personal mapping for the pedals that I found really useful